04
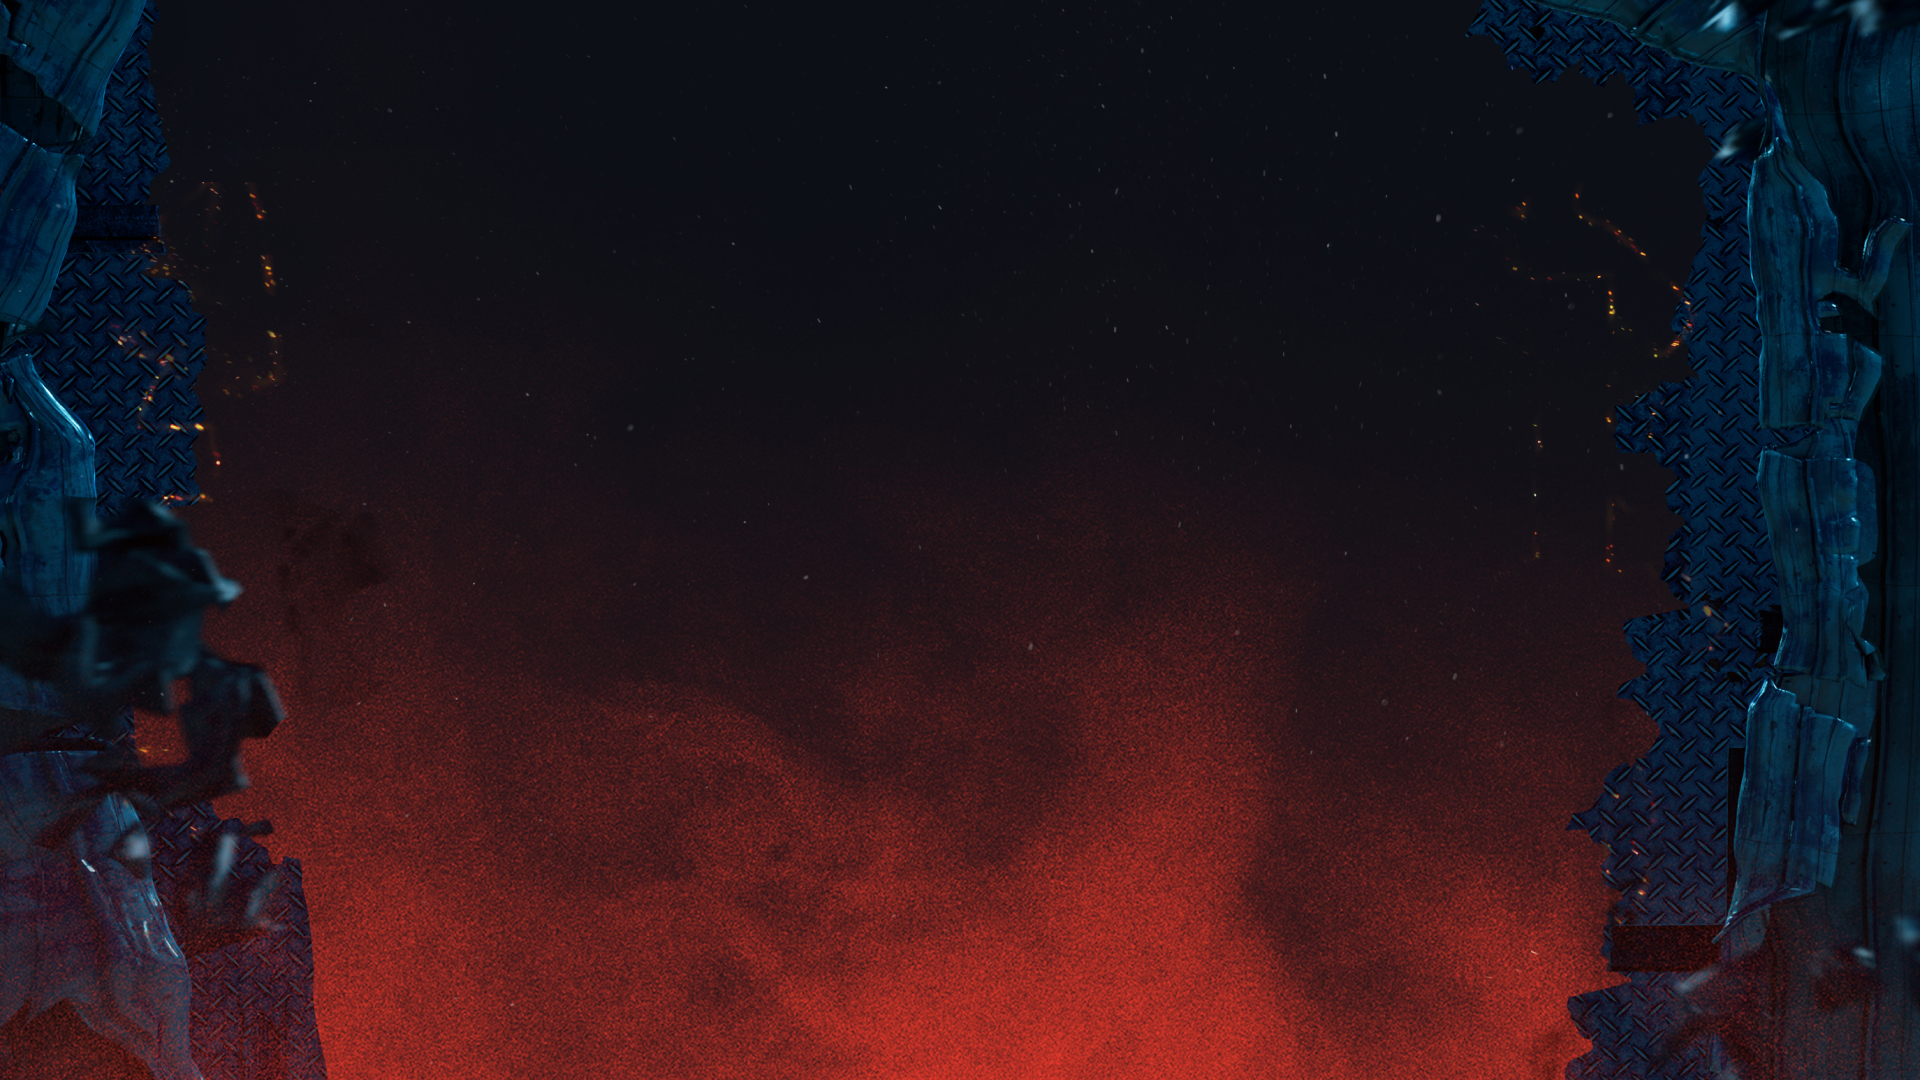
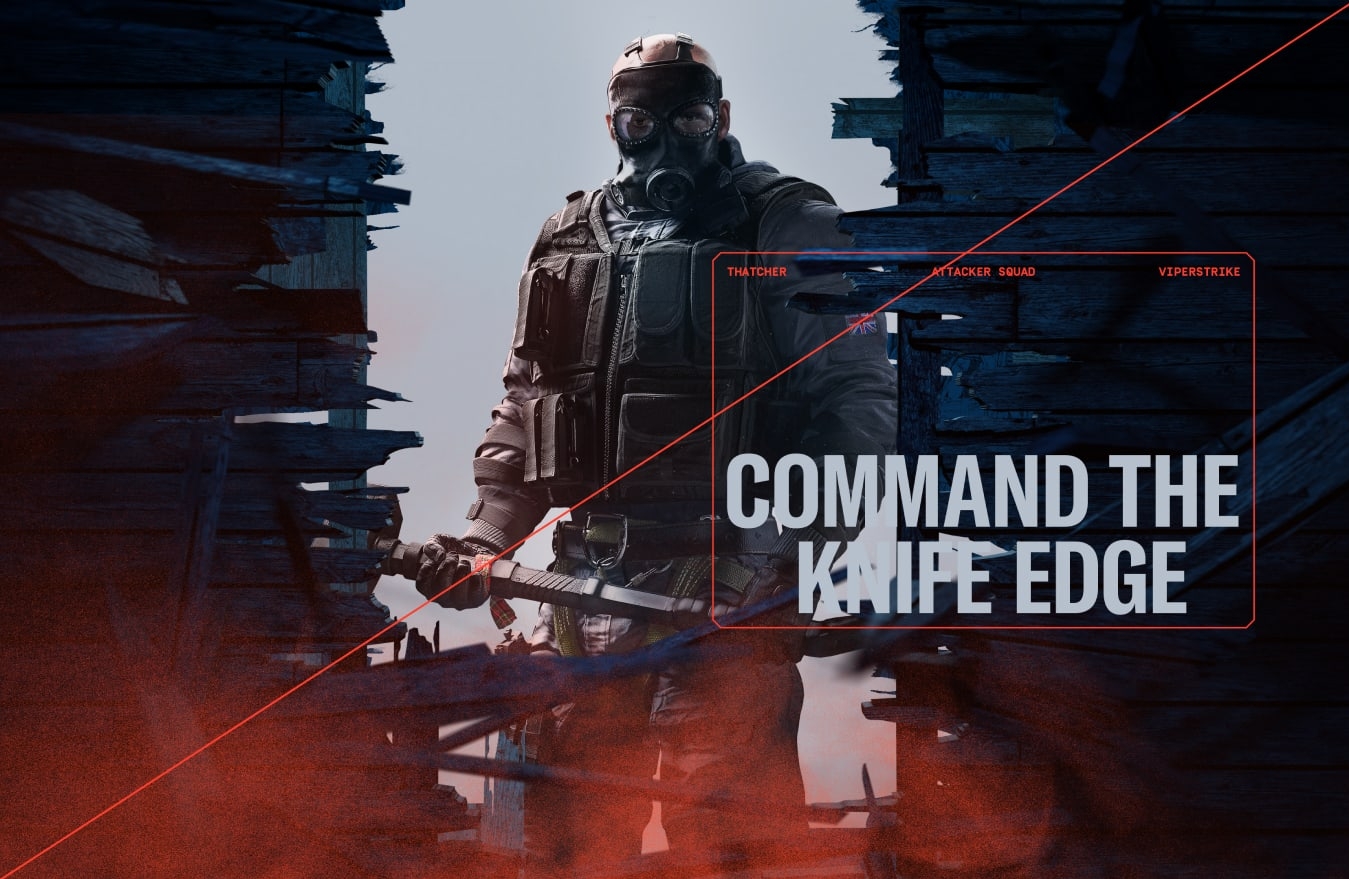
At the core of our visual language lies our Destruction assets. With these we can symbolise the conflict between attack and defence within the game fantasy of Siege.
Our assets like our operators and typography seamlessly integrate with this destruction, yielding epic and impactful applications.
Please visit our Downloads Centre to access all Destruction assets.
Destruction serves as the cornerstone of Rainbow Six Siege, profoundly shaping our visual identity. At the heart of this identity are our destruction assets, which vividly encapsulate the dynamic conflict
between attack and defense, epitomizing the immersive fantasy of Siege gameplay.
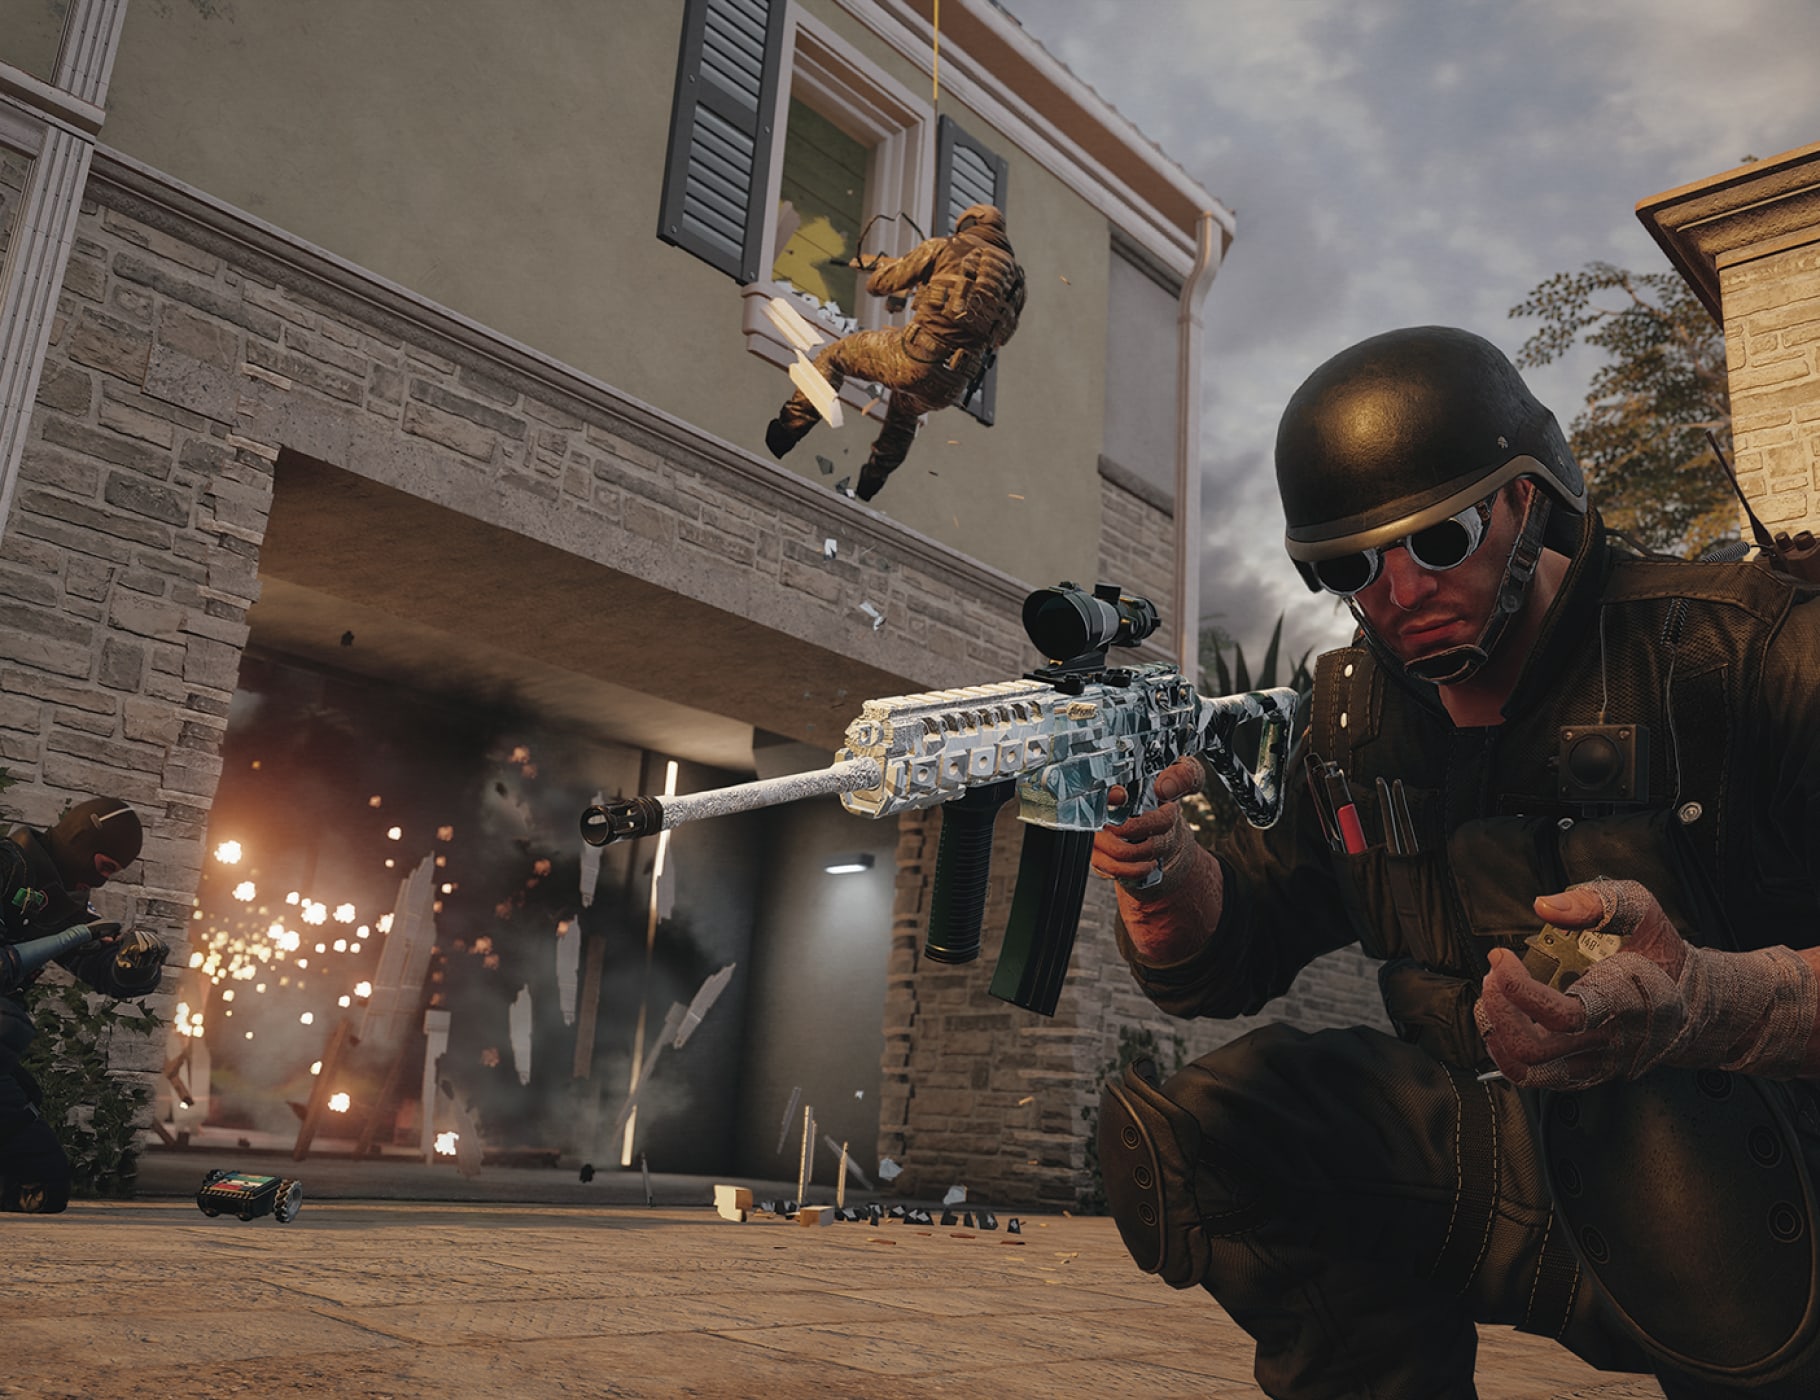
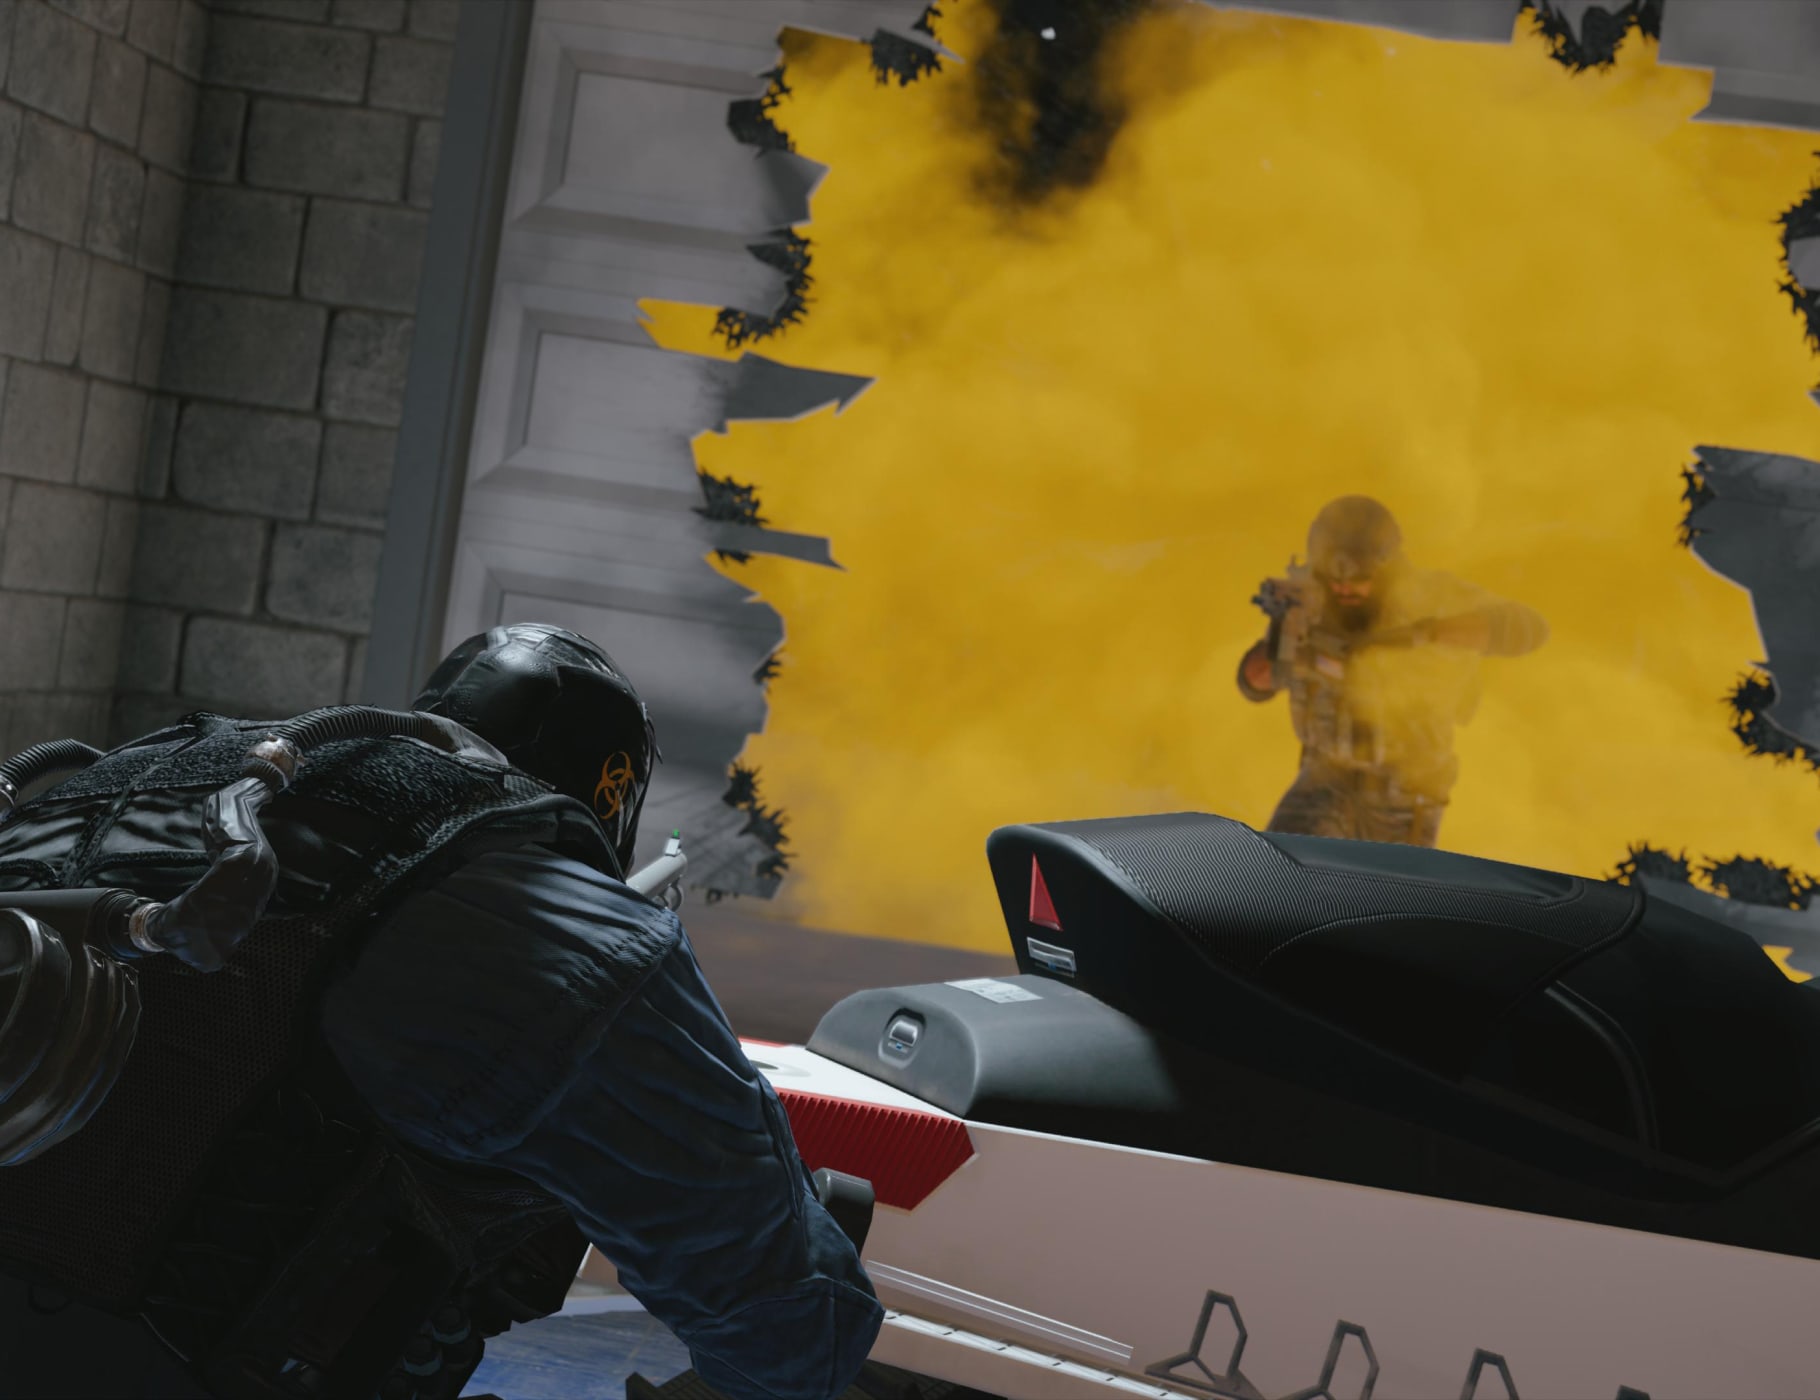
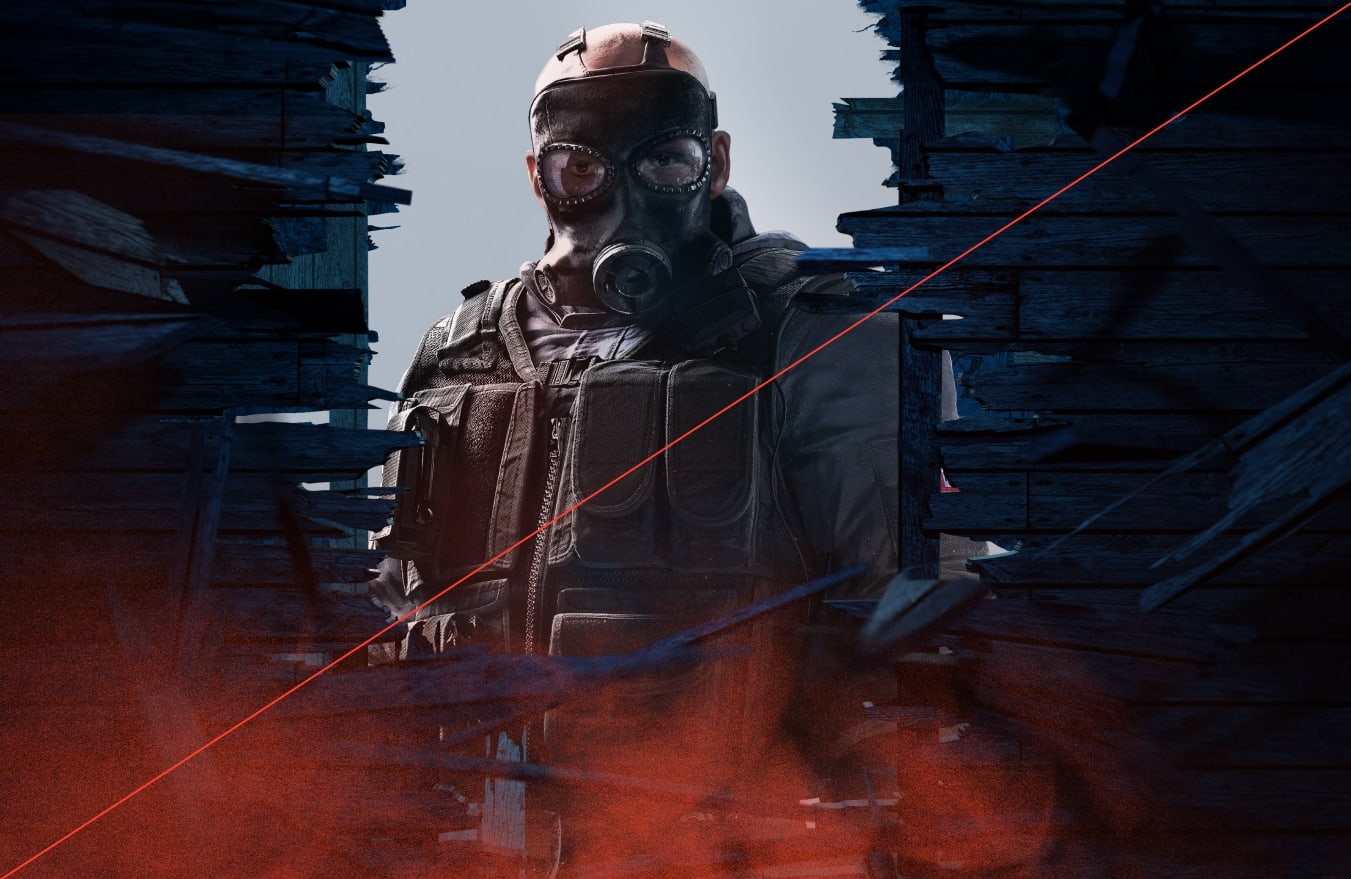
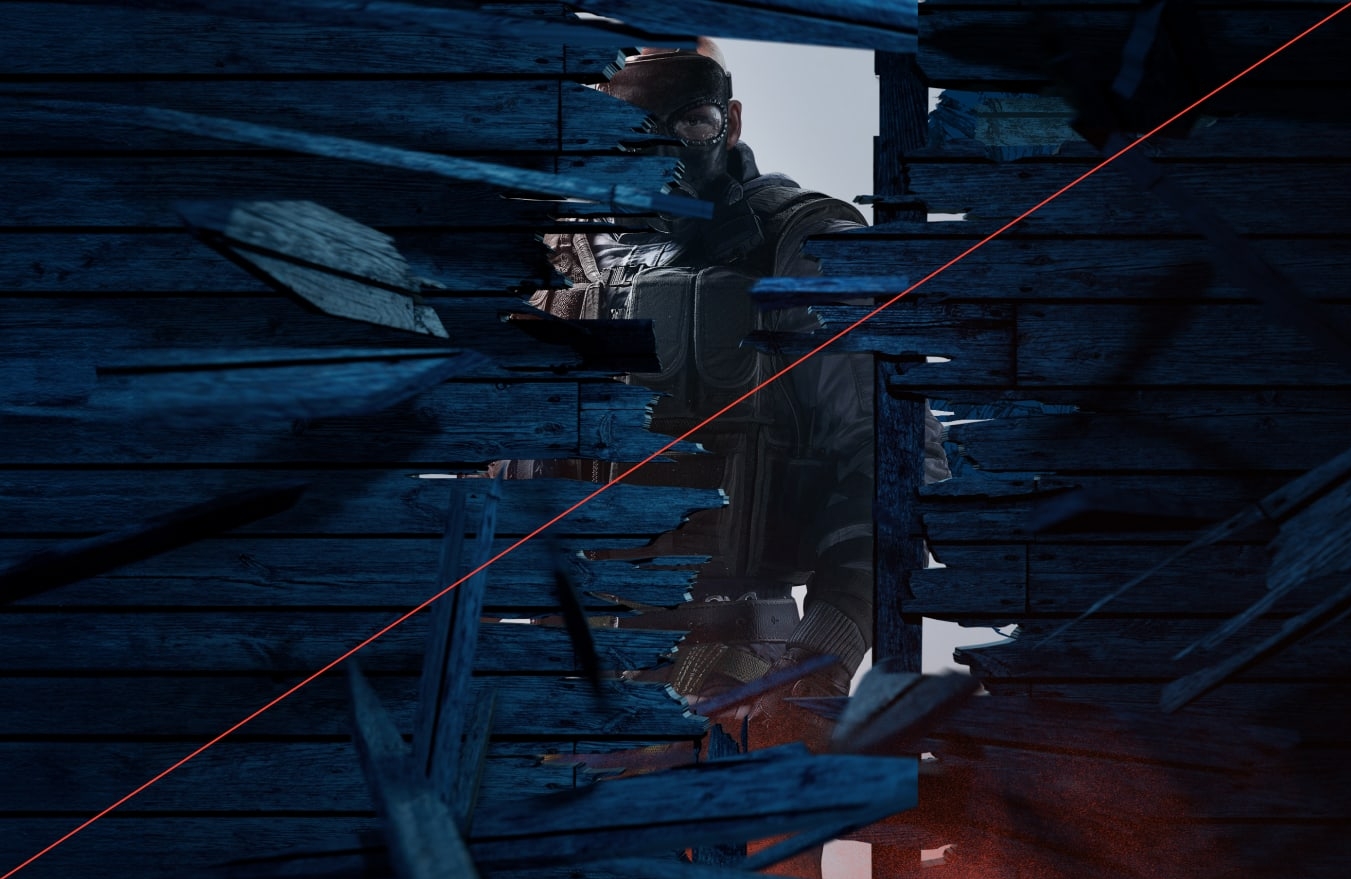
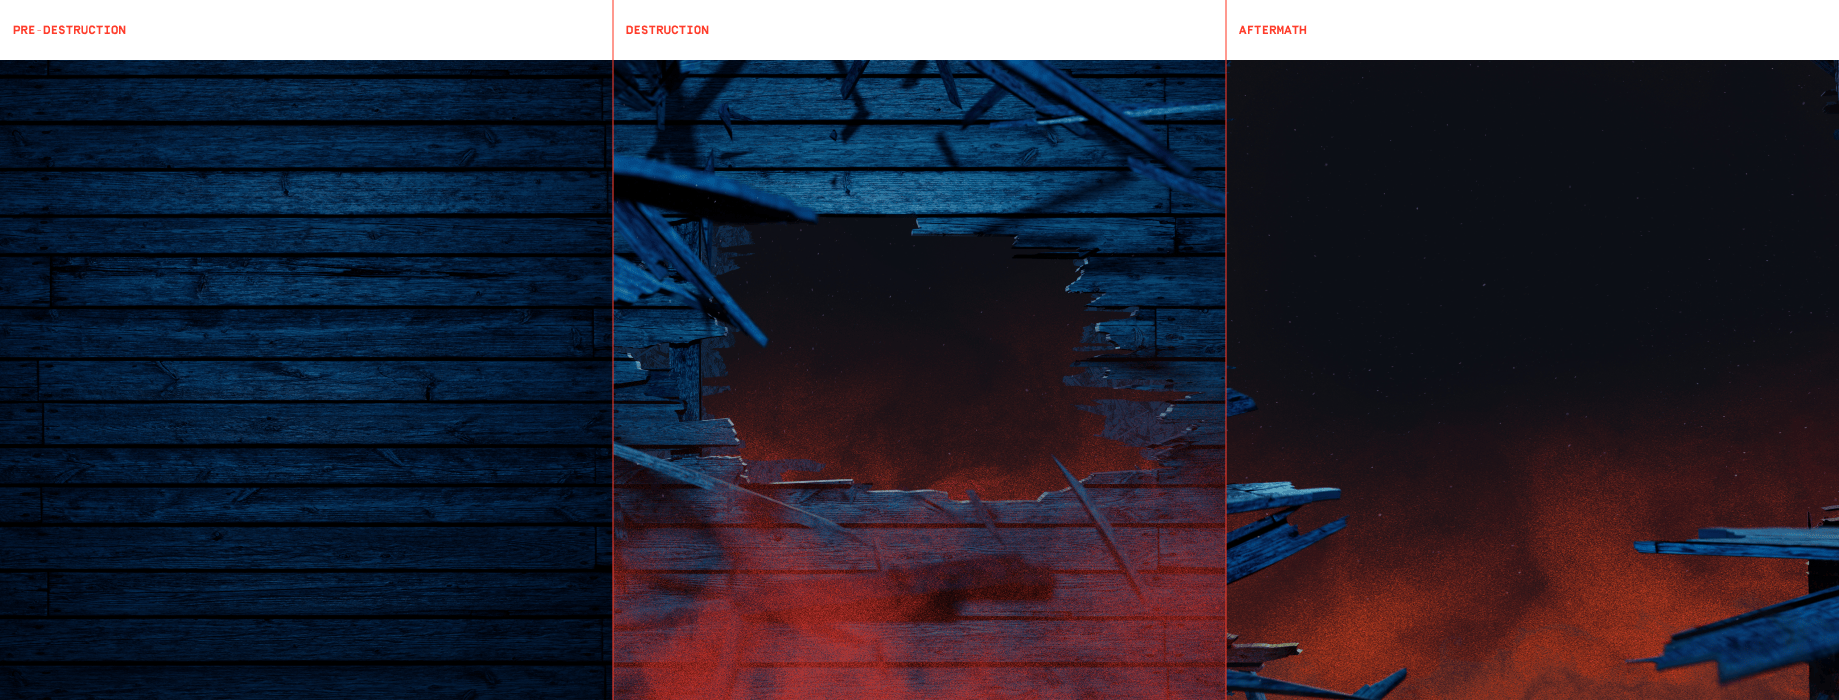
Our Destruction world comprises of three distinct modes. Pre-Destruction sets the stage, capturing the calm before the match. Destruction embodies the intense clash between the forces of attack and
defence. Aftermath marks the final stage, revealing the endgame and outcome of the battle.
Please visit our Downloads Centre to access all Destruction assets.
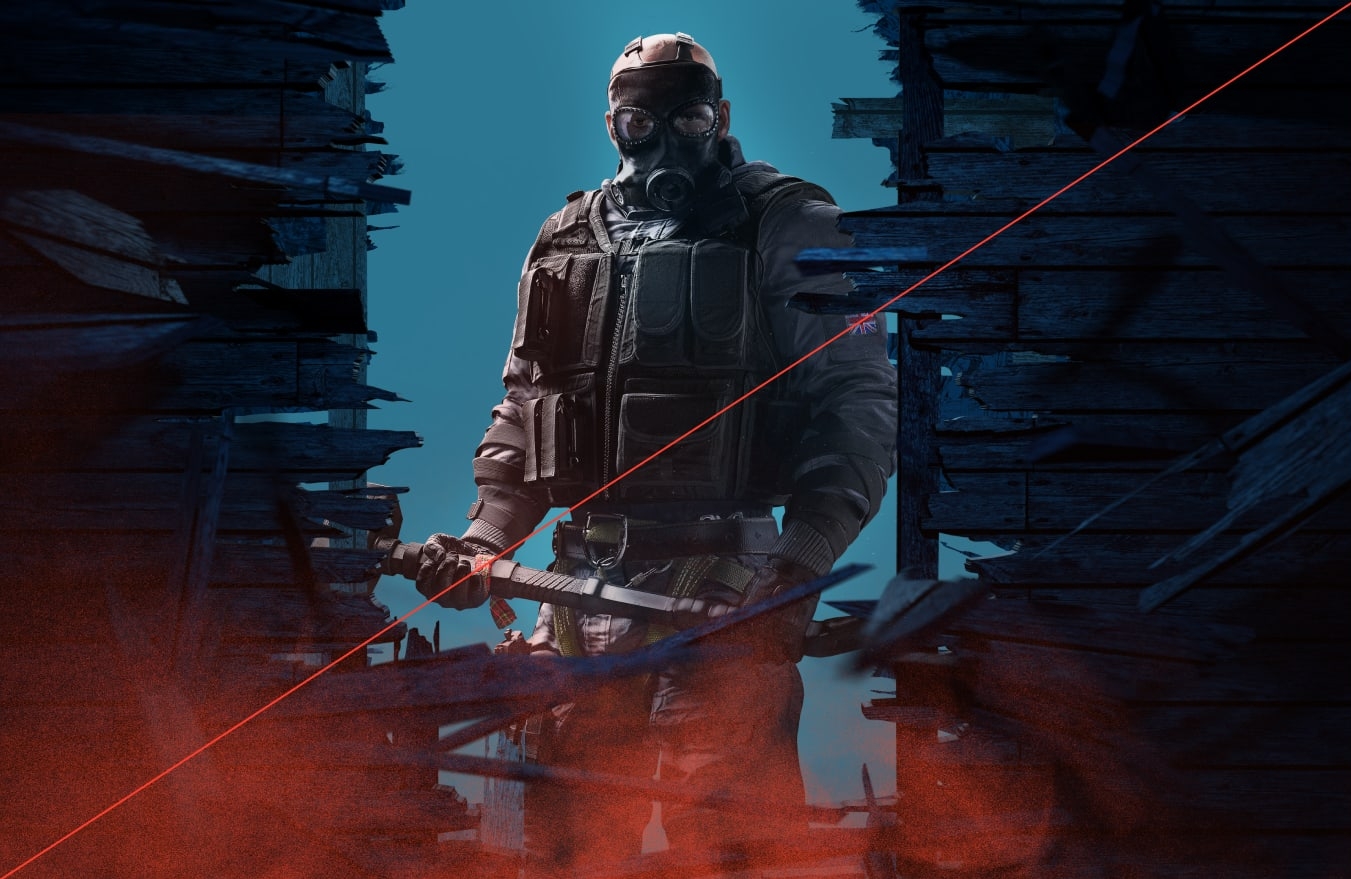
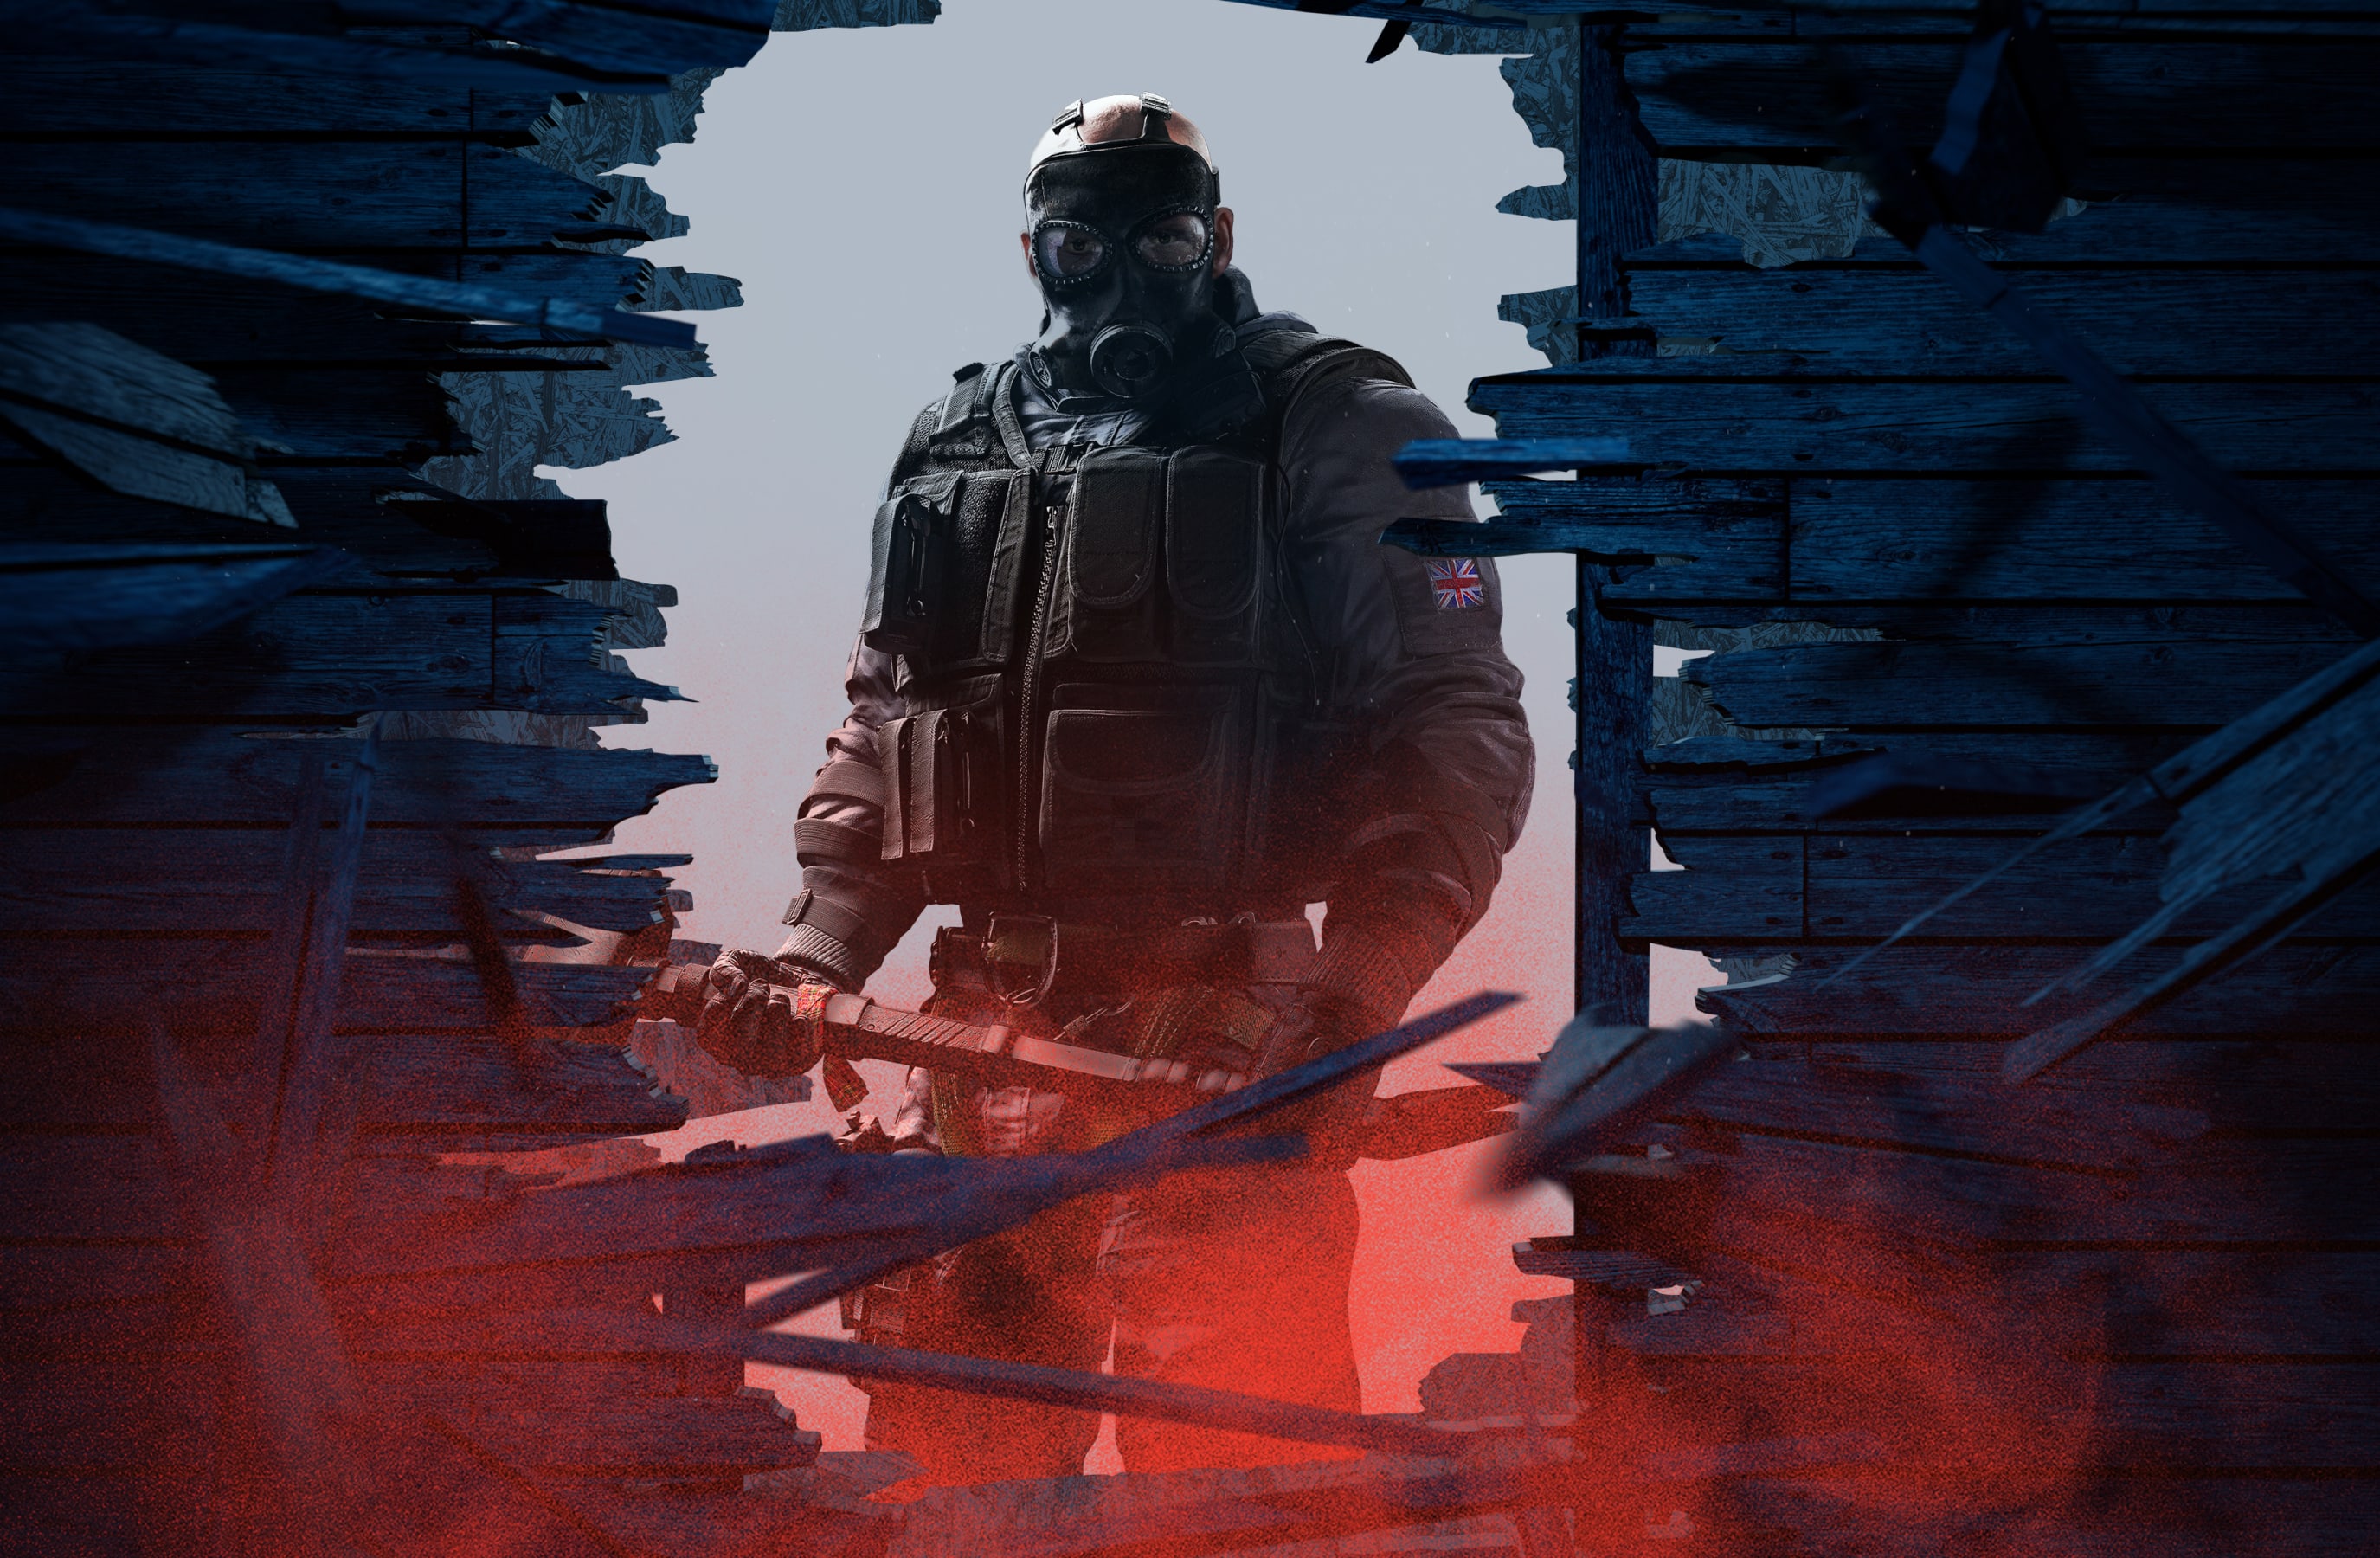
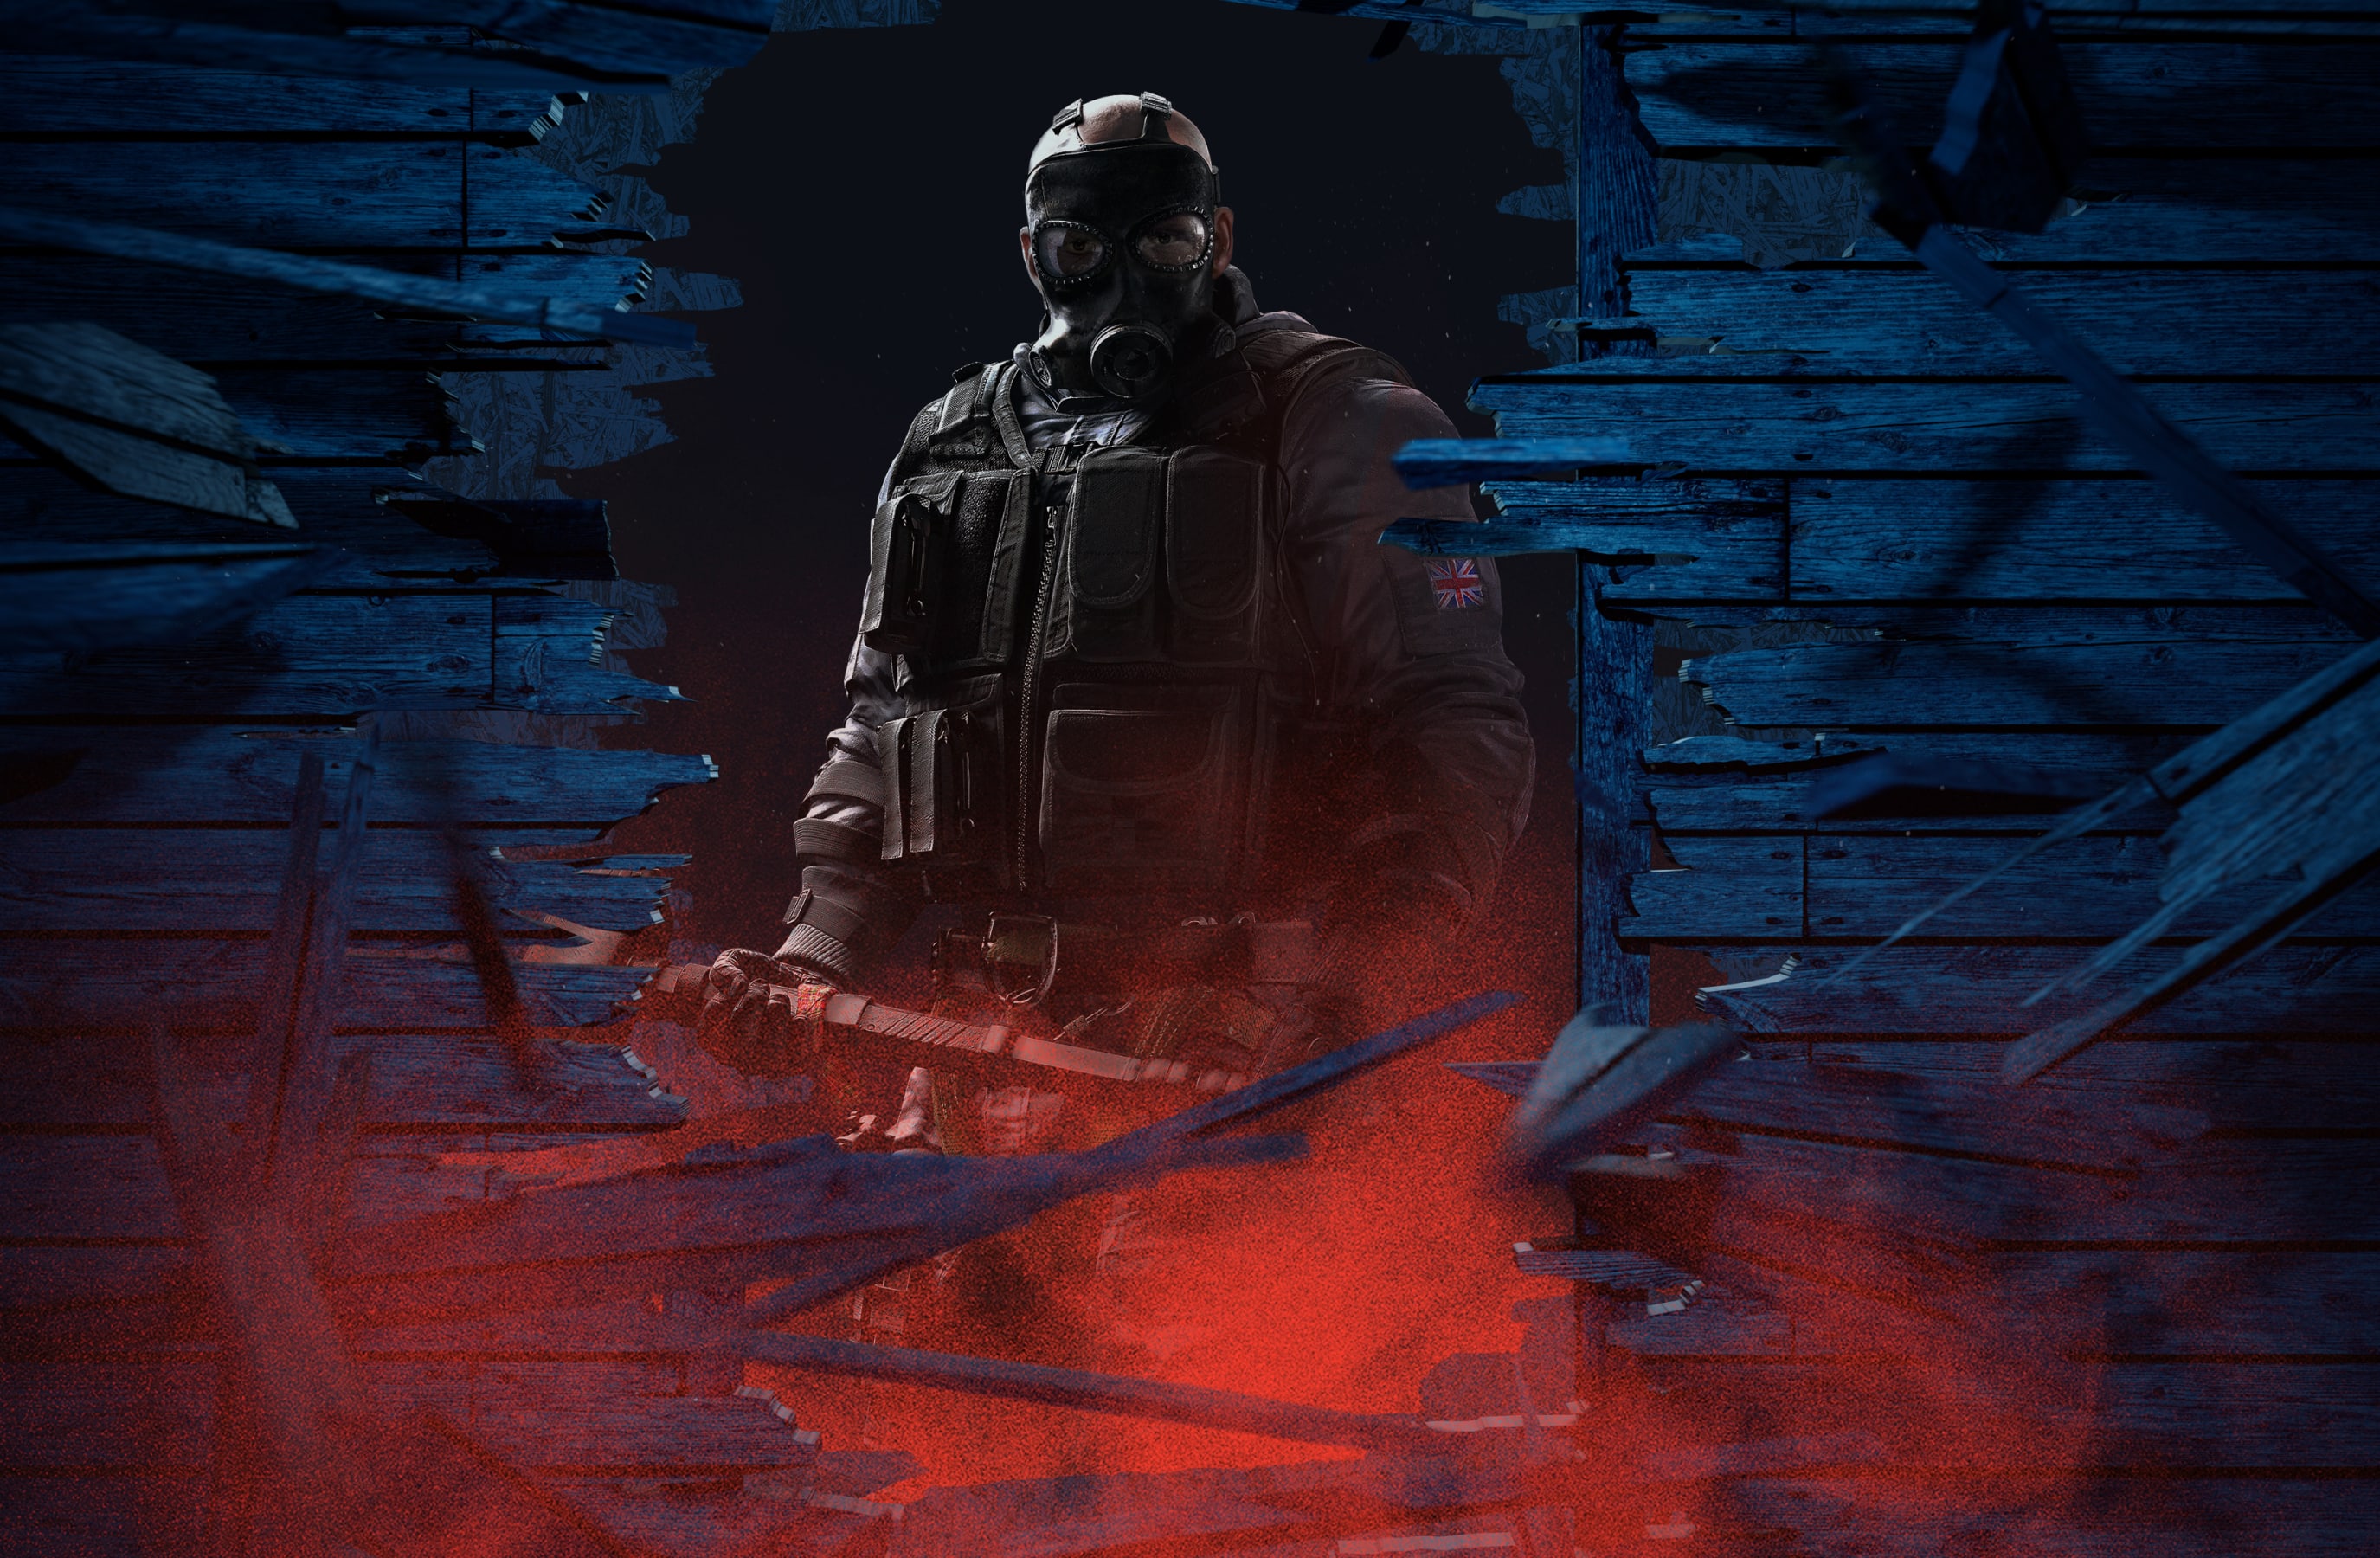
We have two variations to our Destruction scenes. Dark Mode is used for when operators are defending the environment. Light Mode reflects when an operator is breaching and attacking the environment.
Please visit our Downloads Centre to access all Destruction assets.
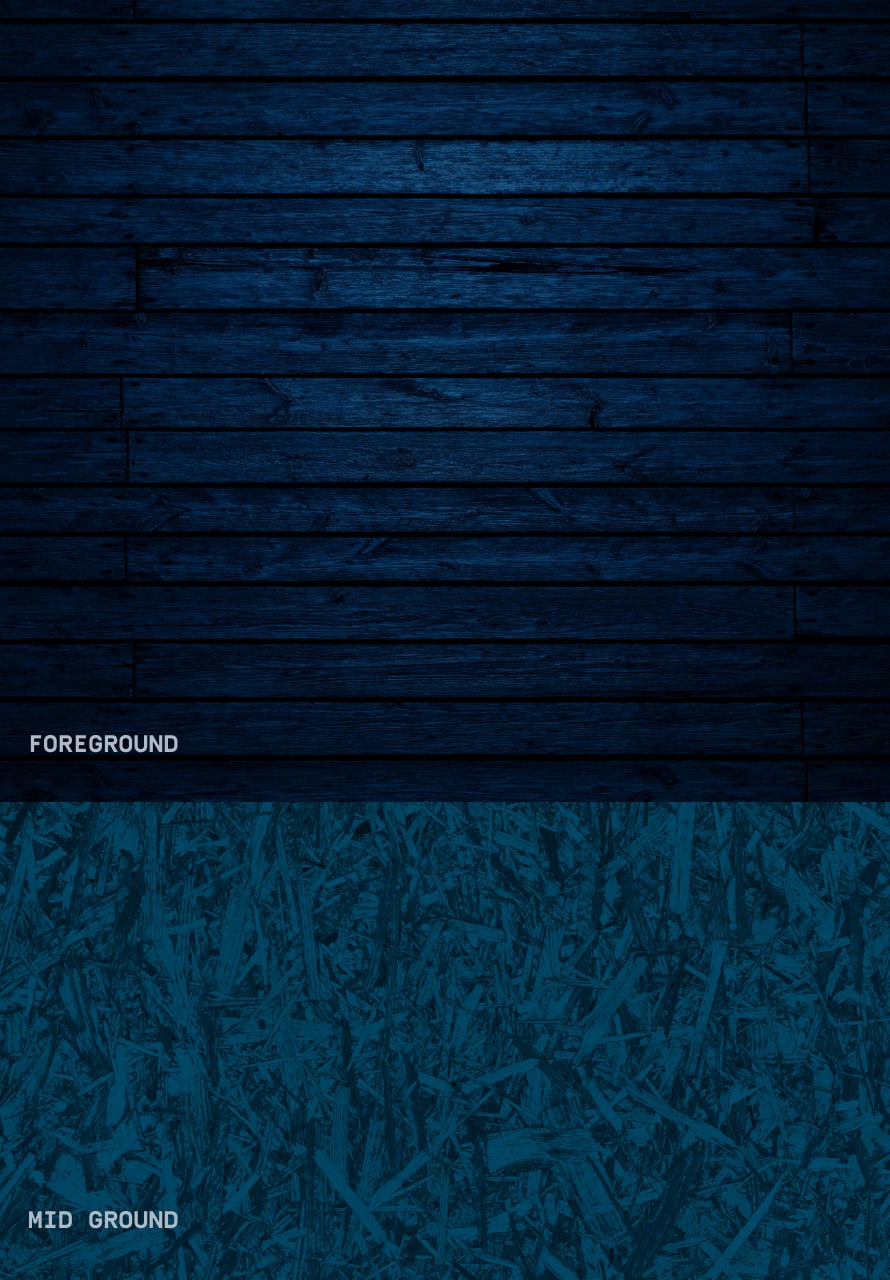
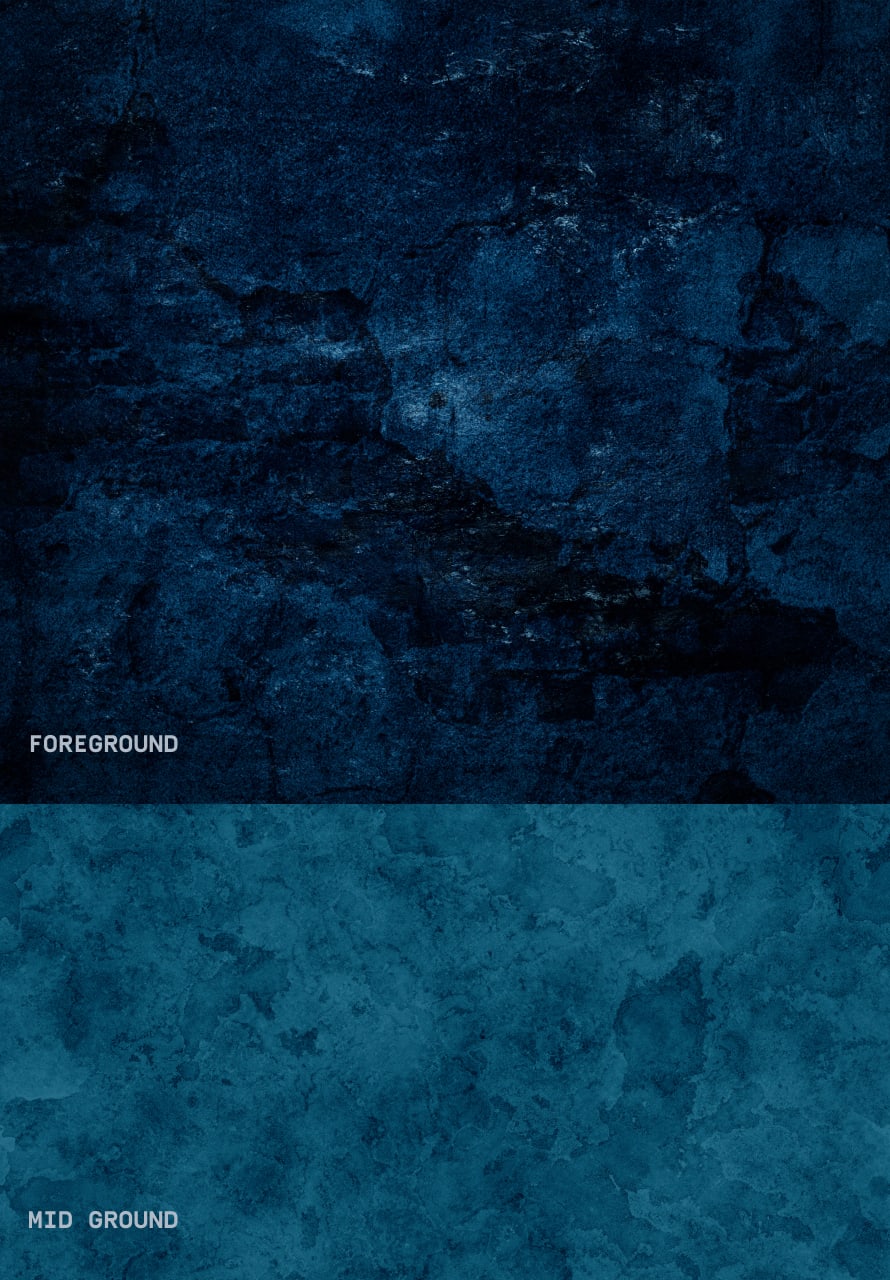
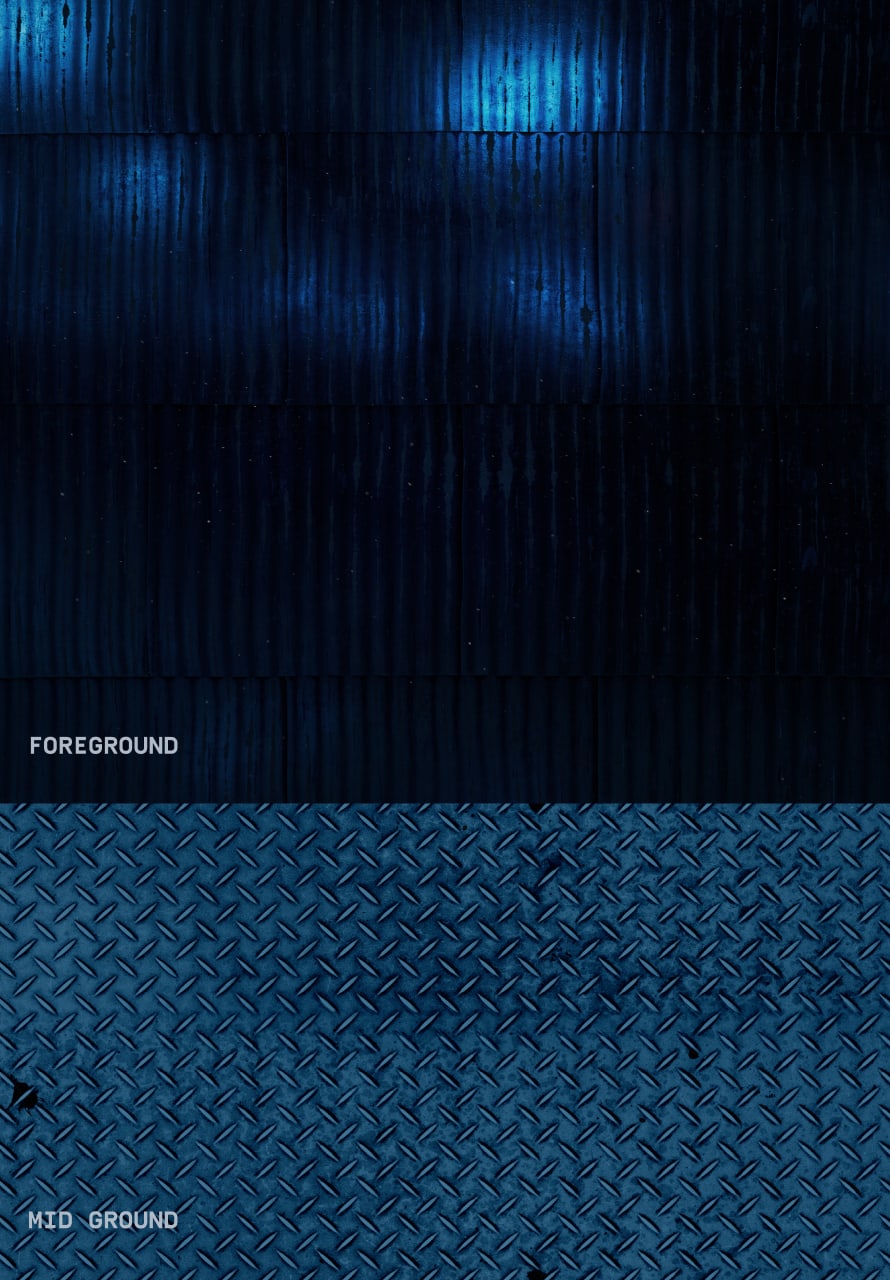
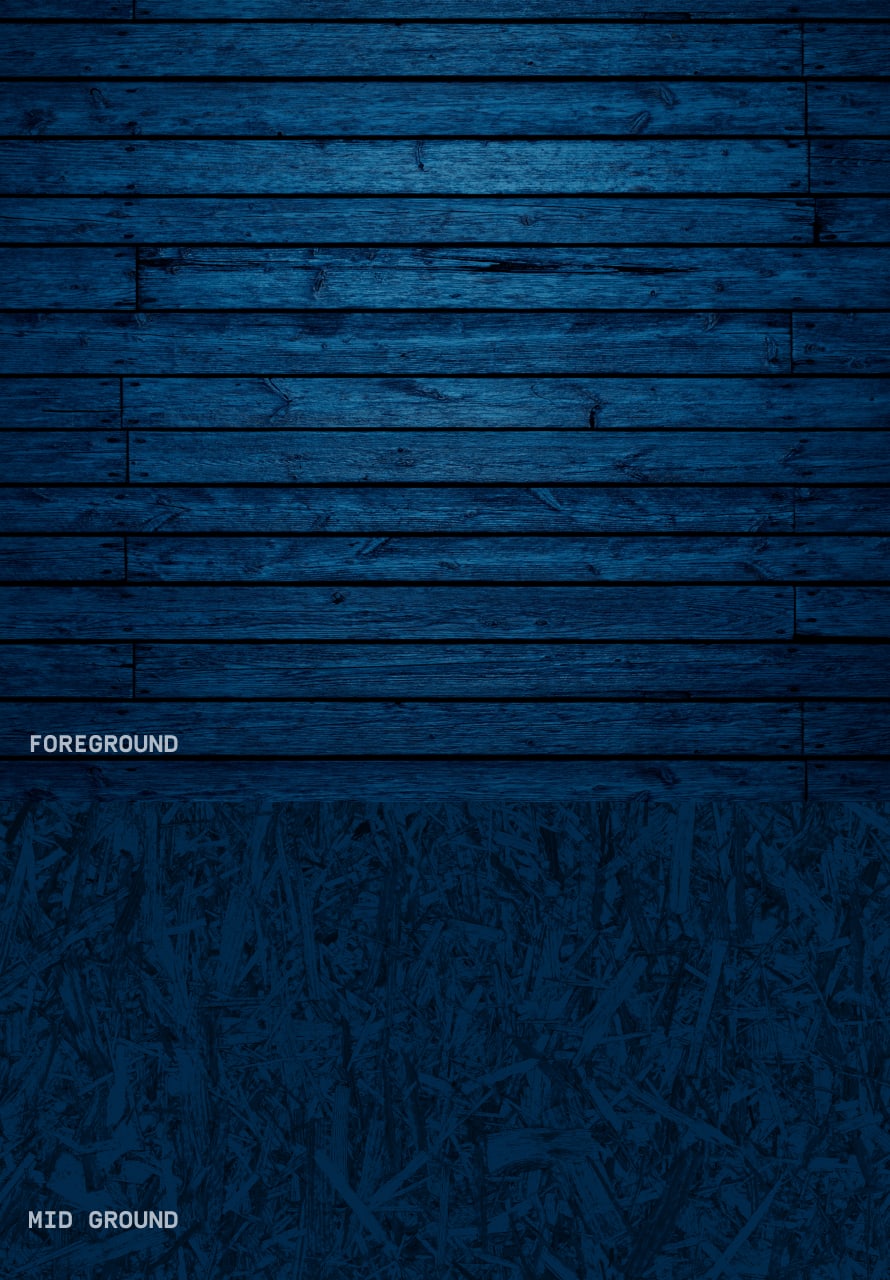
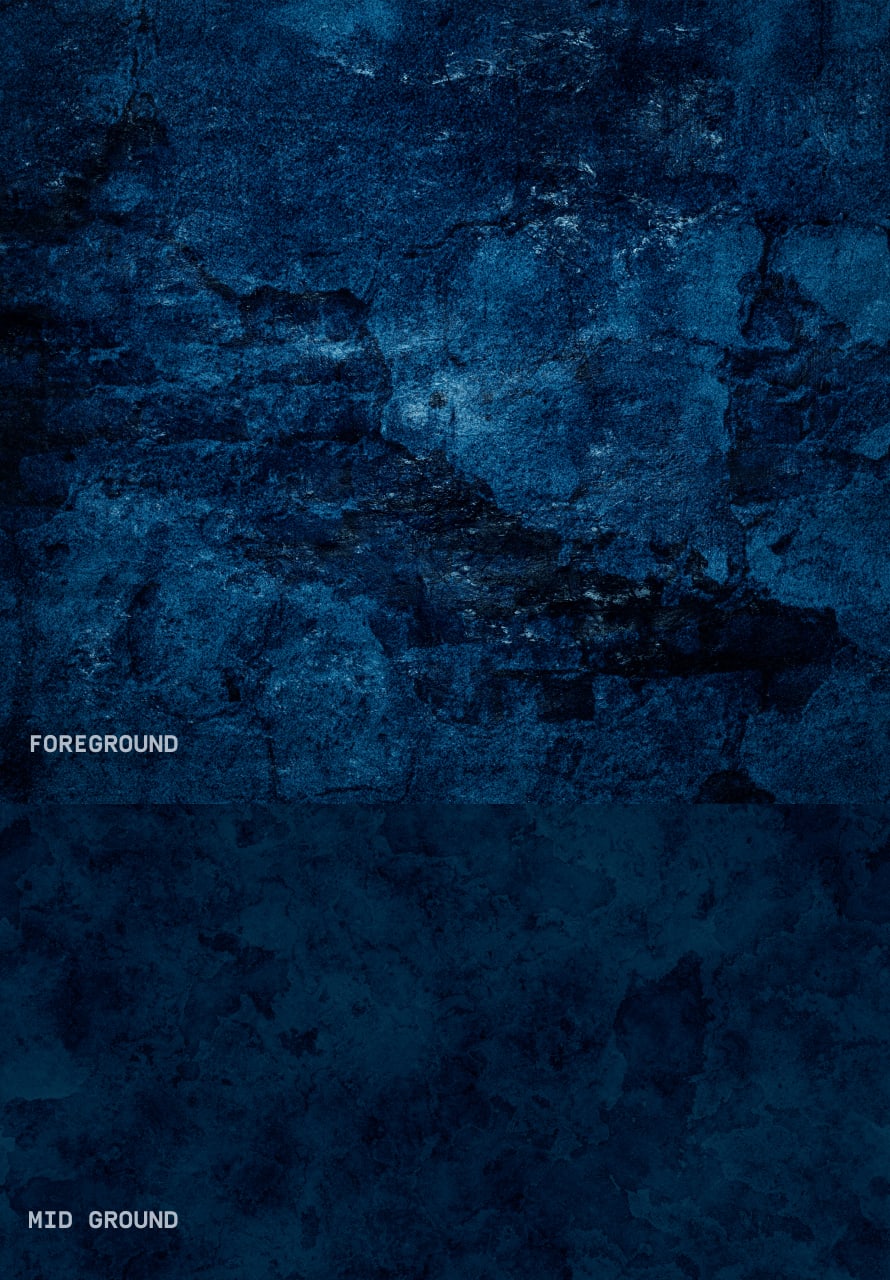
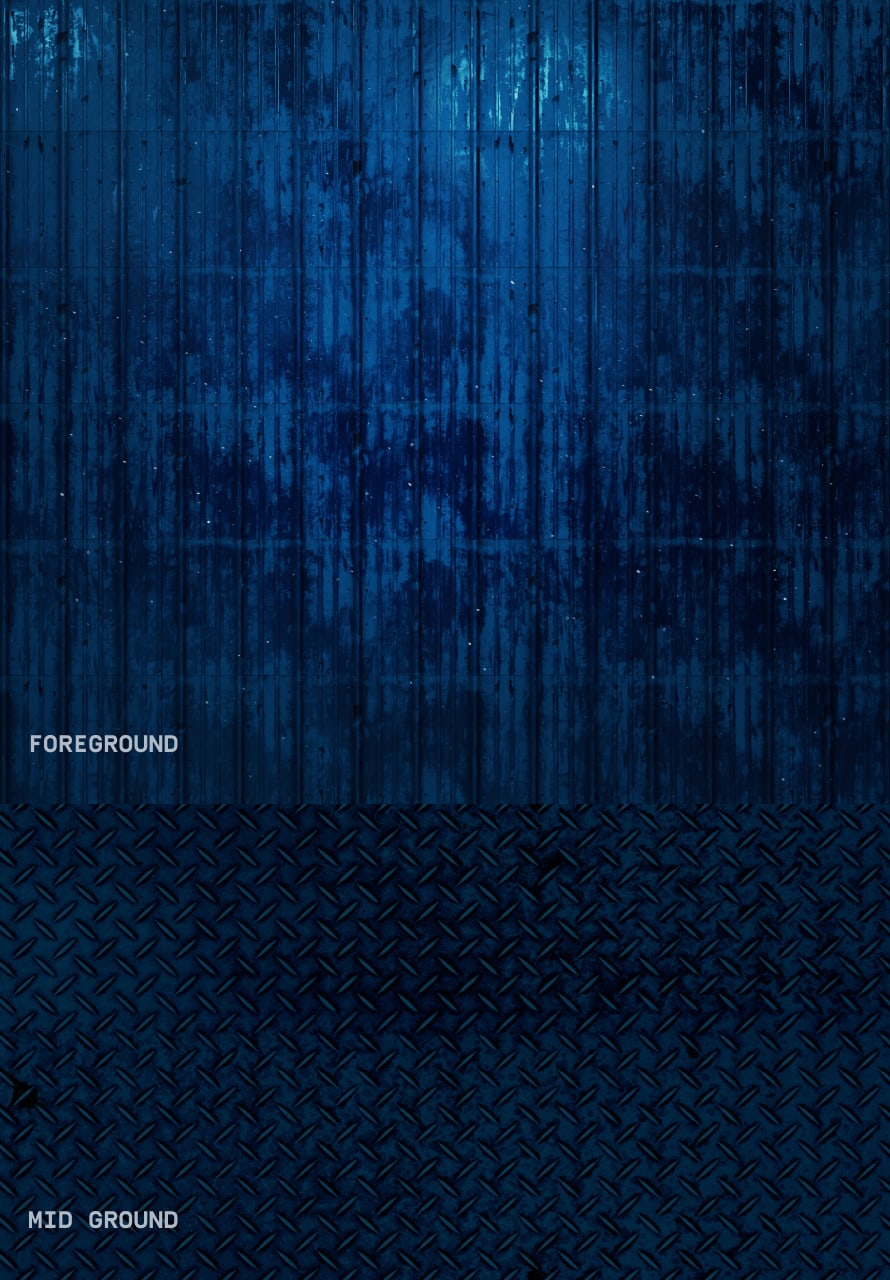
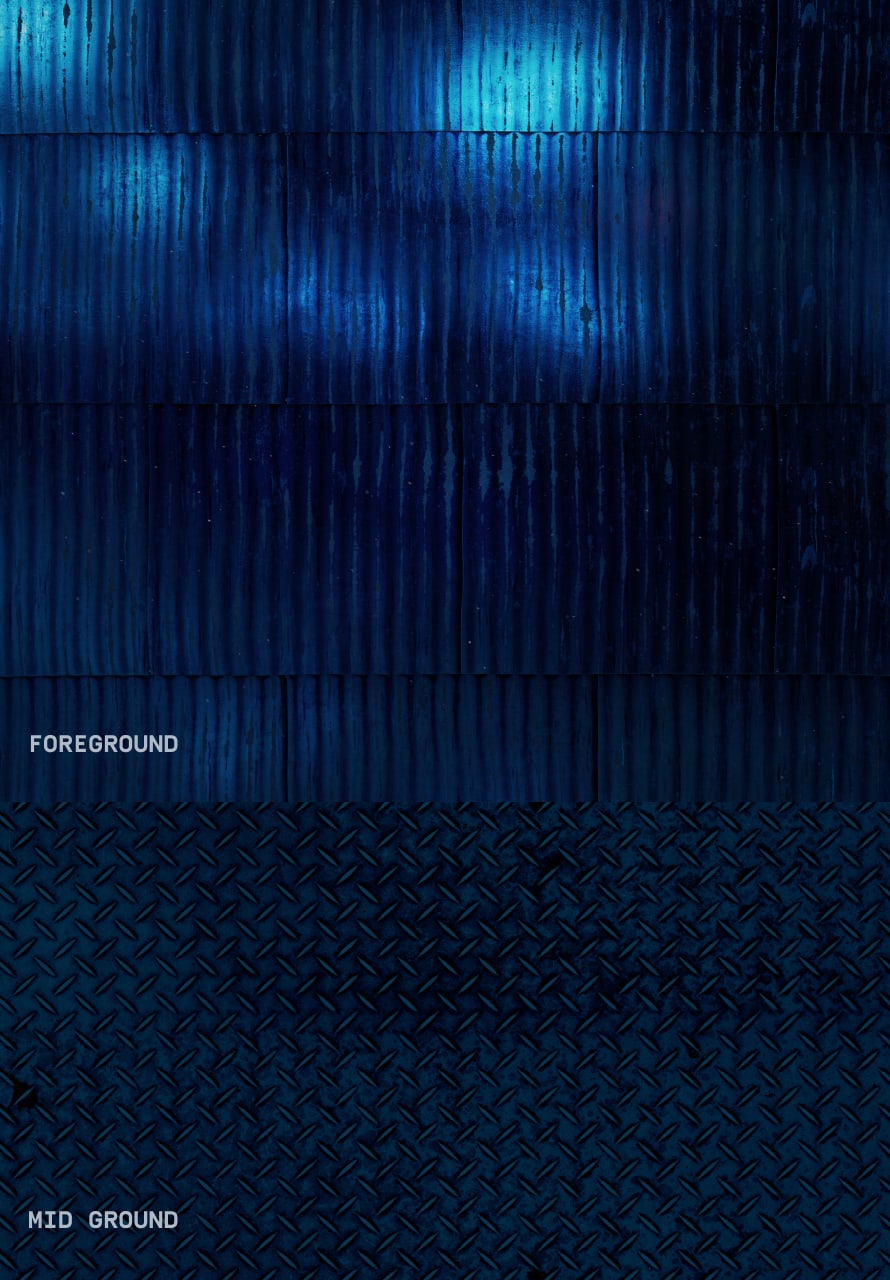
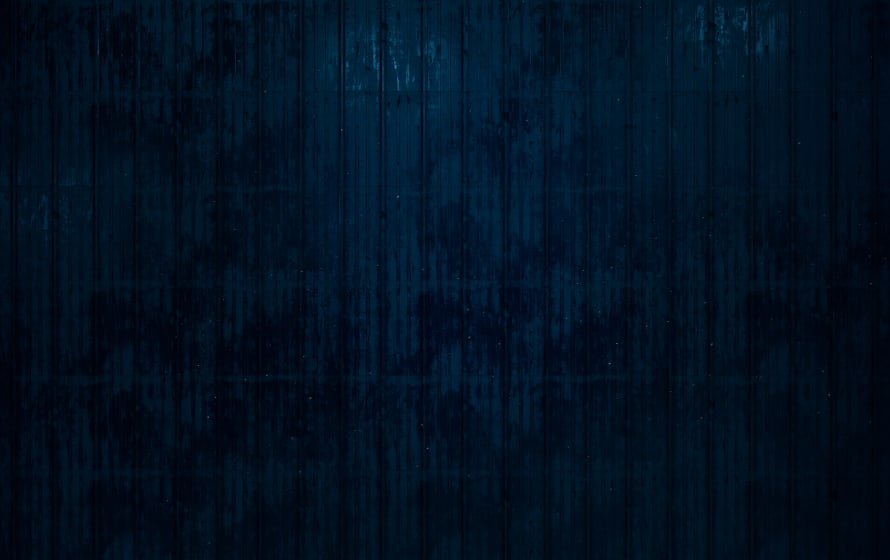
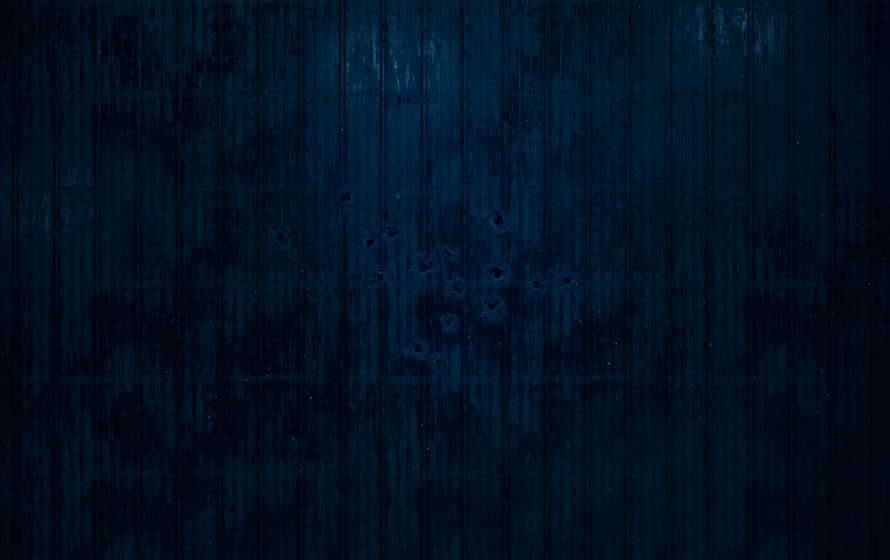
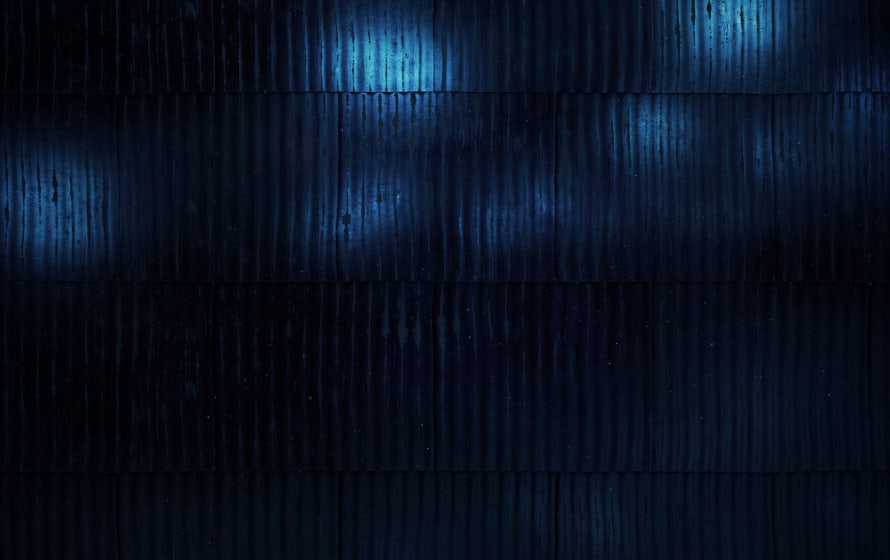
Our Destruction assets are crafted from four distinct textures: Wood, Concrete, Steel, and Iron, all integral to the environment of Siege. Each textural world features both Foreground and Midground variations,
lending richness to our compositions. Utilising Siege Dark and Light Blue enhances depth, while our Colour Theory principles inform precise colour grading for these textures.
Wood
Concrete
Steel
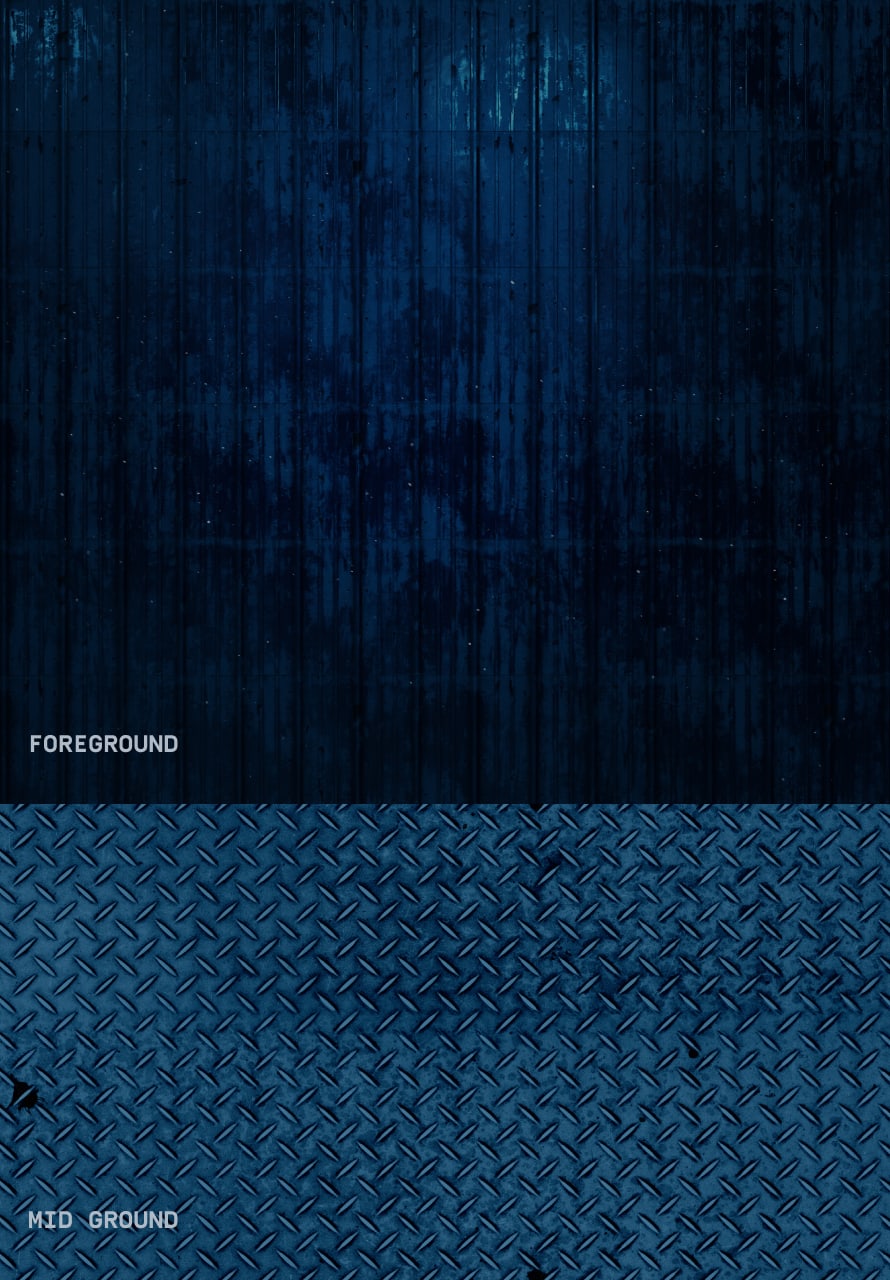
Iron
Wood
Concrete
Steel
Iron
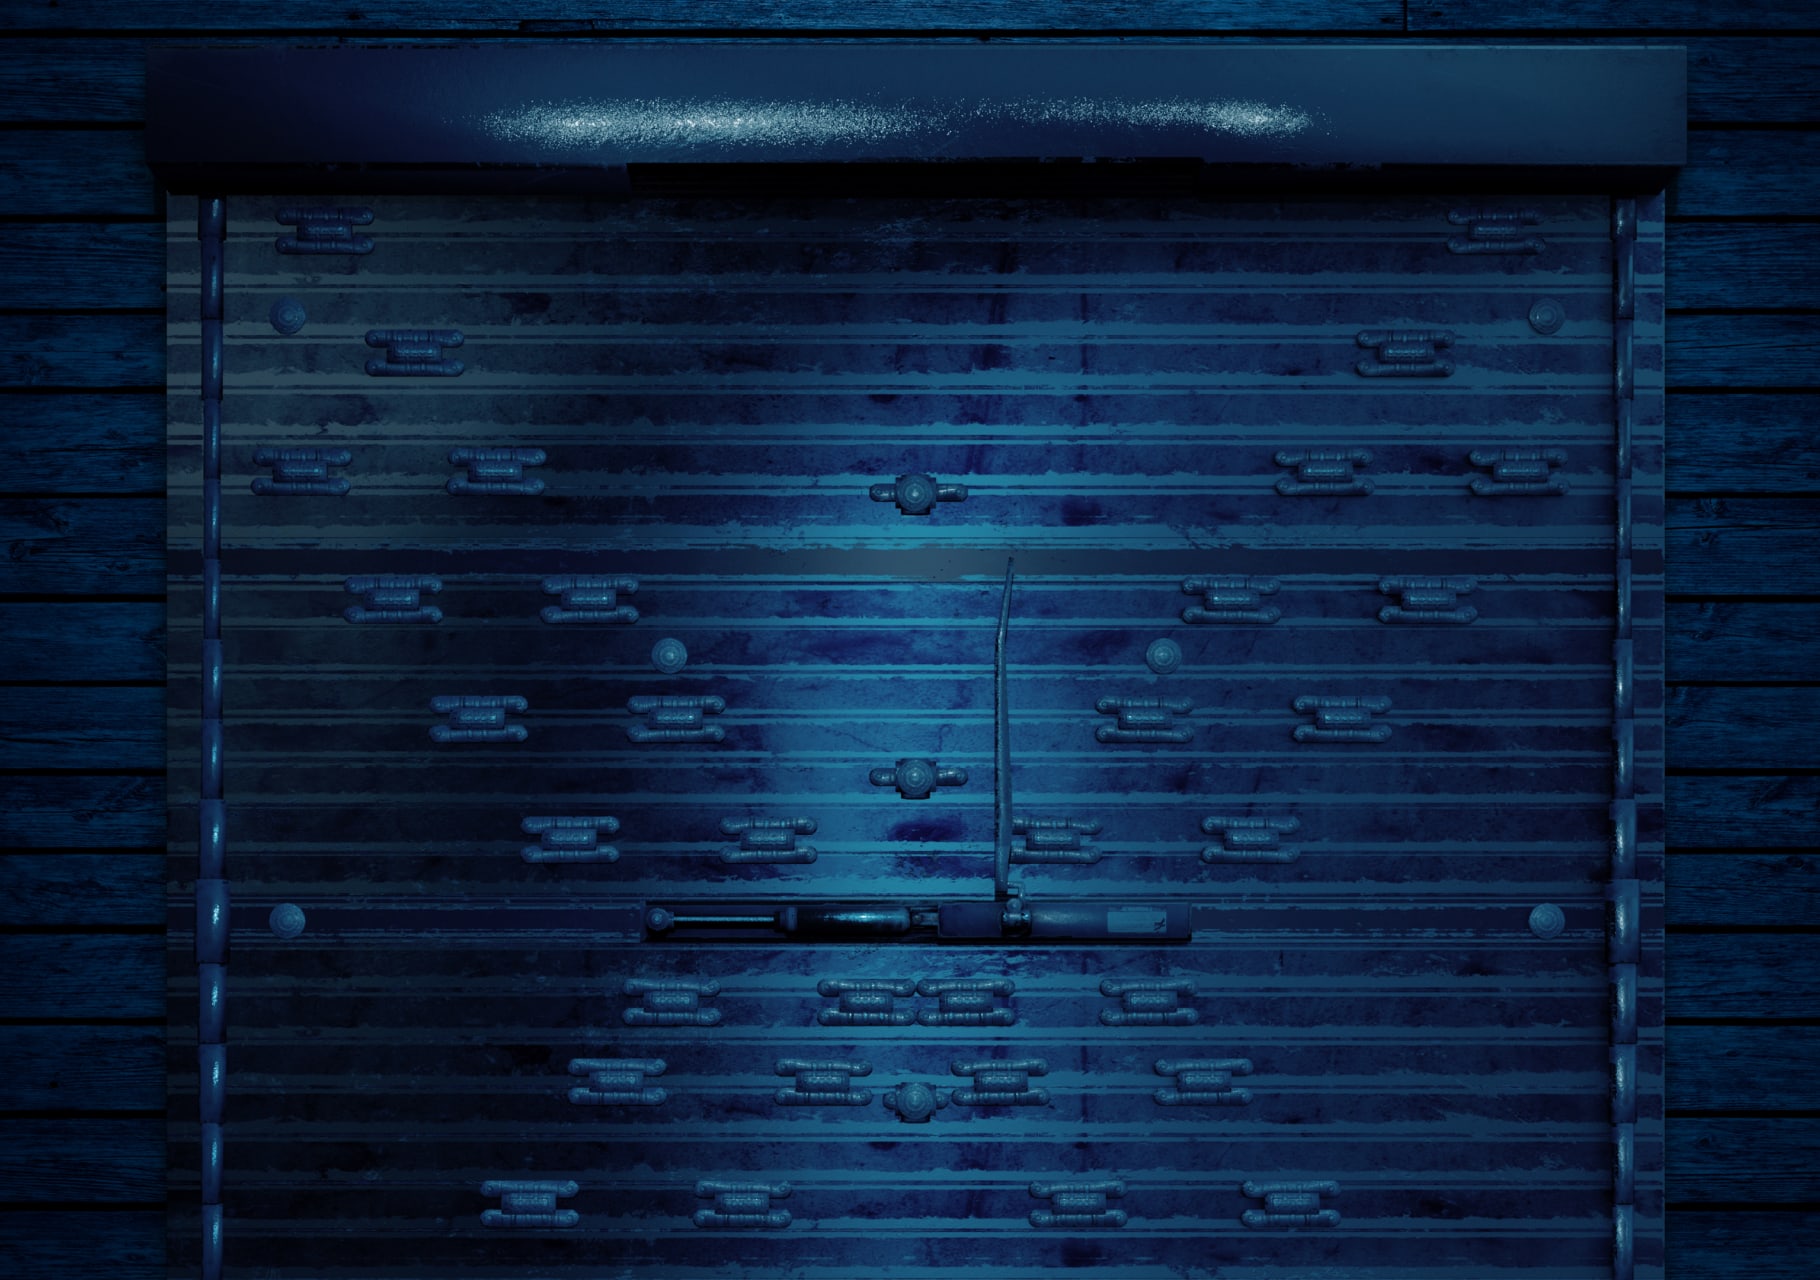
We have two special variations of our Wood texture where we can add a Barricade and Reinforcement defensive structure. These should only live on Wood and not on any other texture/material.
Please visit our Downloads Centre to access all Destruction assets.
Barricade

Reinforcement
Below showcases our Destruction Scale suite, illustrating the varying levels and intensities of destruction for each texture and material. The extent of damage inflicted depends on the cause
e.g. a Melee attack causes less destruction compared to a Breach Charge.
Please visit our Downloads Centre to access all Destruction assets.
undamaged

melee destruction
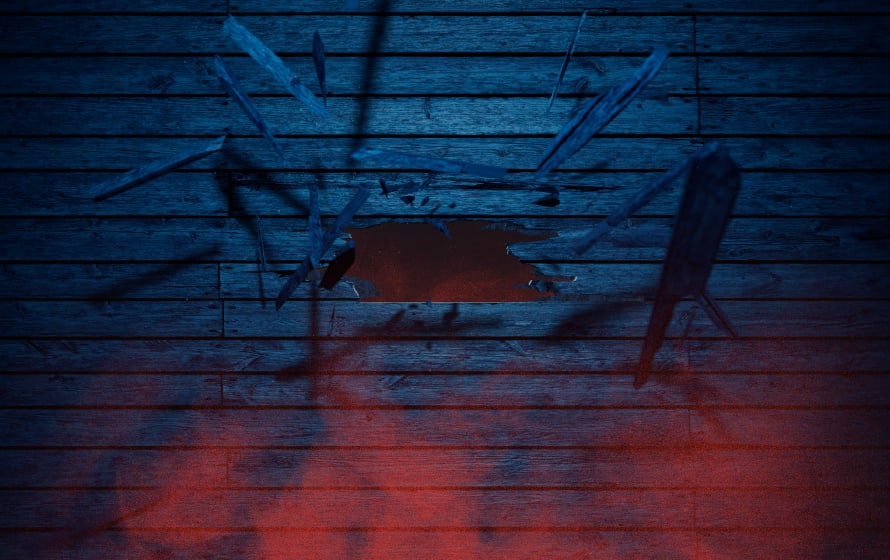
shotgun destruction
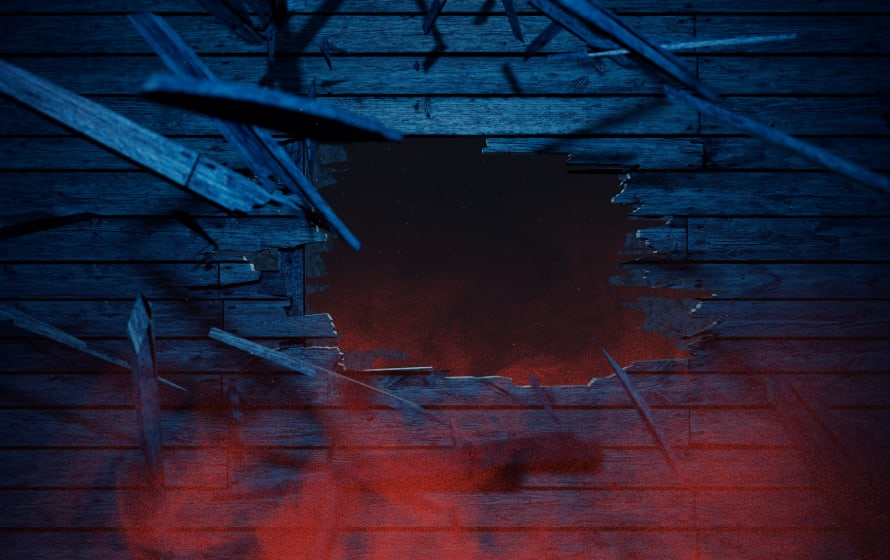
grenade destruction
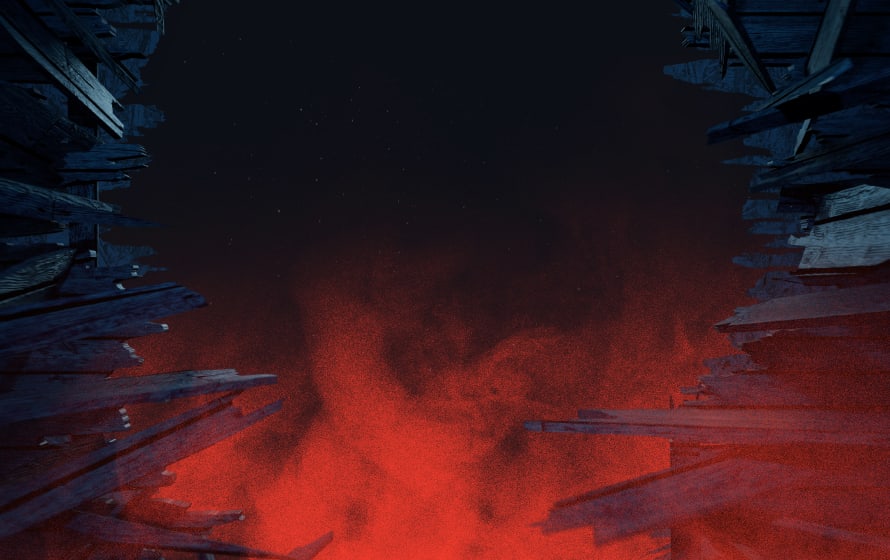
bullet destruction

strong melee destruction
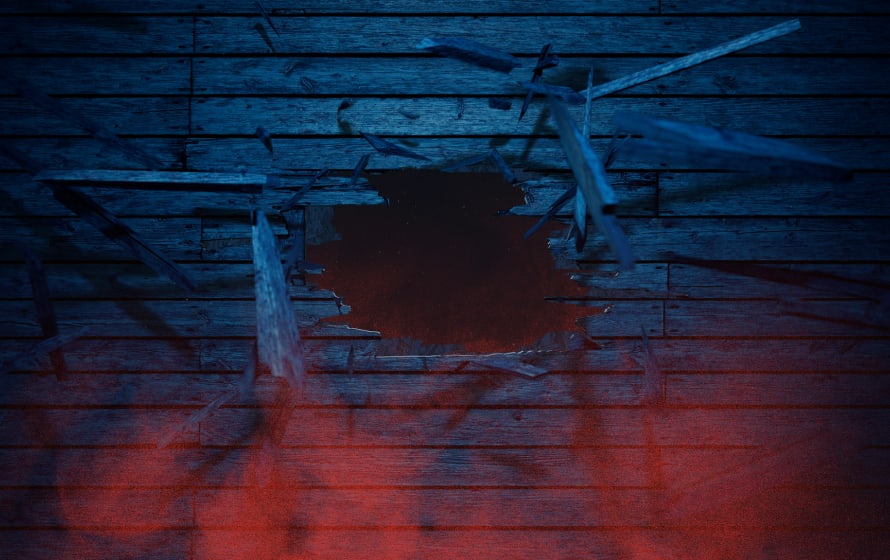
sledgehammer damage
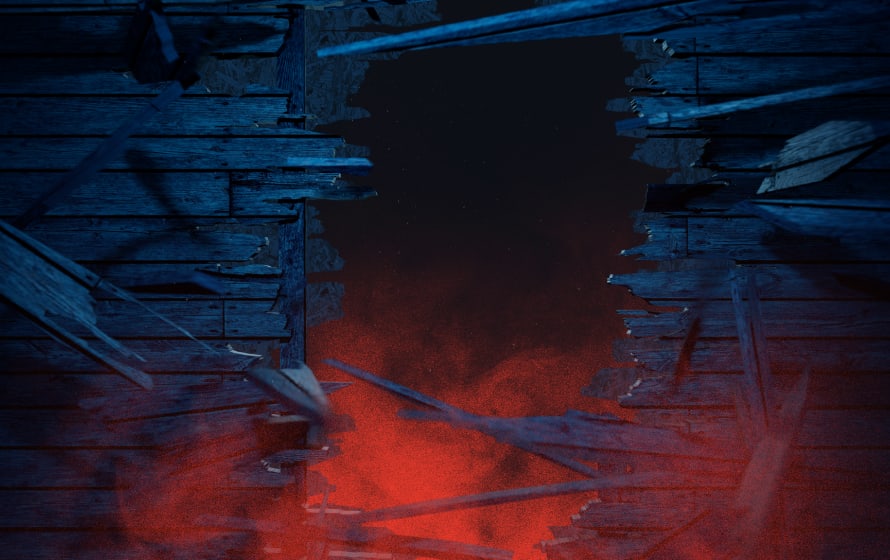
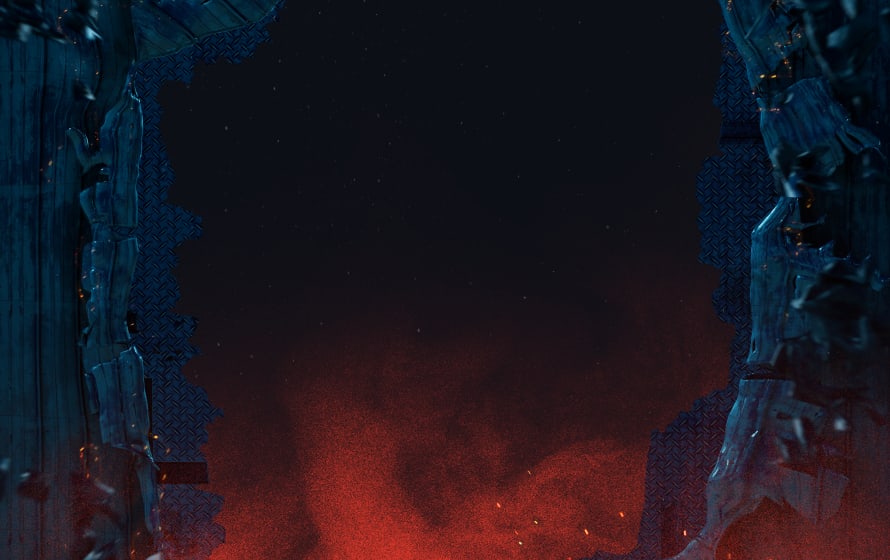
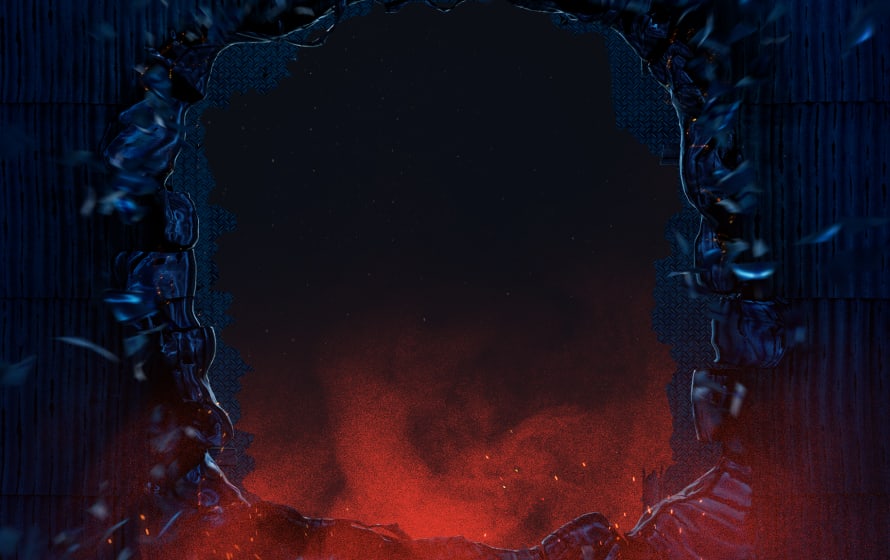
Breach charge destruction
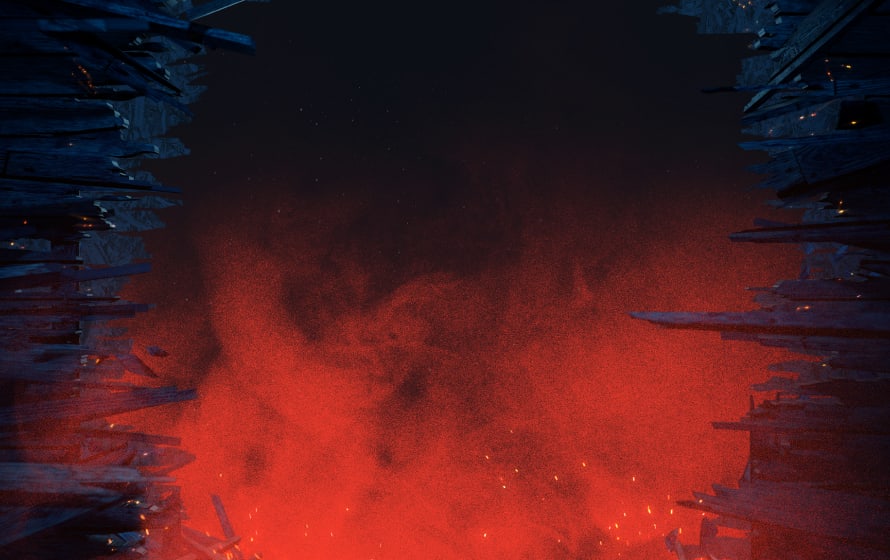
undamaged
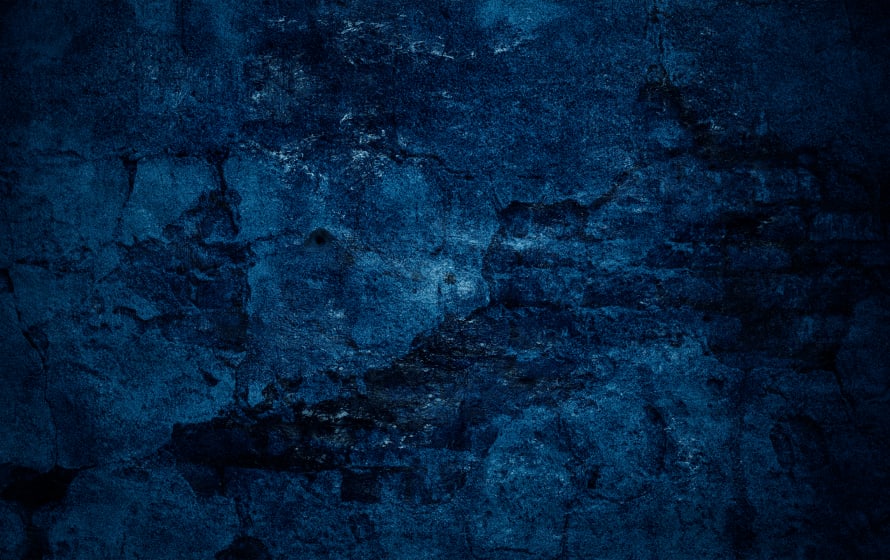
melee destruction
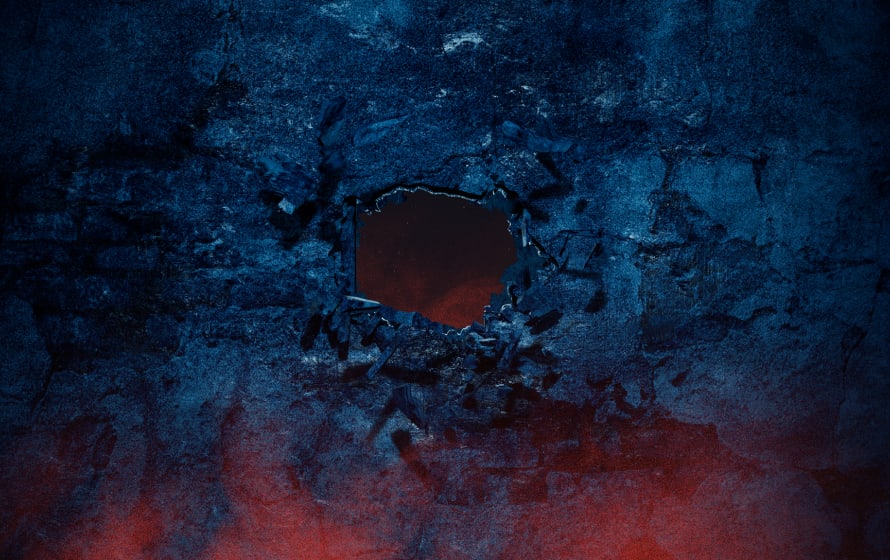
shotgun destruction
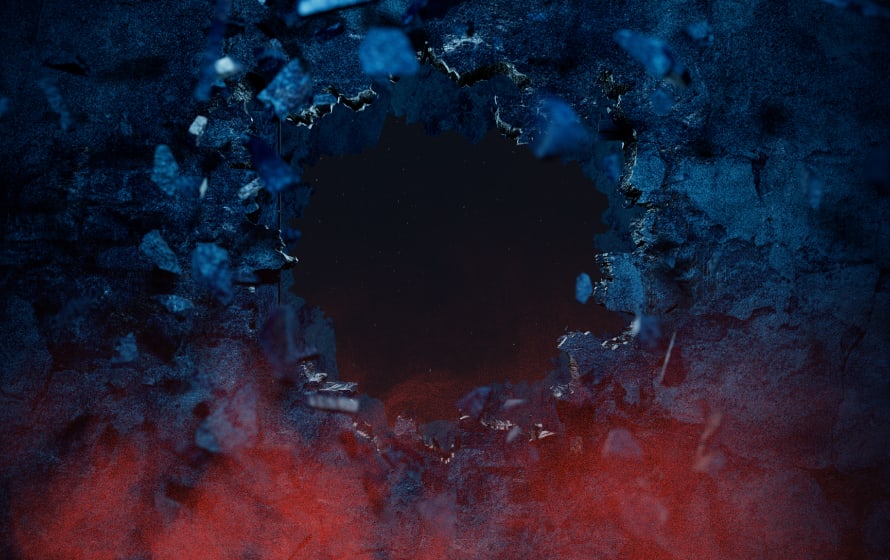
grenade destruction
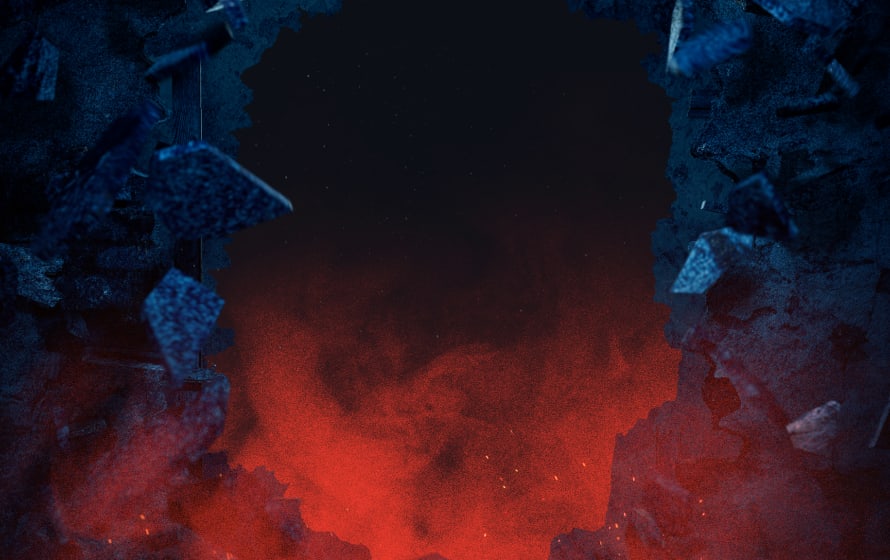
bullet destruction
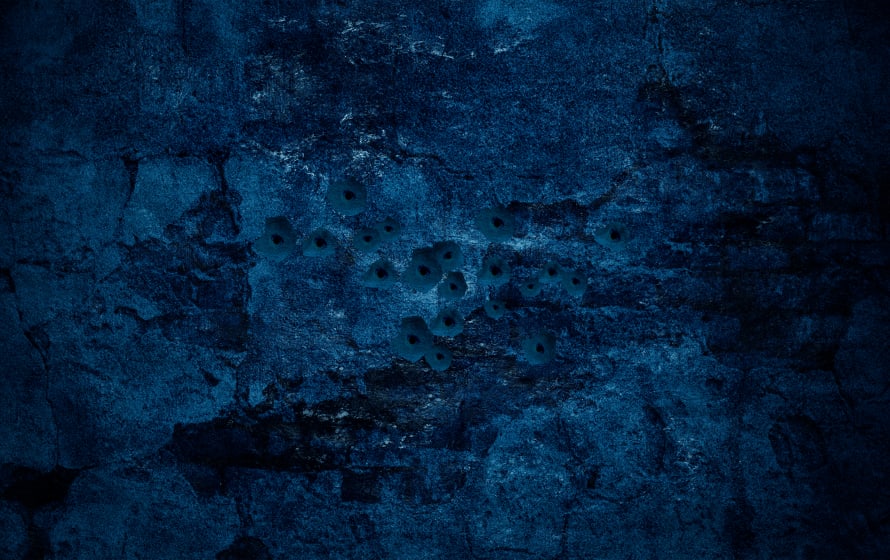
strong melee destruction
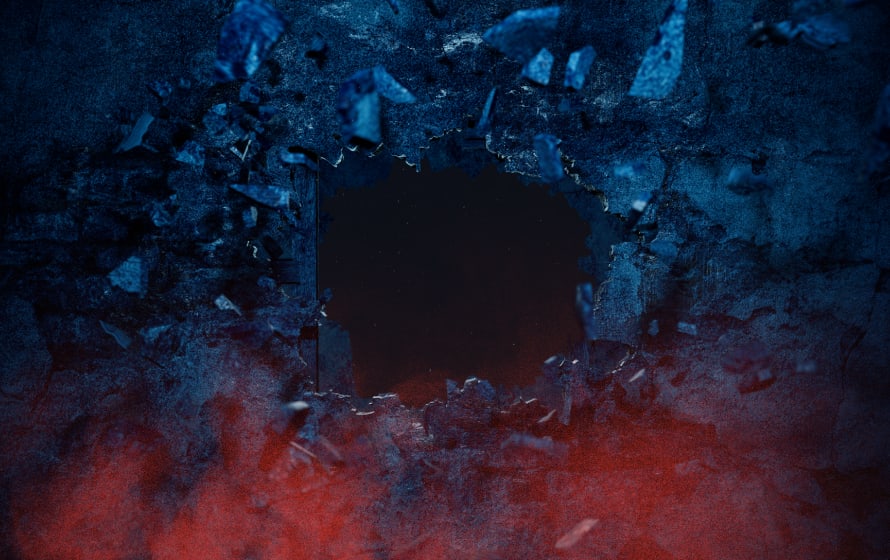
sledgehammer damage
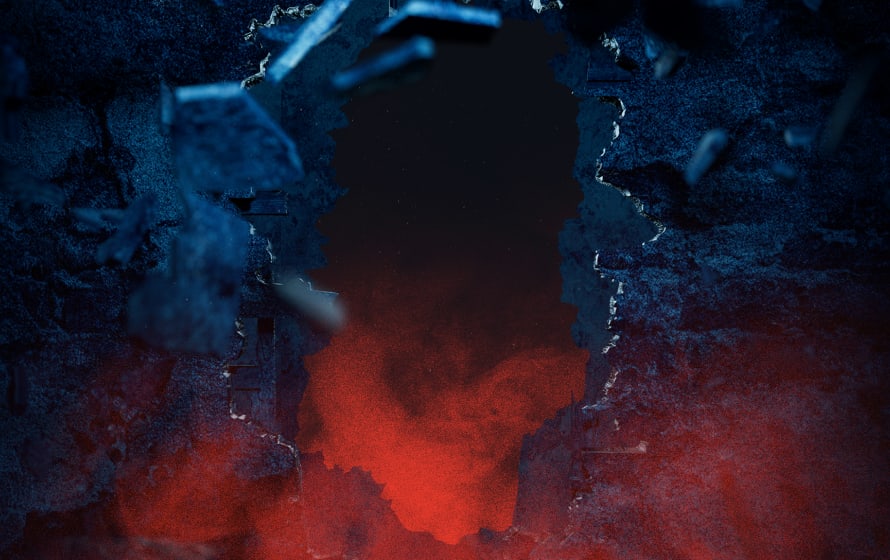
Breach charge destruction
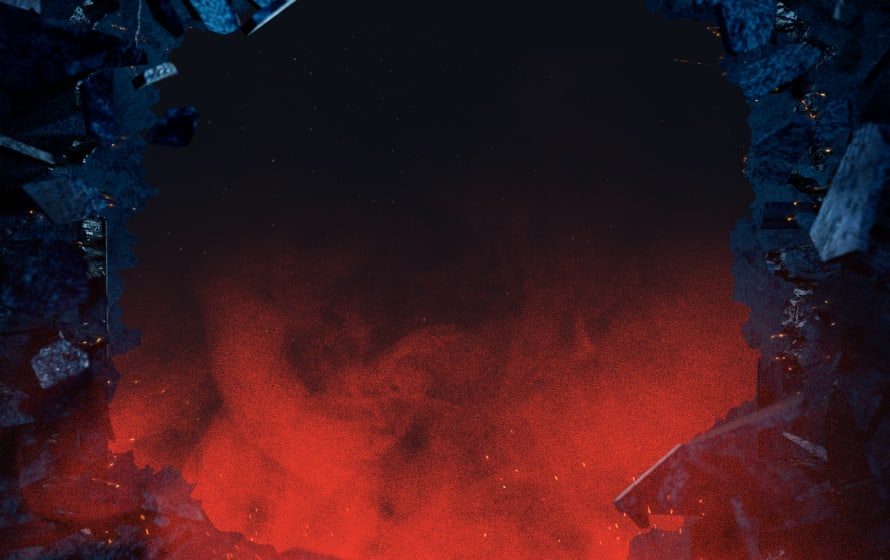
undamaged
grenade destruction
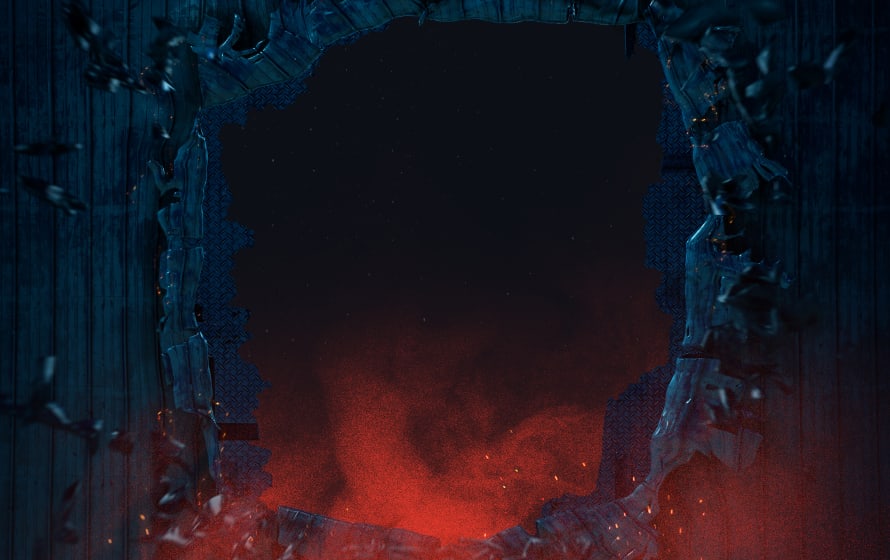
bullet destruction
Breach charge destruction
undamaged
grenade destruction
bullet destruction
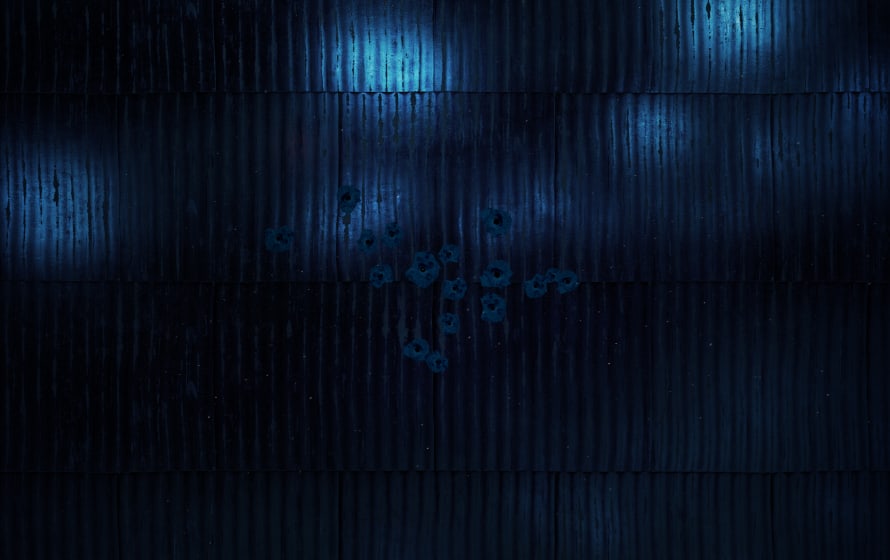
Breach charge destruction
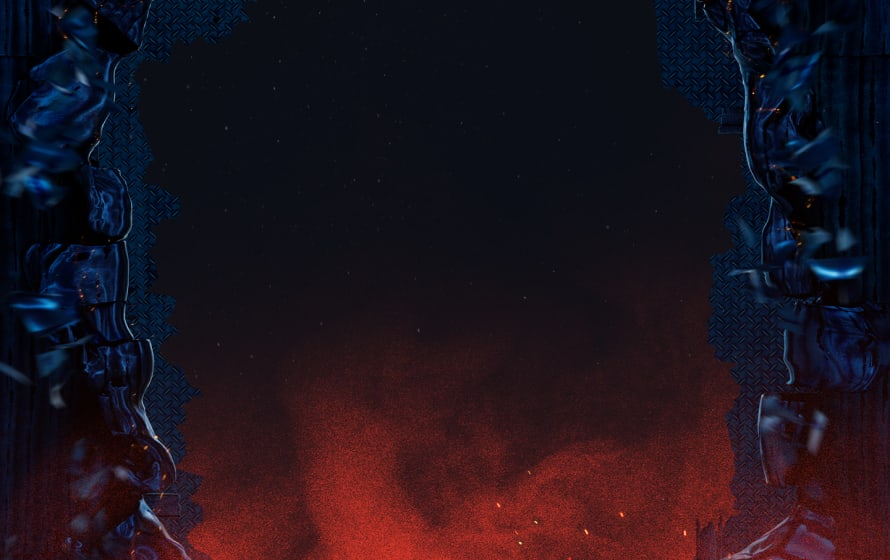
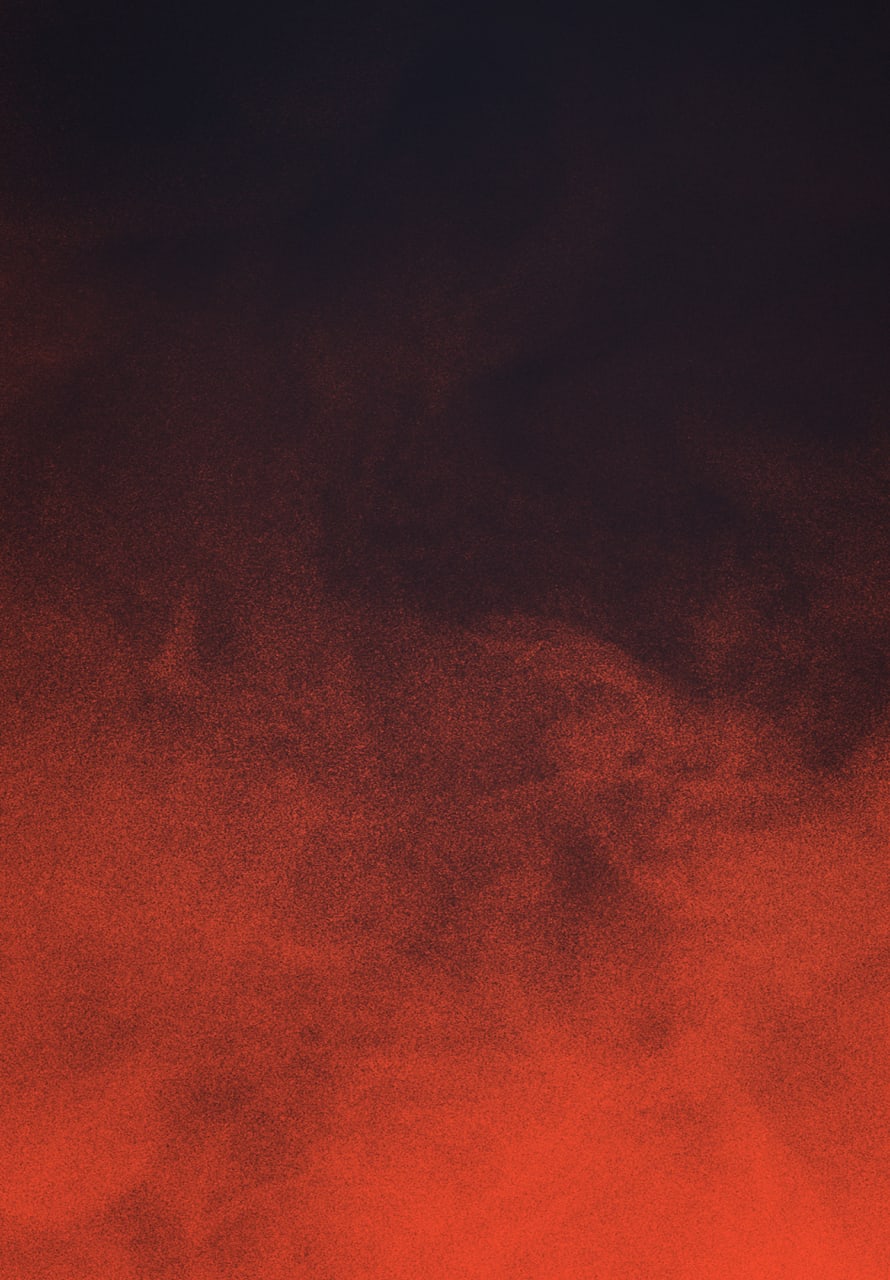
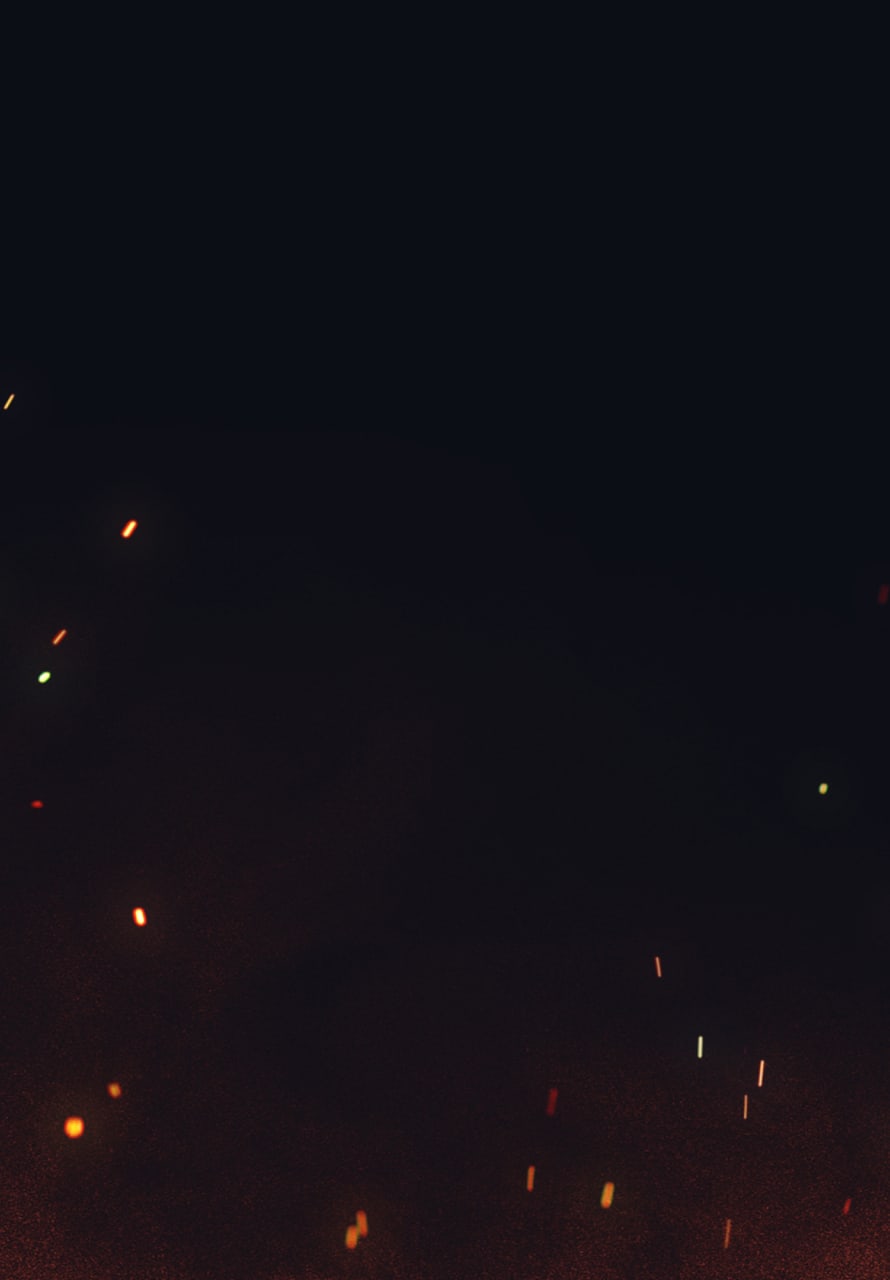
In all our Destruction scenes we use Atmosphere and Debris. These add depth and realism. Debris, Dust and Embers live in the foreground. Structures sit in between Foreground and Mid Ground textures.
Please visit our Downloads Centre to access all Destruction assets.
Debris
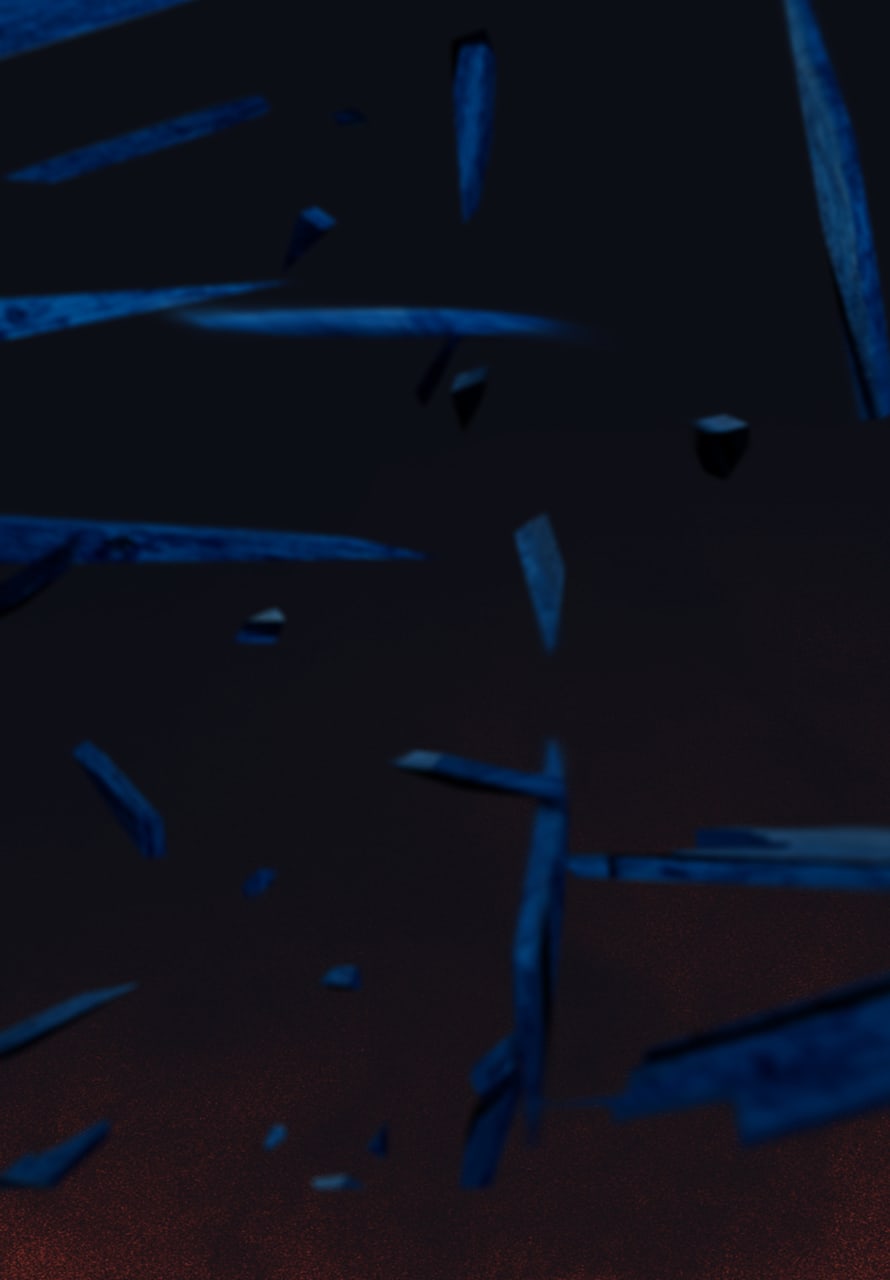
Structures
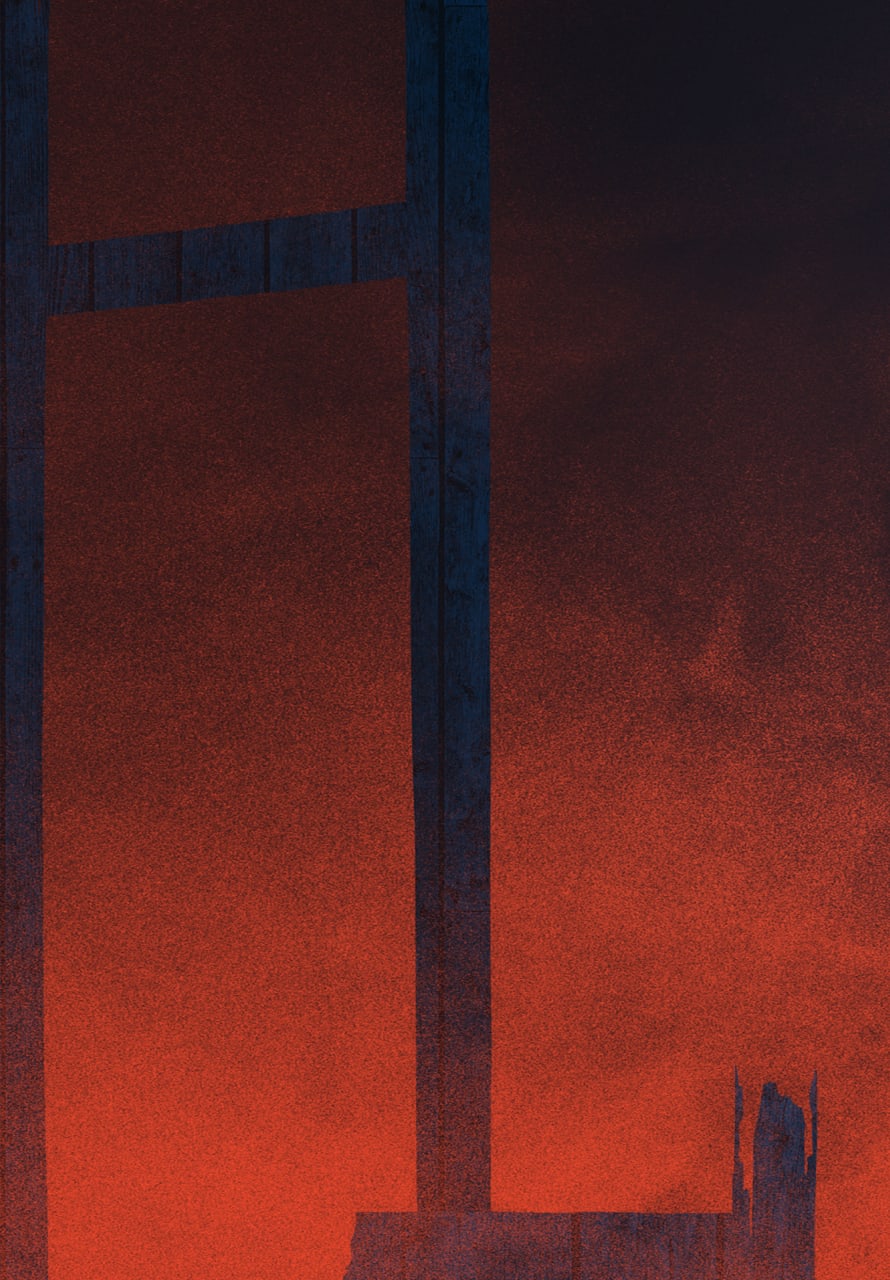
Dust
Embers
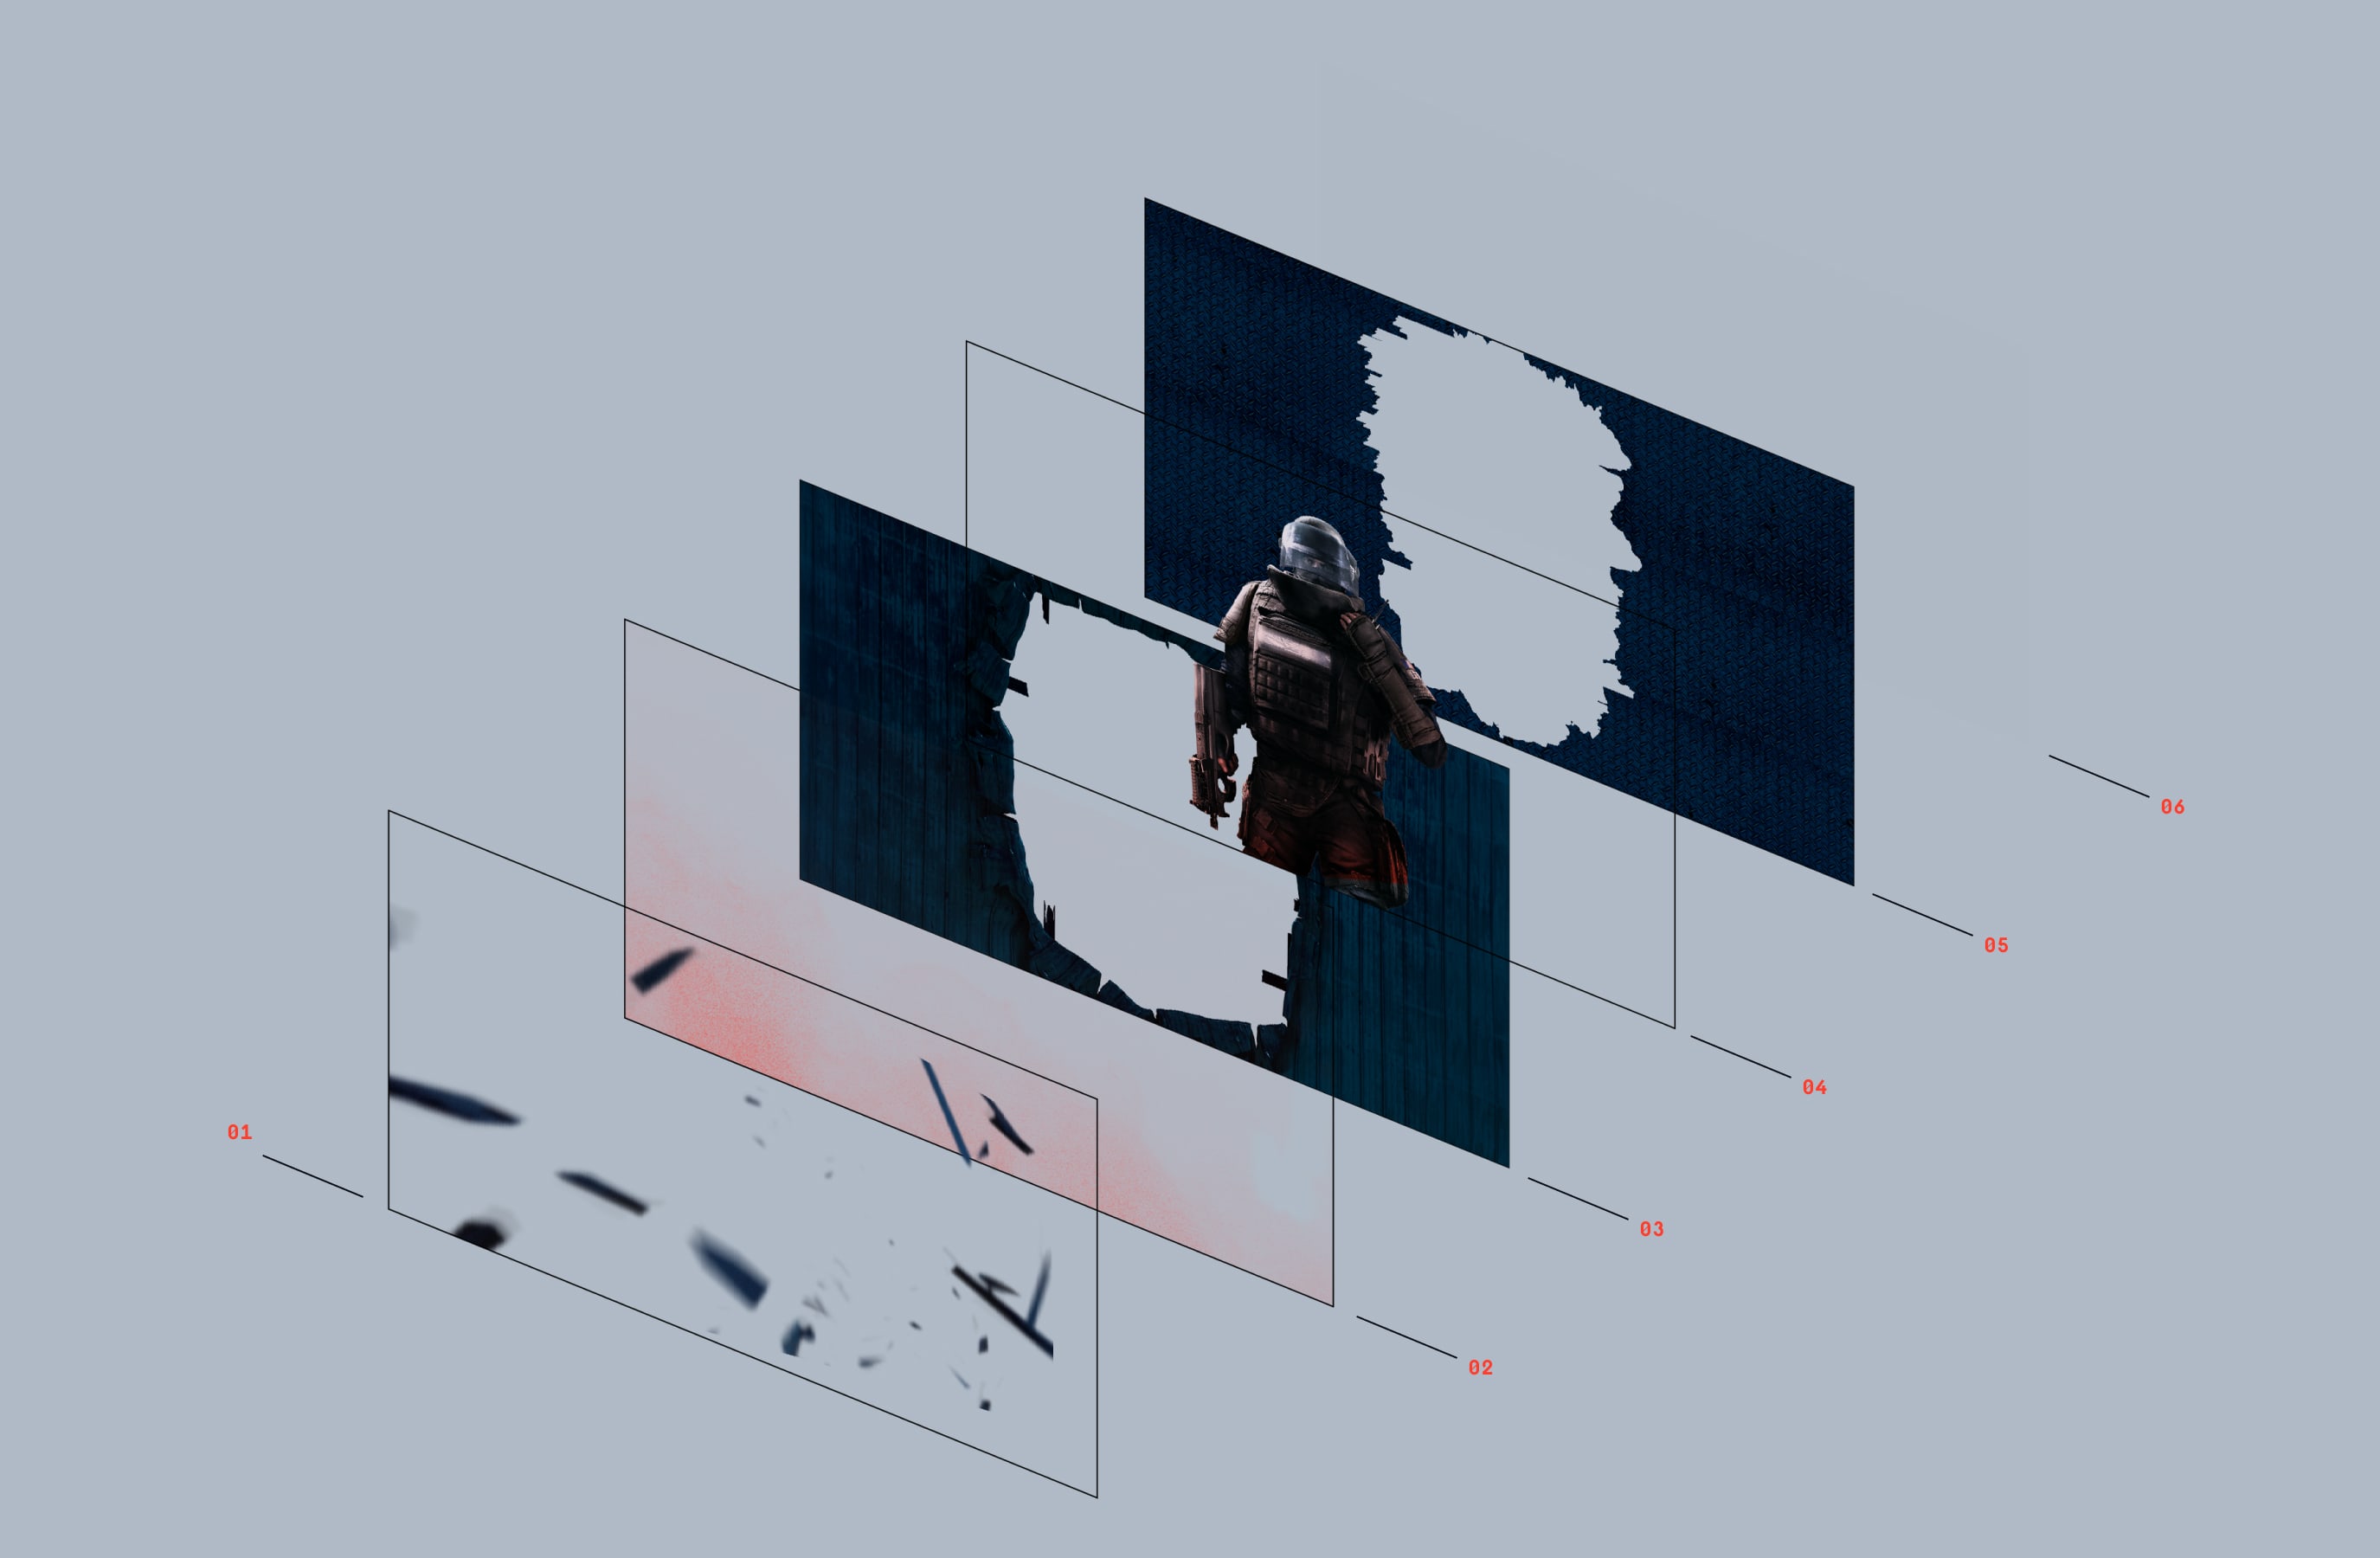
Here is an example of the build of one of our scenes and how they should be layered.
01 Debris in the foreground should be set with blur to add depth of field
02 Dust sits behind the Debris
03 The Foreground texture, type should be placed here if in use
04 The operator sits behind the Foreground texture
05 The Mid Ground texture
06 A solid colour of either Siege Navy or Grey
Please visit our Downloads Centre to access all Destruction assets.
Follow this guidance to make sure our Destruction scenes are consistent across all applications.
Please visit our Downloads Centre to access all Destruction assets.
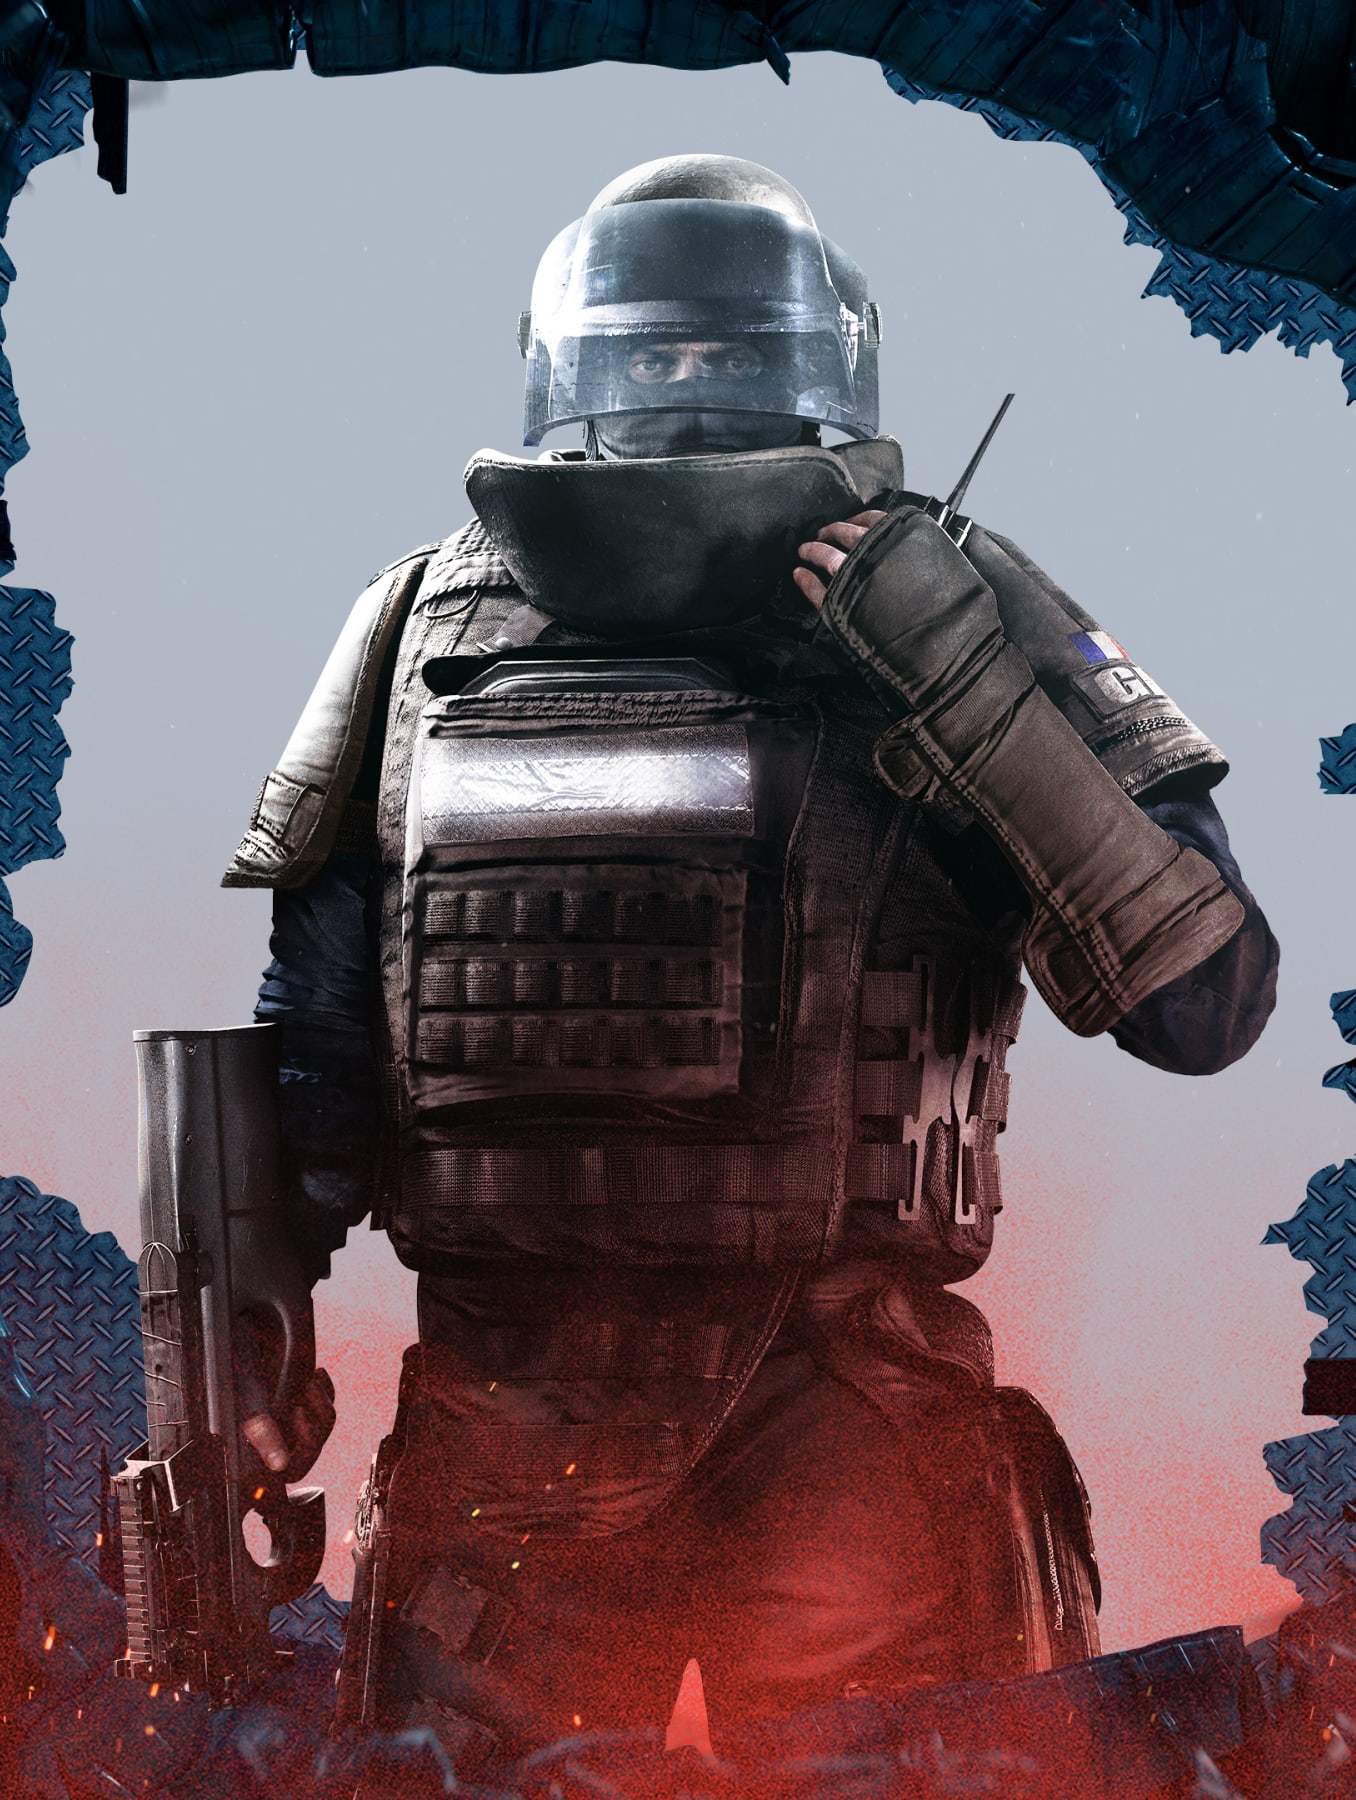
The background must be Siege Grey or Navy.
The operator should be lit with the same lighting as the scene, for example with the Grey as highlights and the Orange from the dust as a colour overlay.
The operator’s pose should be an empowering one. A moment of pausing, between action.
There should be clearspace to give the composition room to breathe.
Dust and embers can cover the operator, embedding them in the scene.
We can also display a single and two opposing teams within our Destruction scenes. The operators’ pose should be an empowering one. A moment of pausing, between action. For more details please refer to the Art Direction section.
We should use our Breach Charge destruction for this style of application.
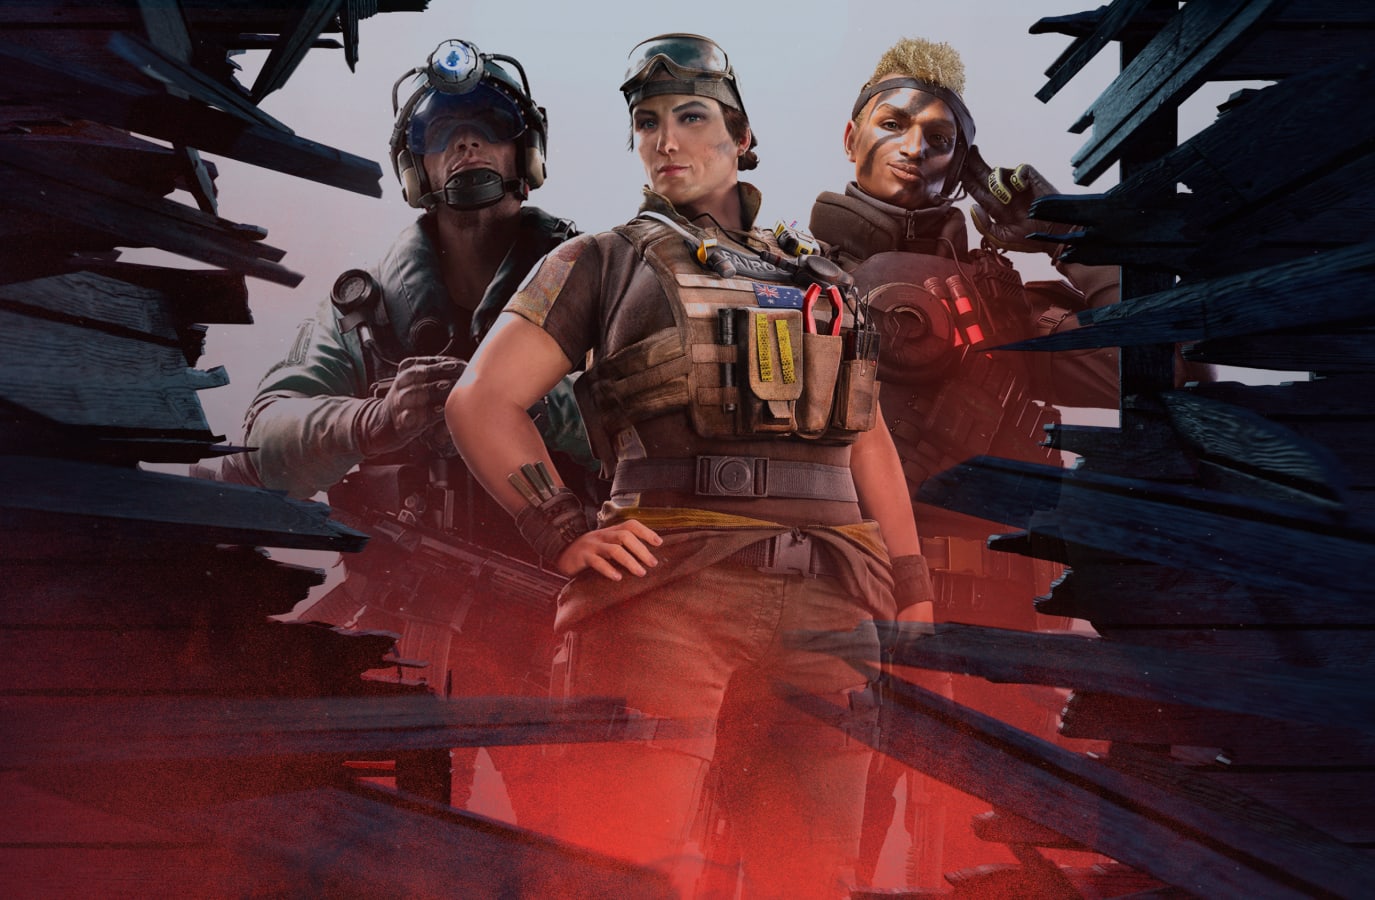
In our Clash Scene, we have the opportunity to depict the two opposing sides distinctly. The attacking team can be showcased amidst the light, dynamically breaching the environment. Meanwhile, the defending team should be seamlessly integrated into our Destruction assets, symbolising their strategic position amidst the chaos.
For more information regarding the poses of our operators please refer to the Art Direction section.
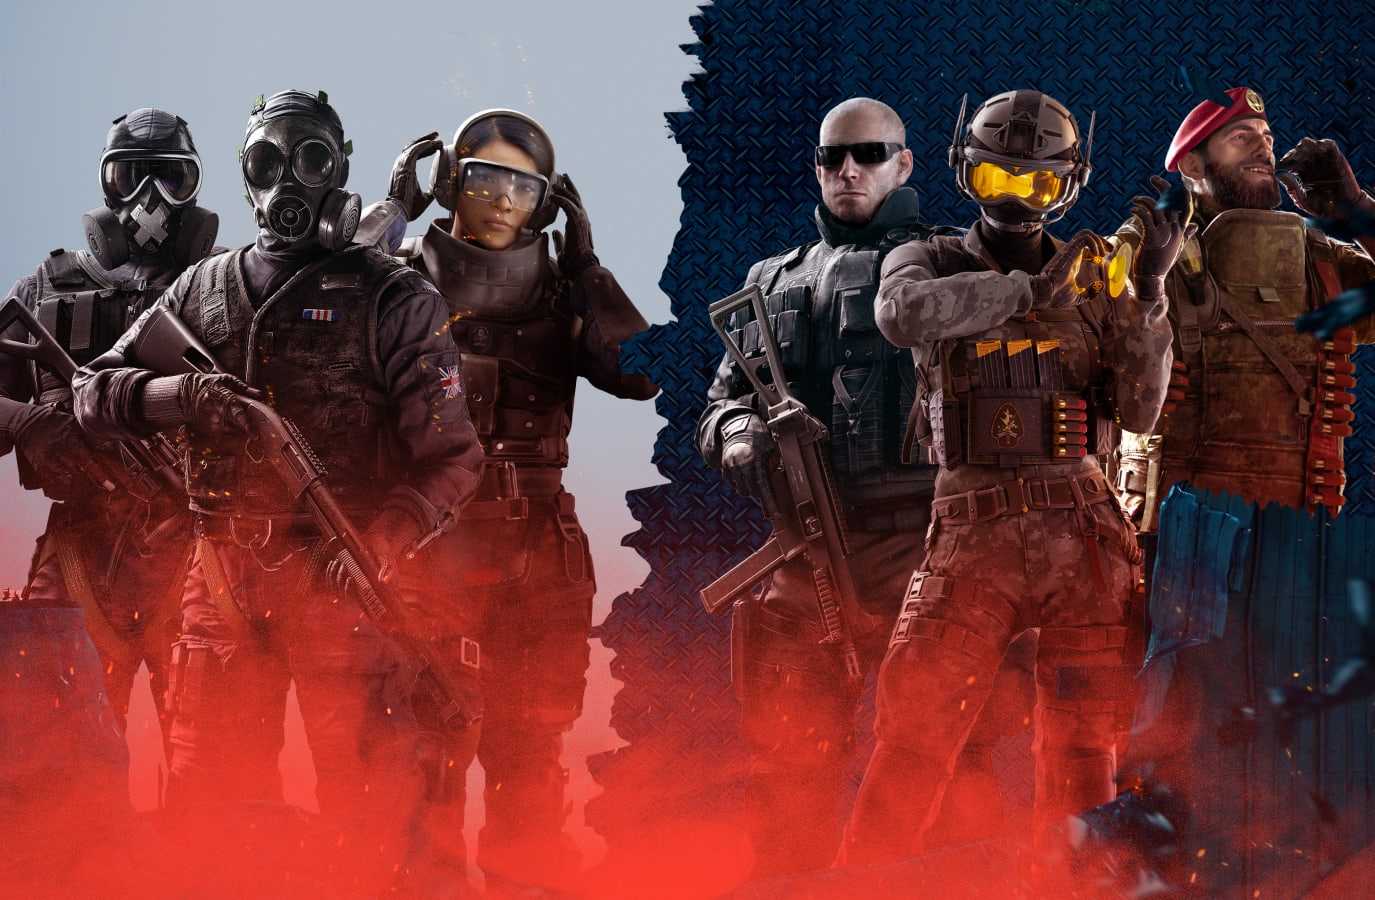
When incorporating a different angle of an operator, we maintain their integration into the scene by positioning textures both in front and behind them. This technique preserves the layered aesthetic of our compositions.
Please visit our Downloads Centre to access all Destruction assets.
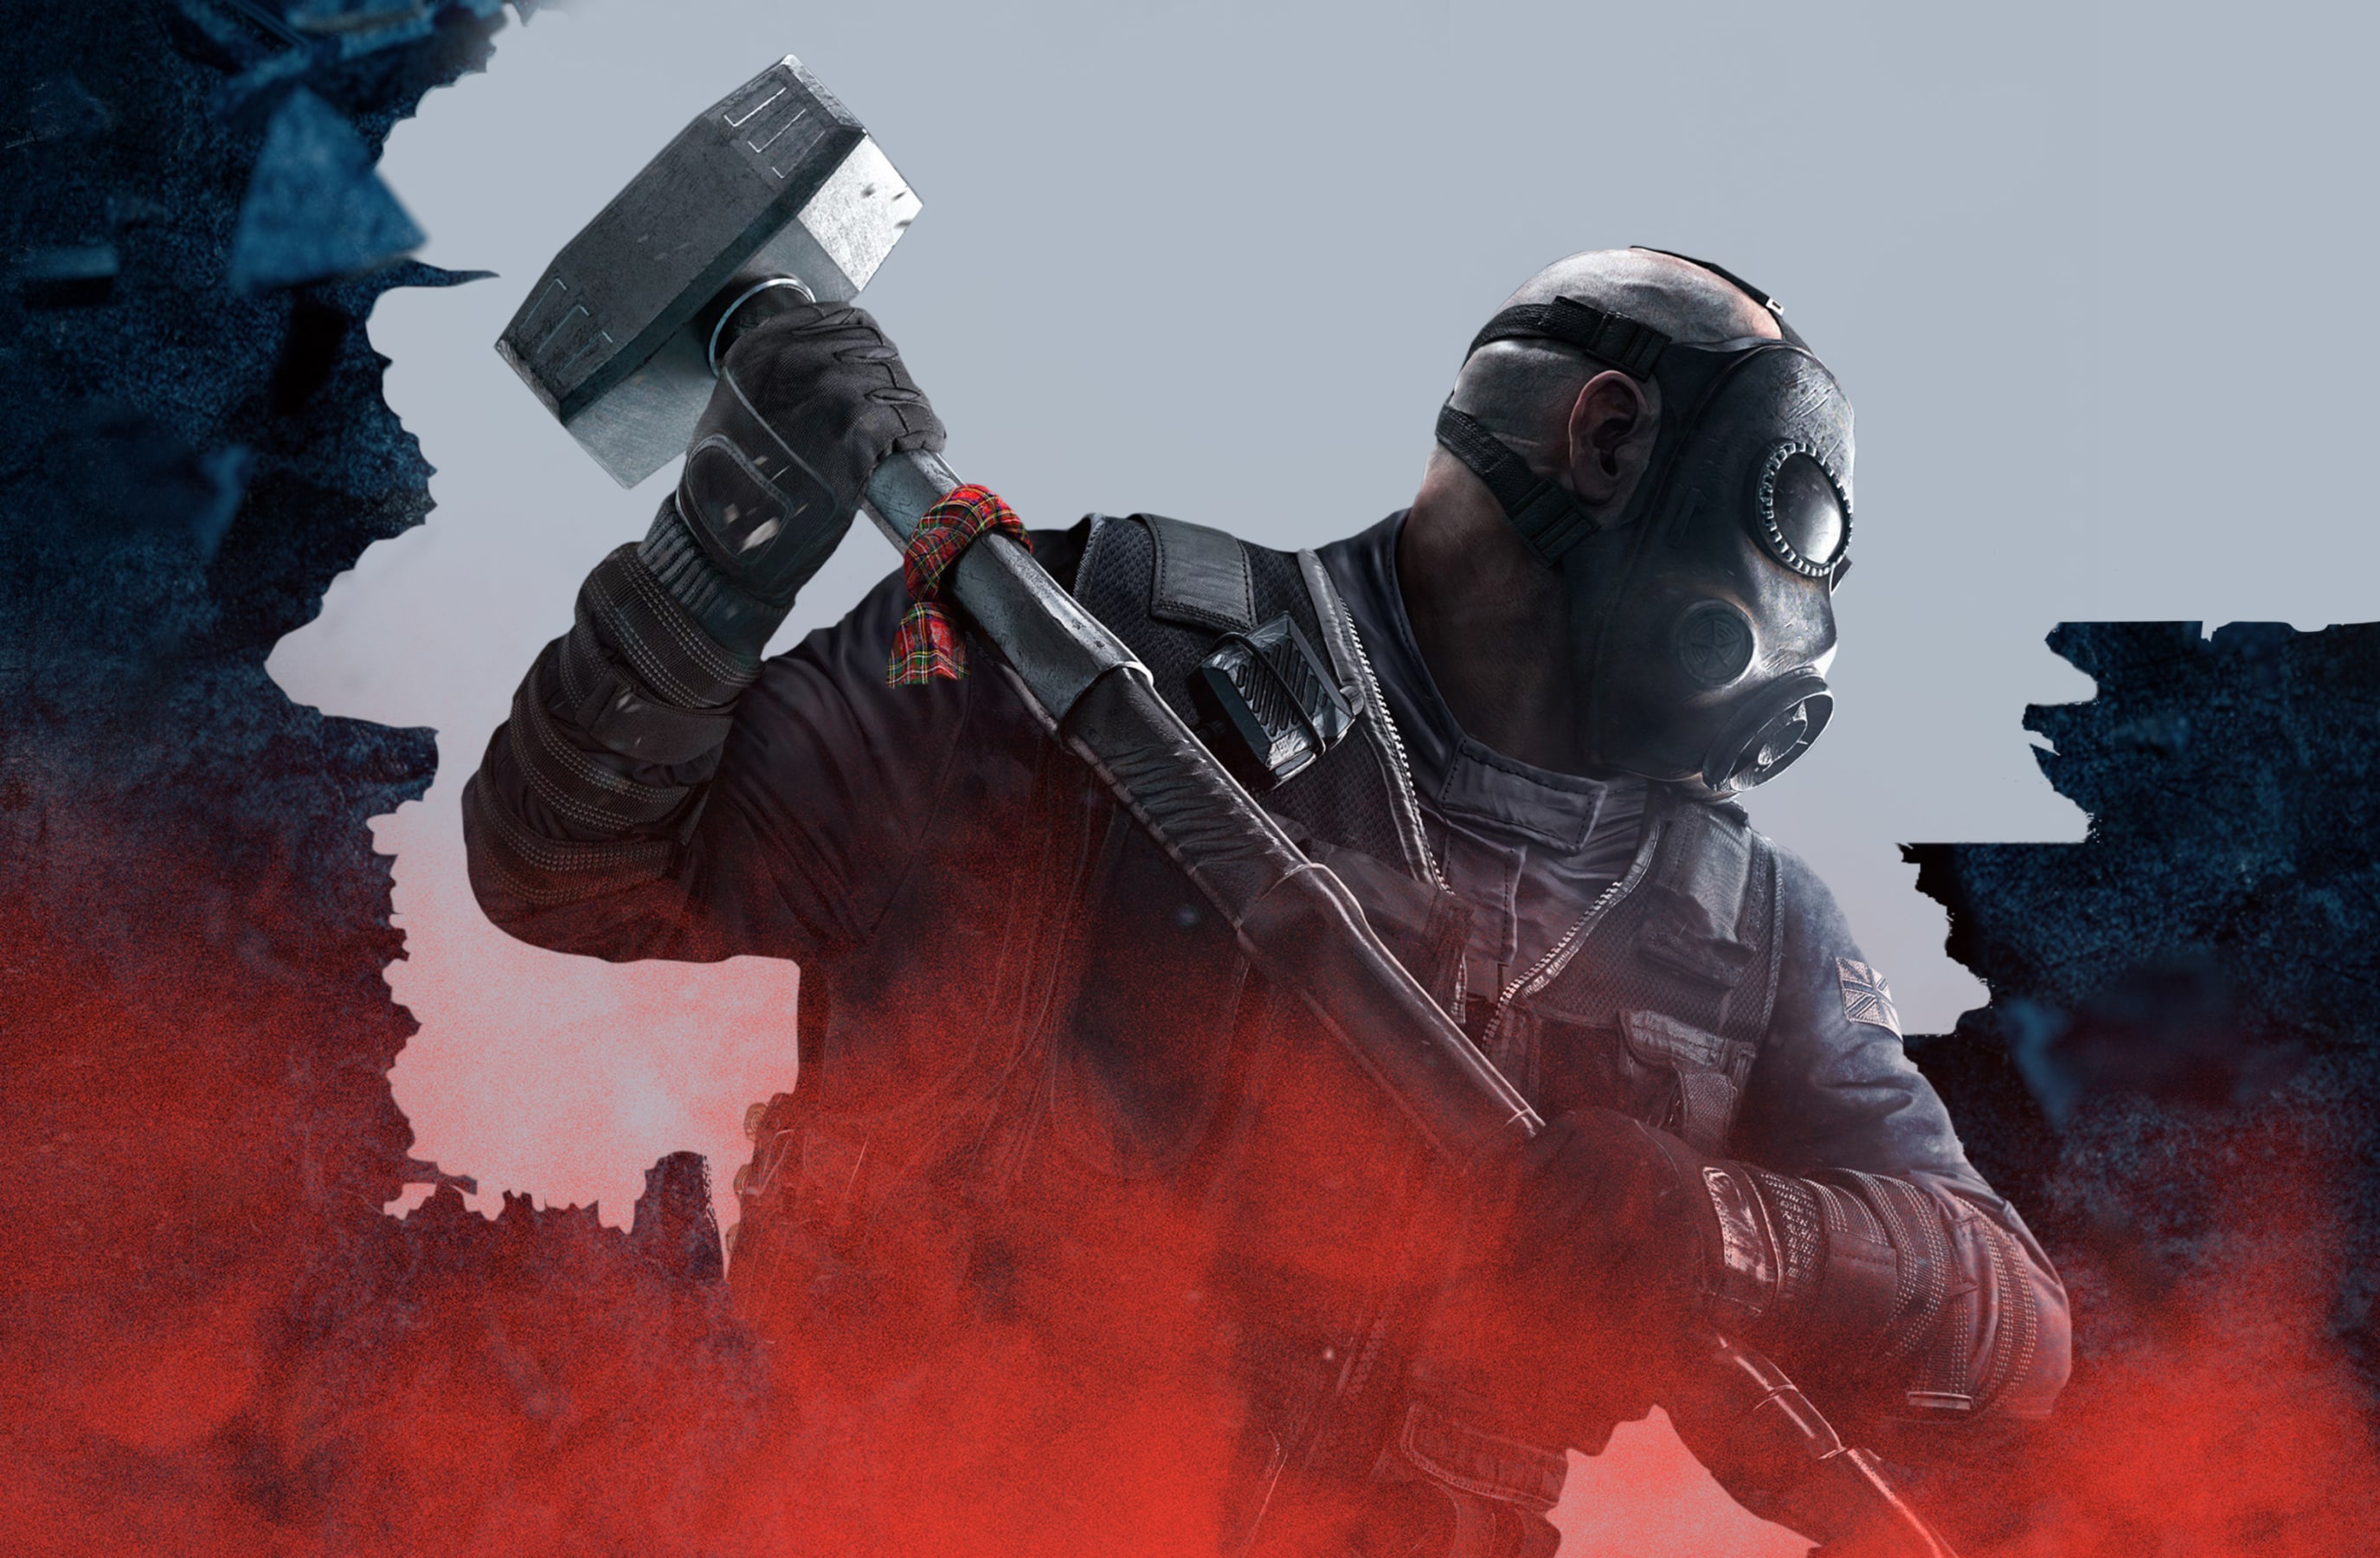
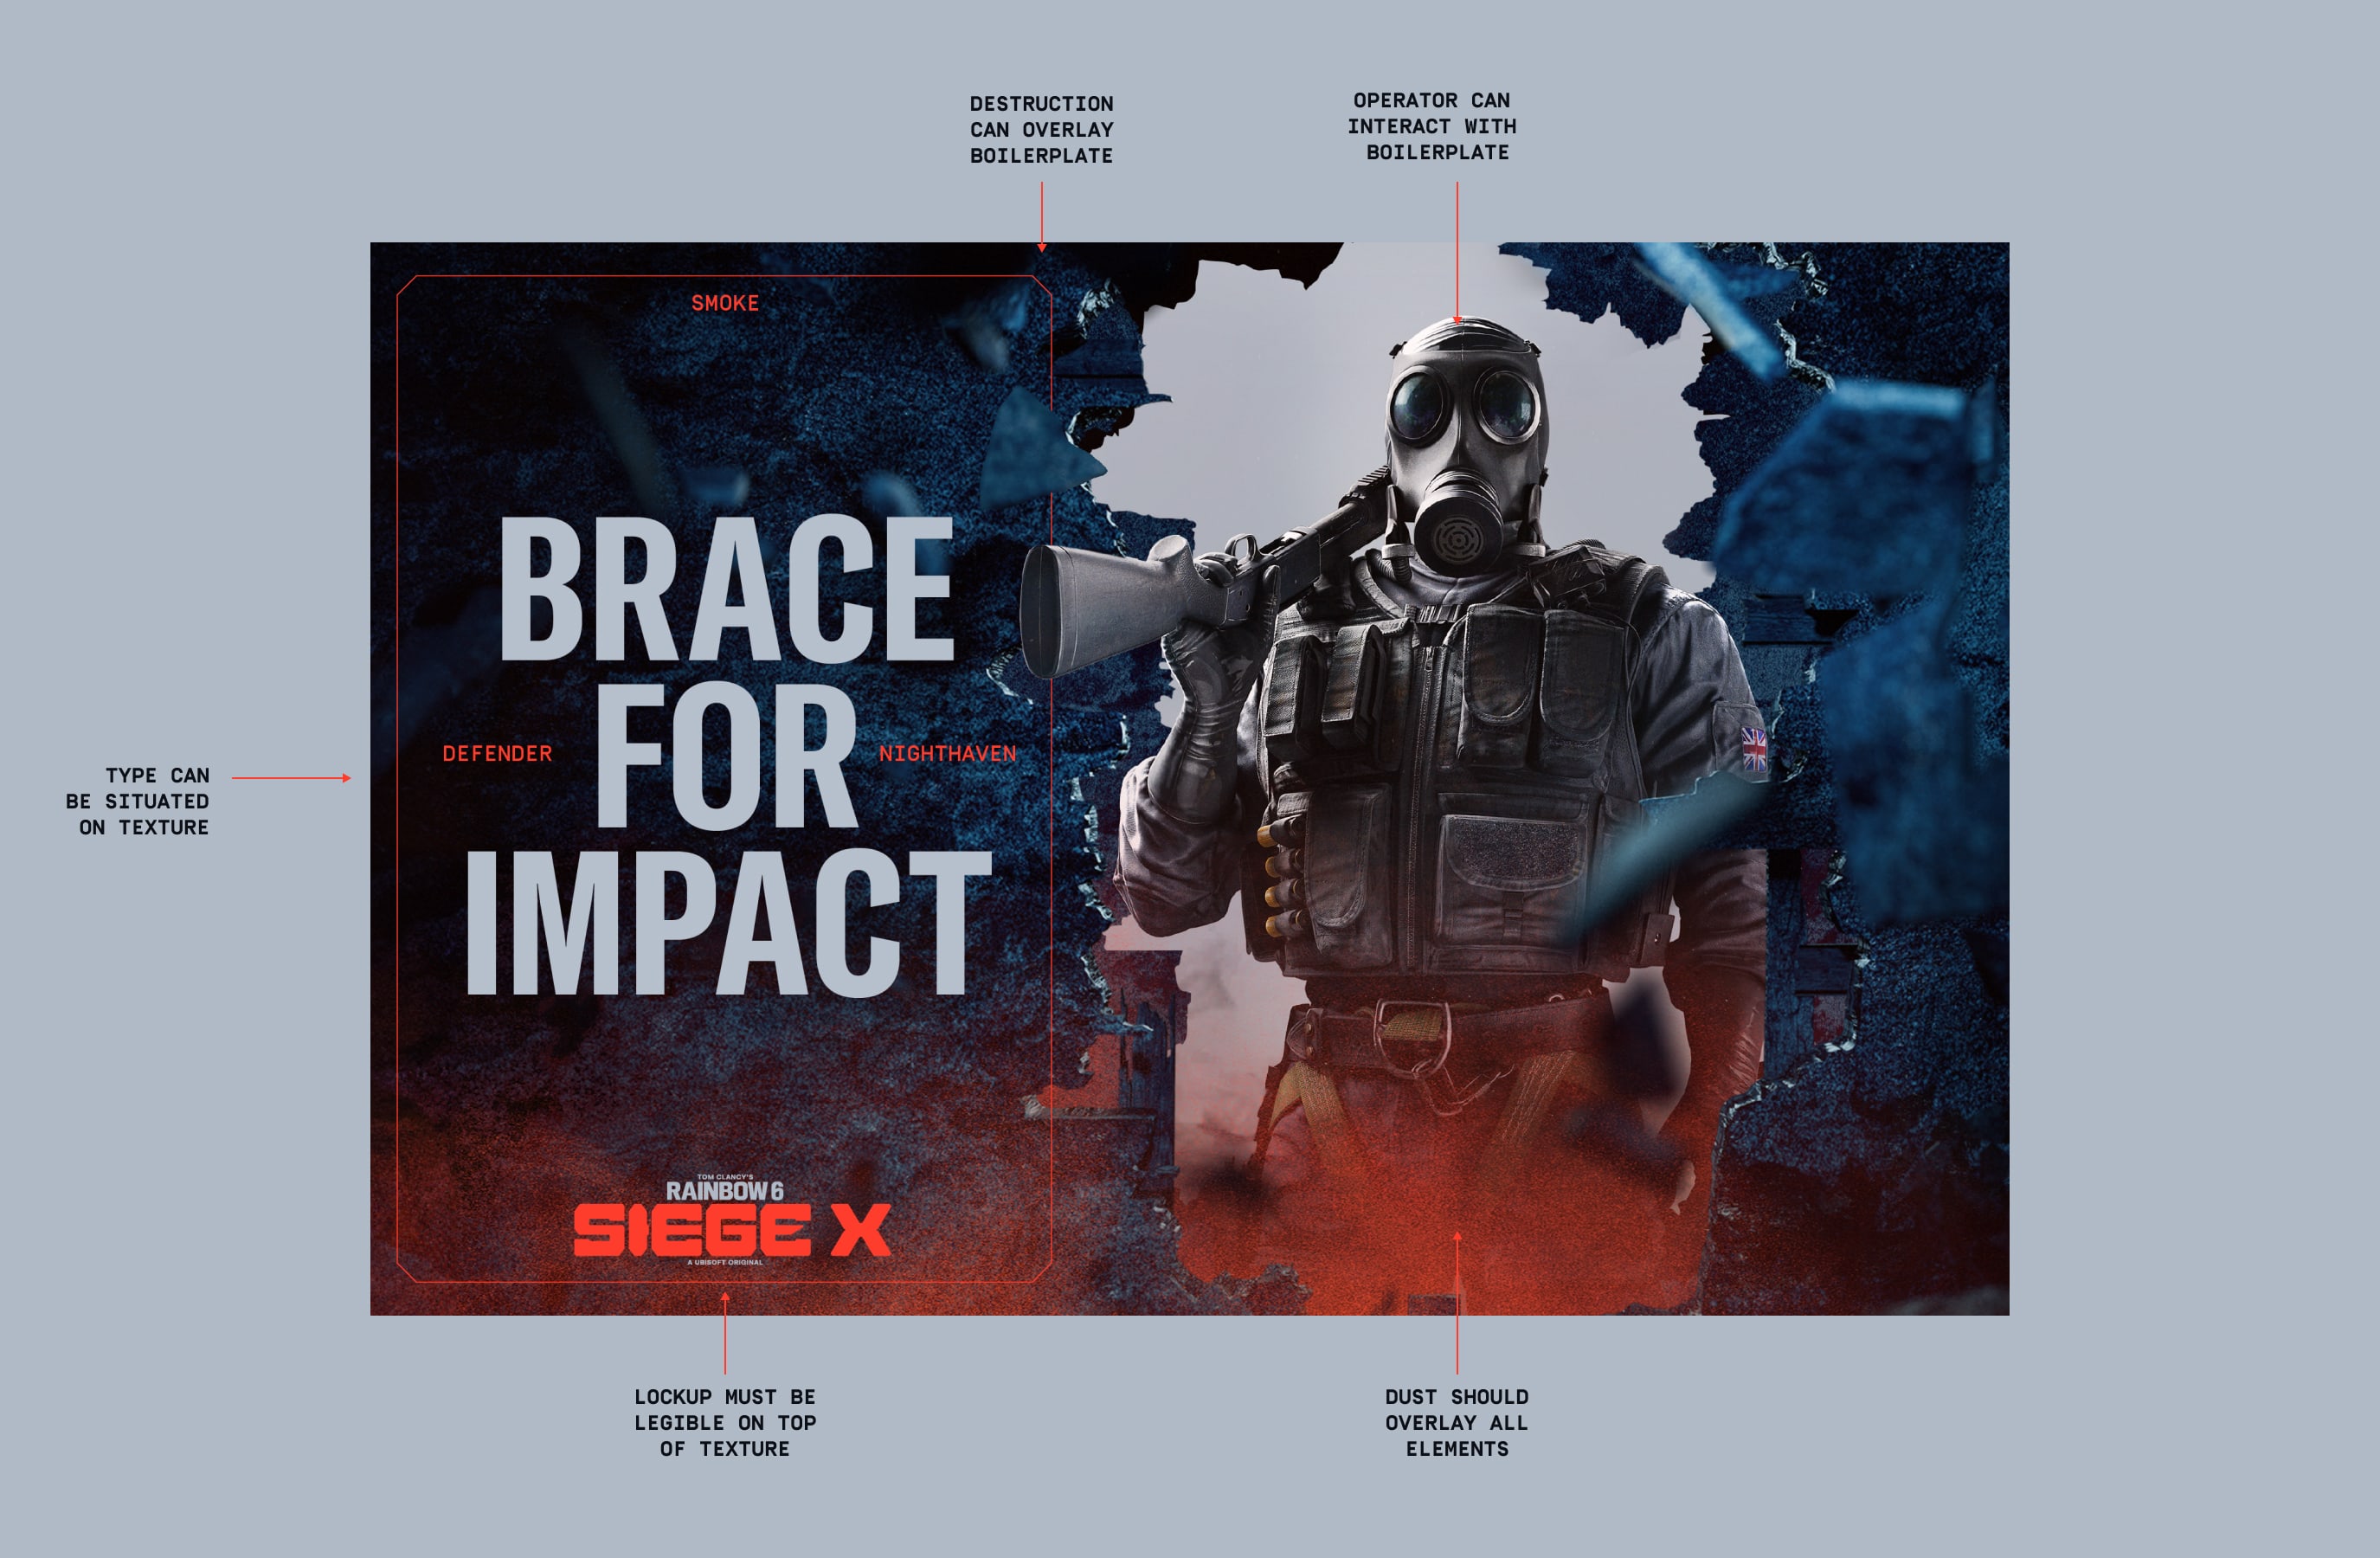
Here we have an example of a key visual and details on how we are using Destruction within the application.
To see more examples of this please refer to our Applications section.
Here we have an example of framing imagery and details on how we are using Destruction within the application.
This device is particularly useful for housing gameplay imagery - for more information please refer to the Art Direction section.
When using Seasonal Art Direction, the framing should not distract from the image.
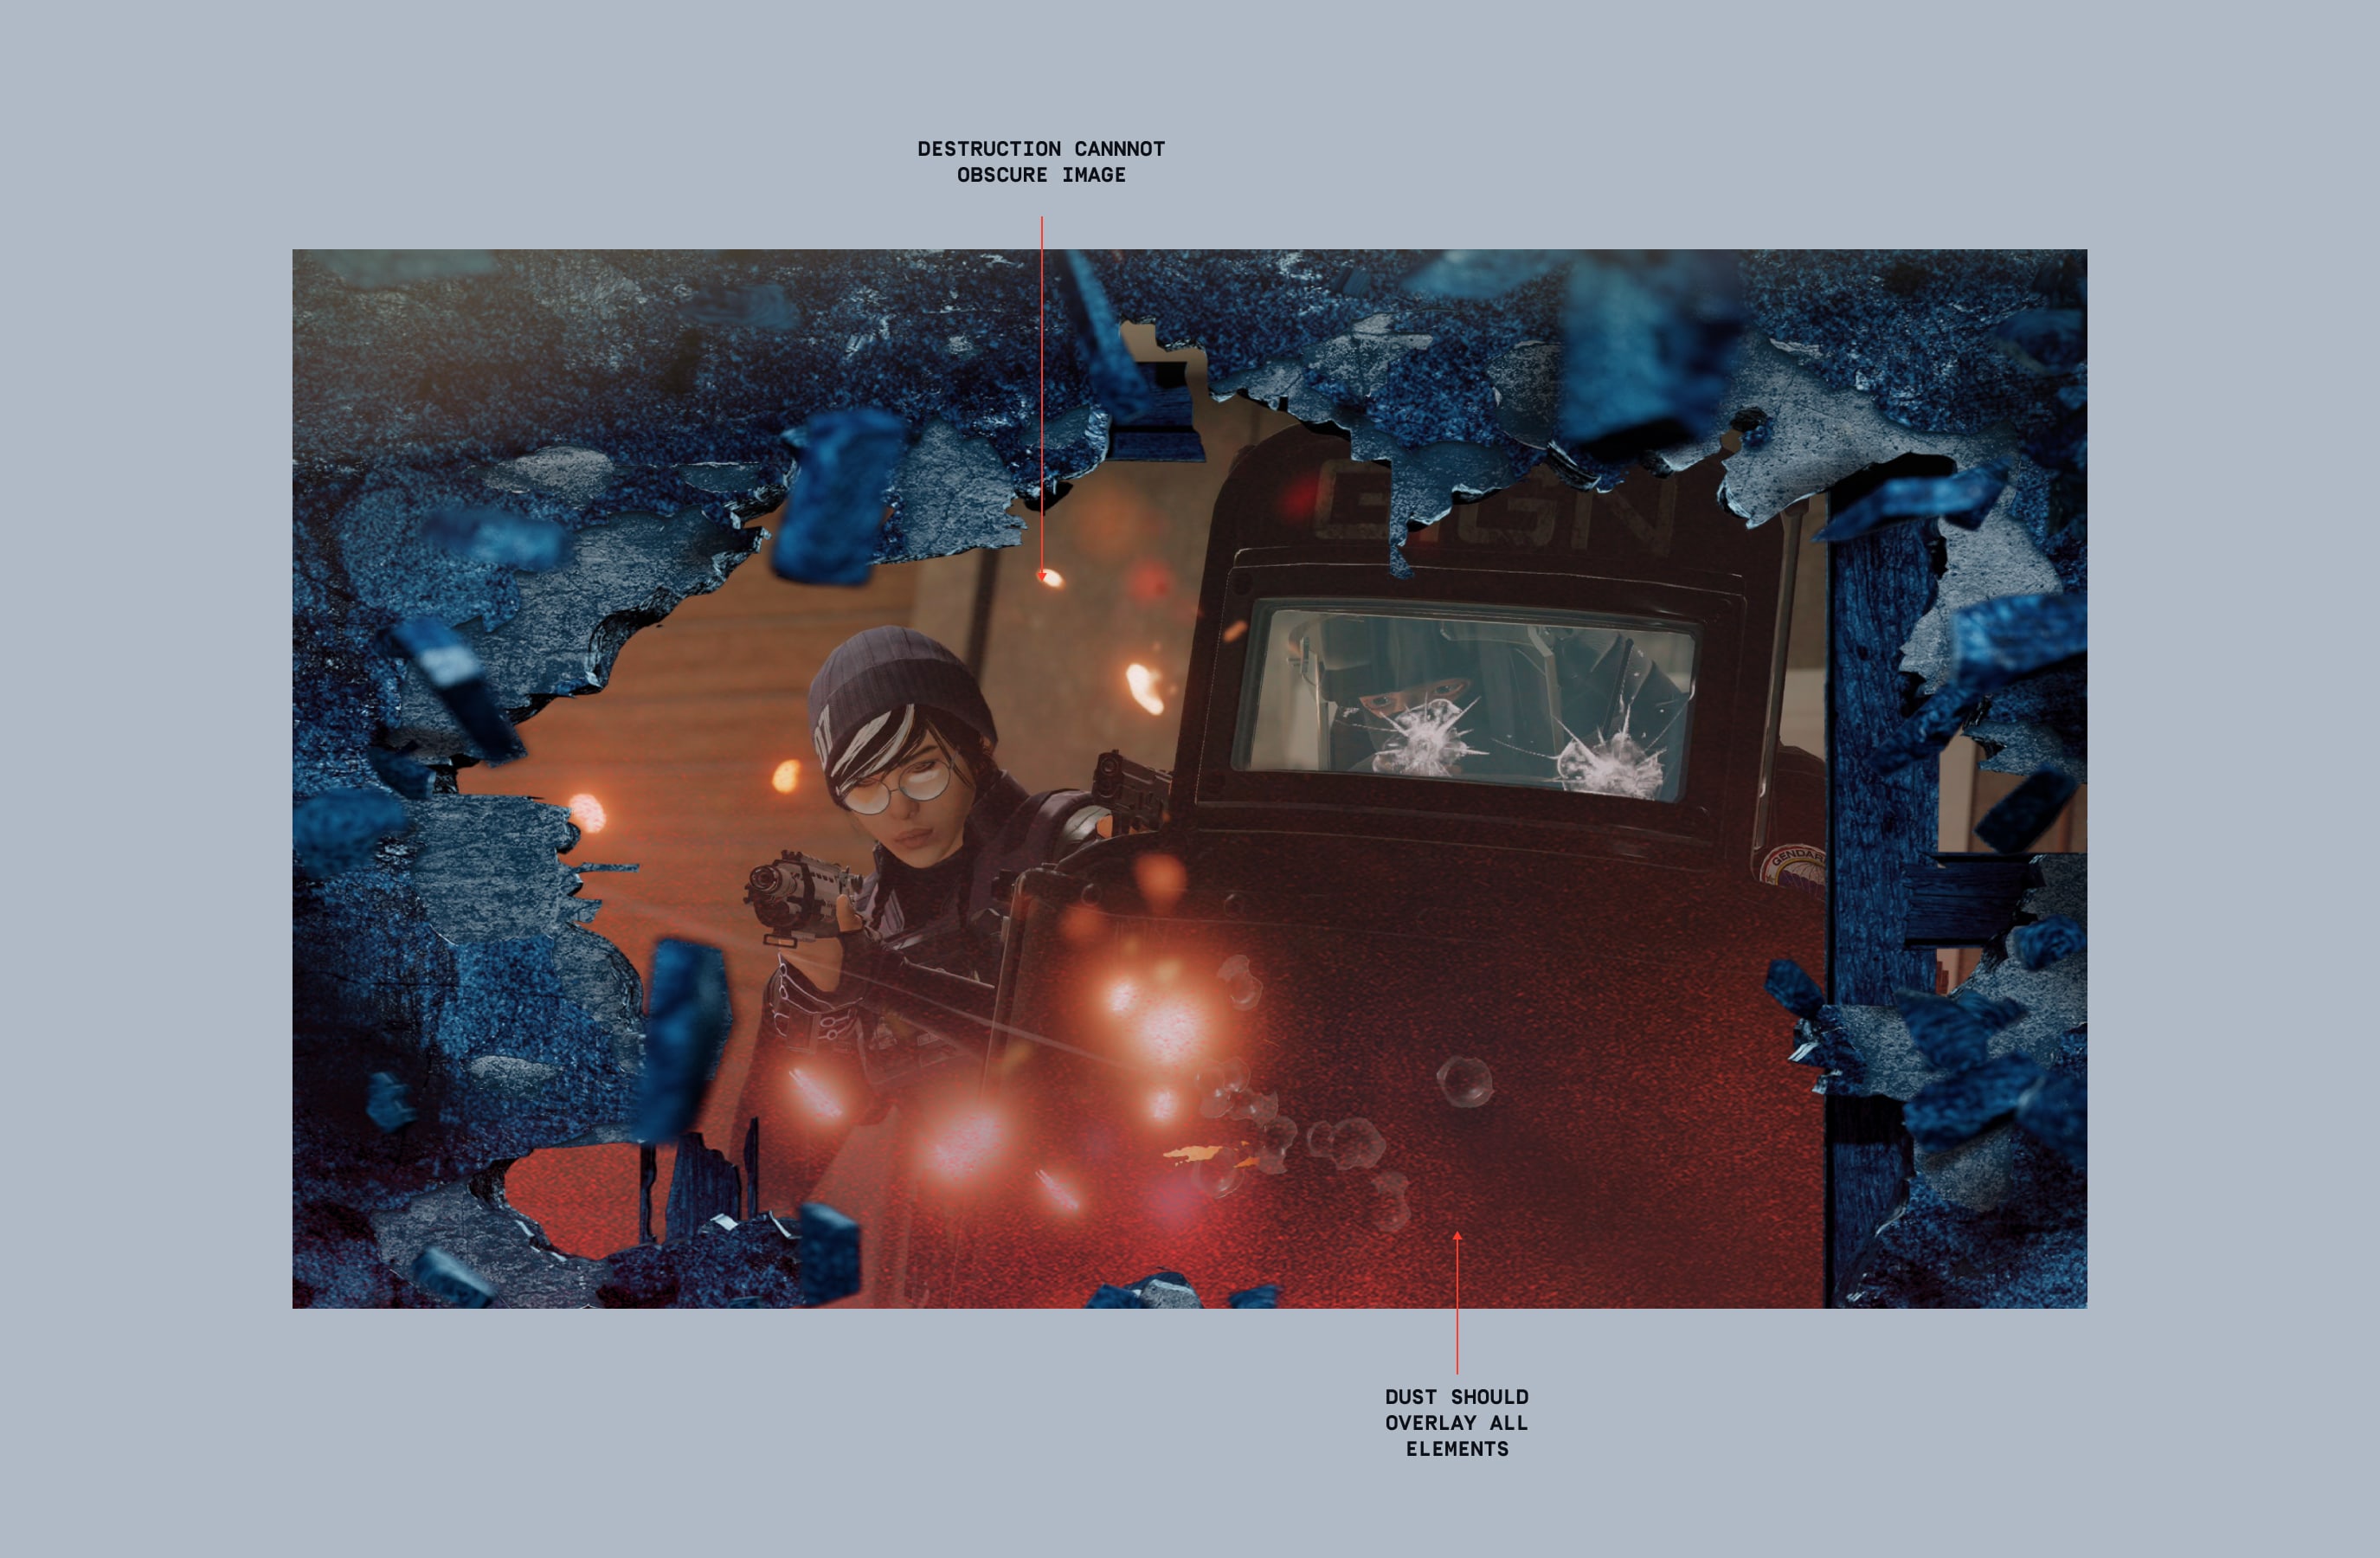
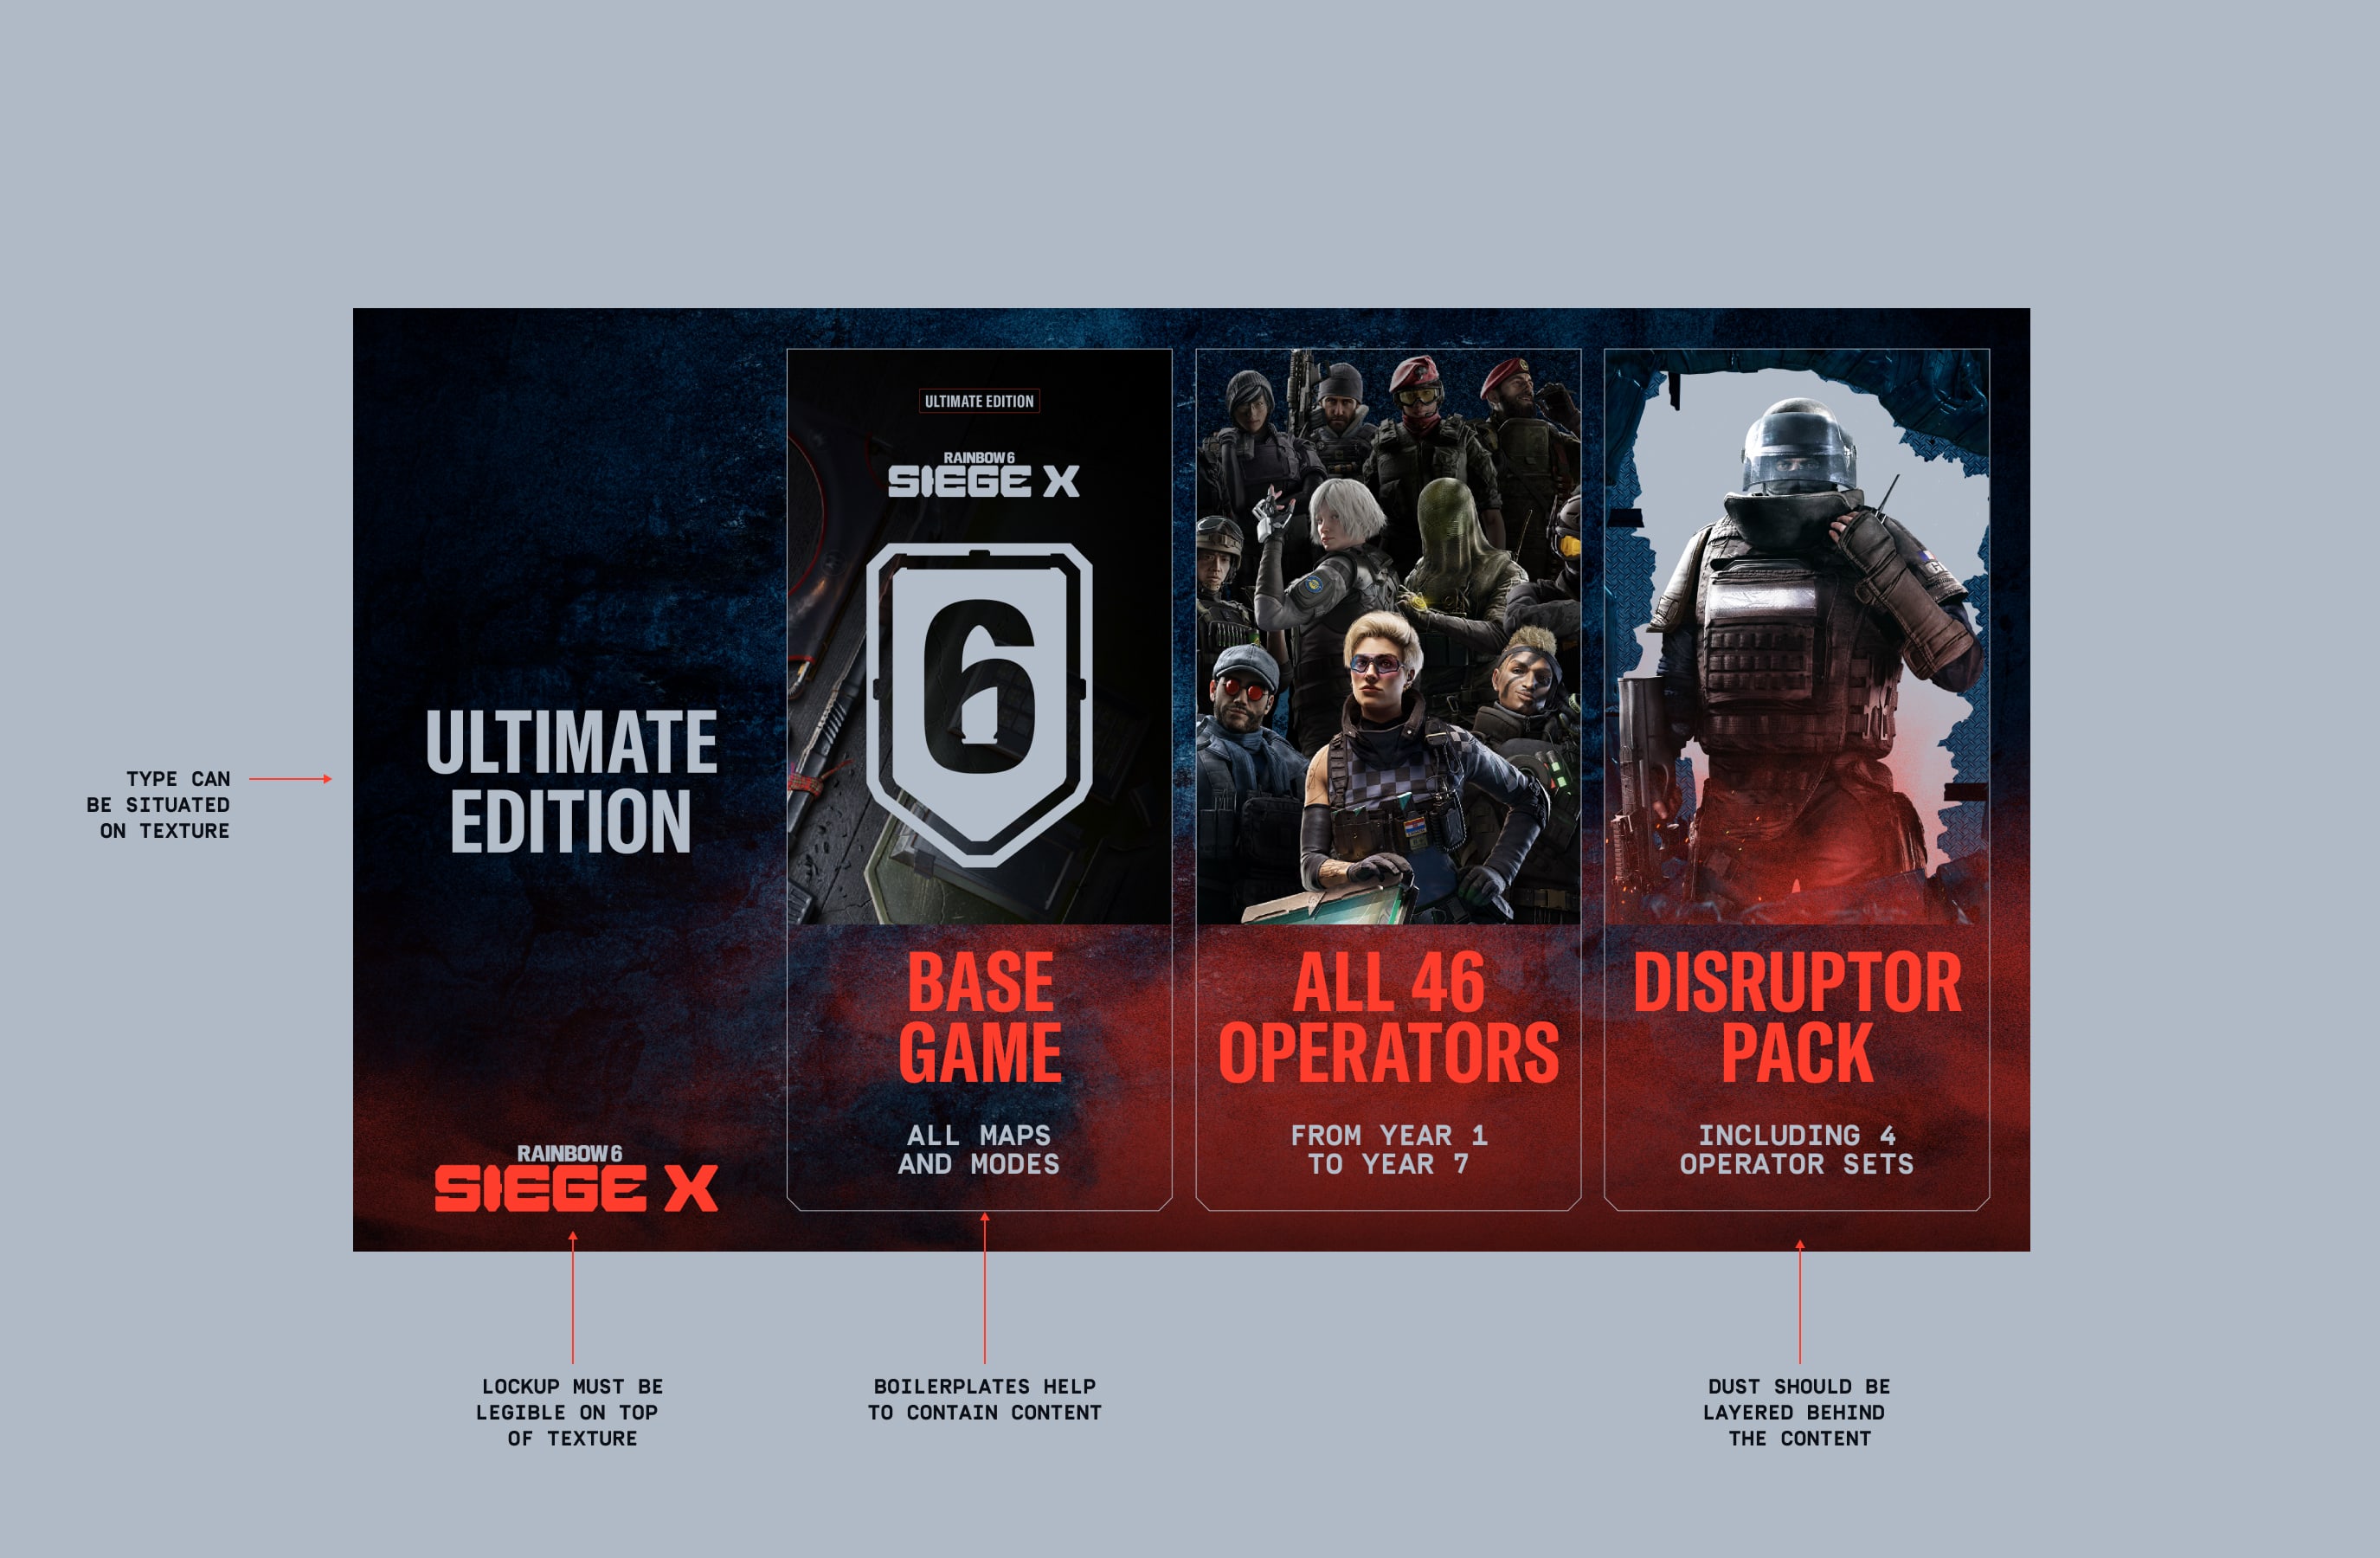
Here we have an example of a background and details on how we are using Destruction within an application.
To see more examples of applications using destruction, please refer to the Application section.
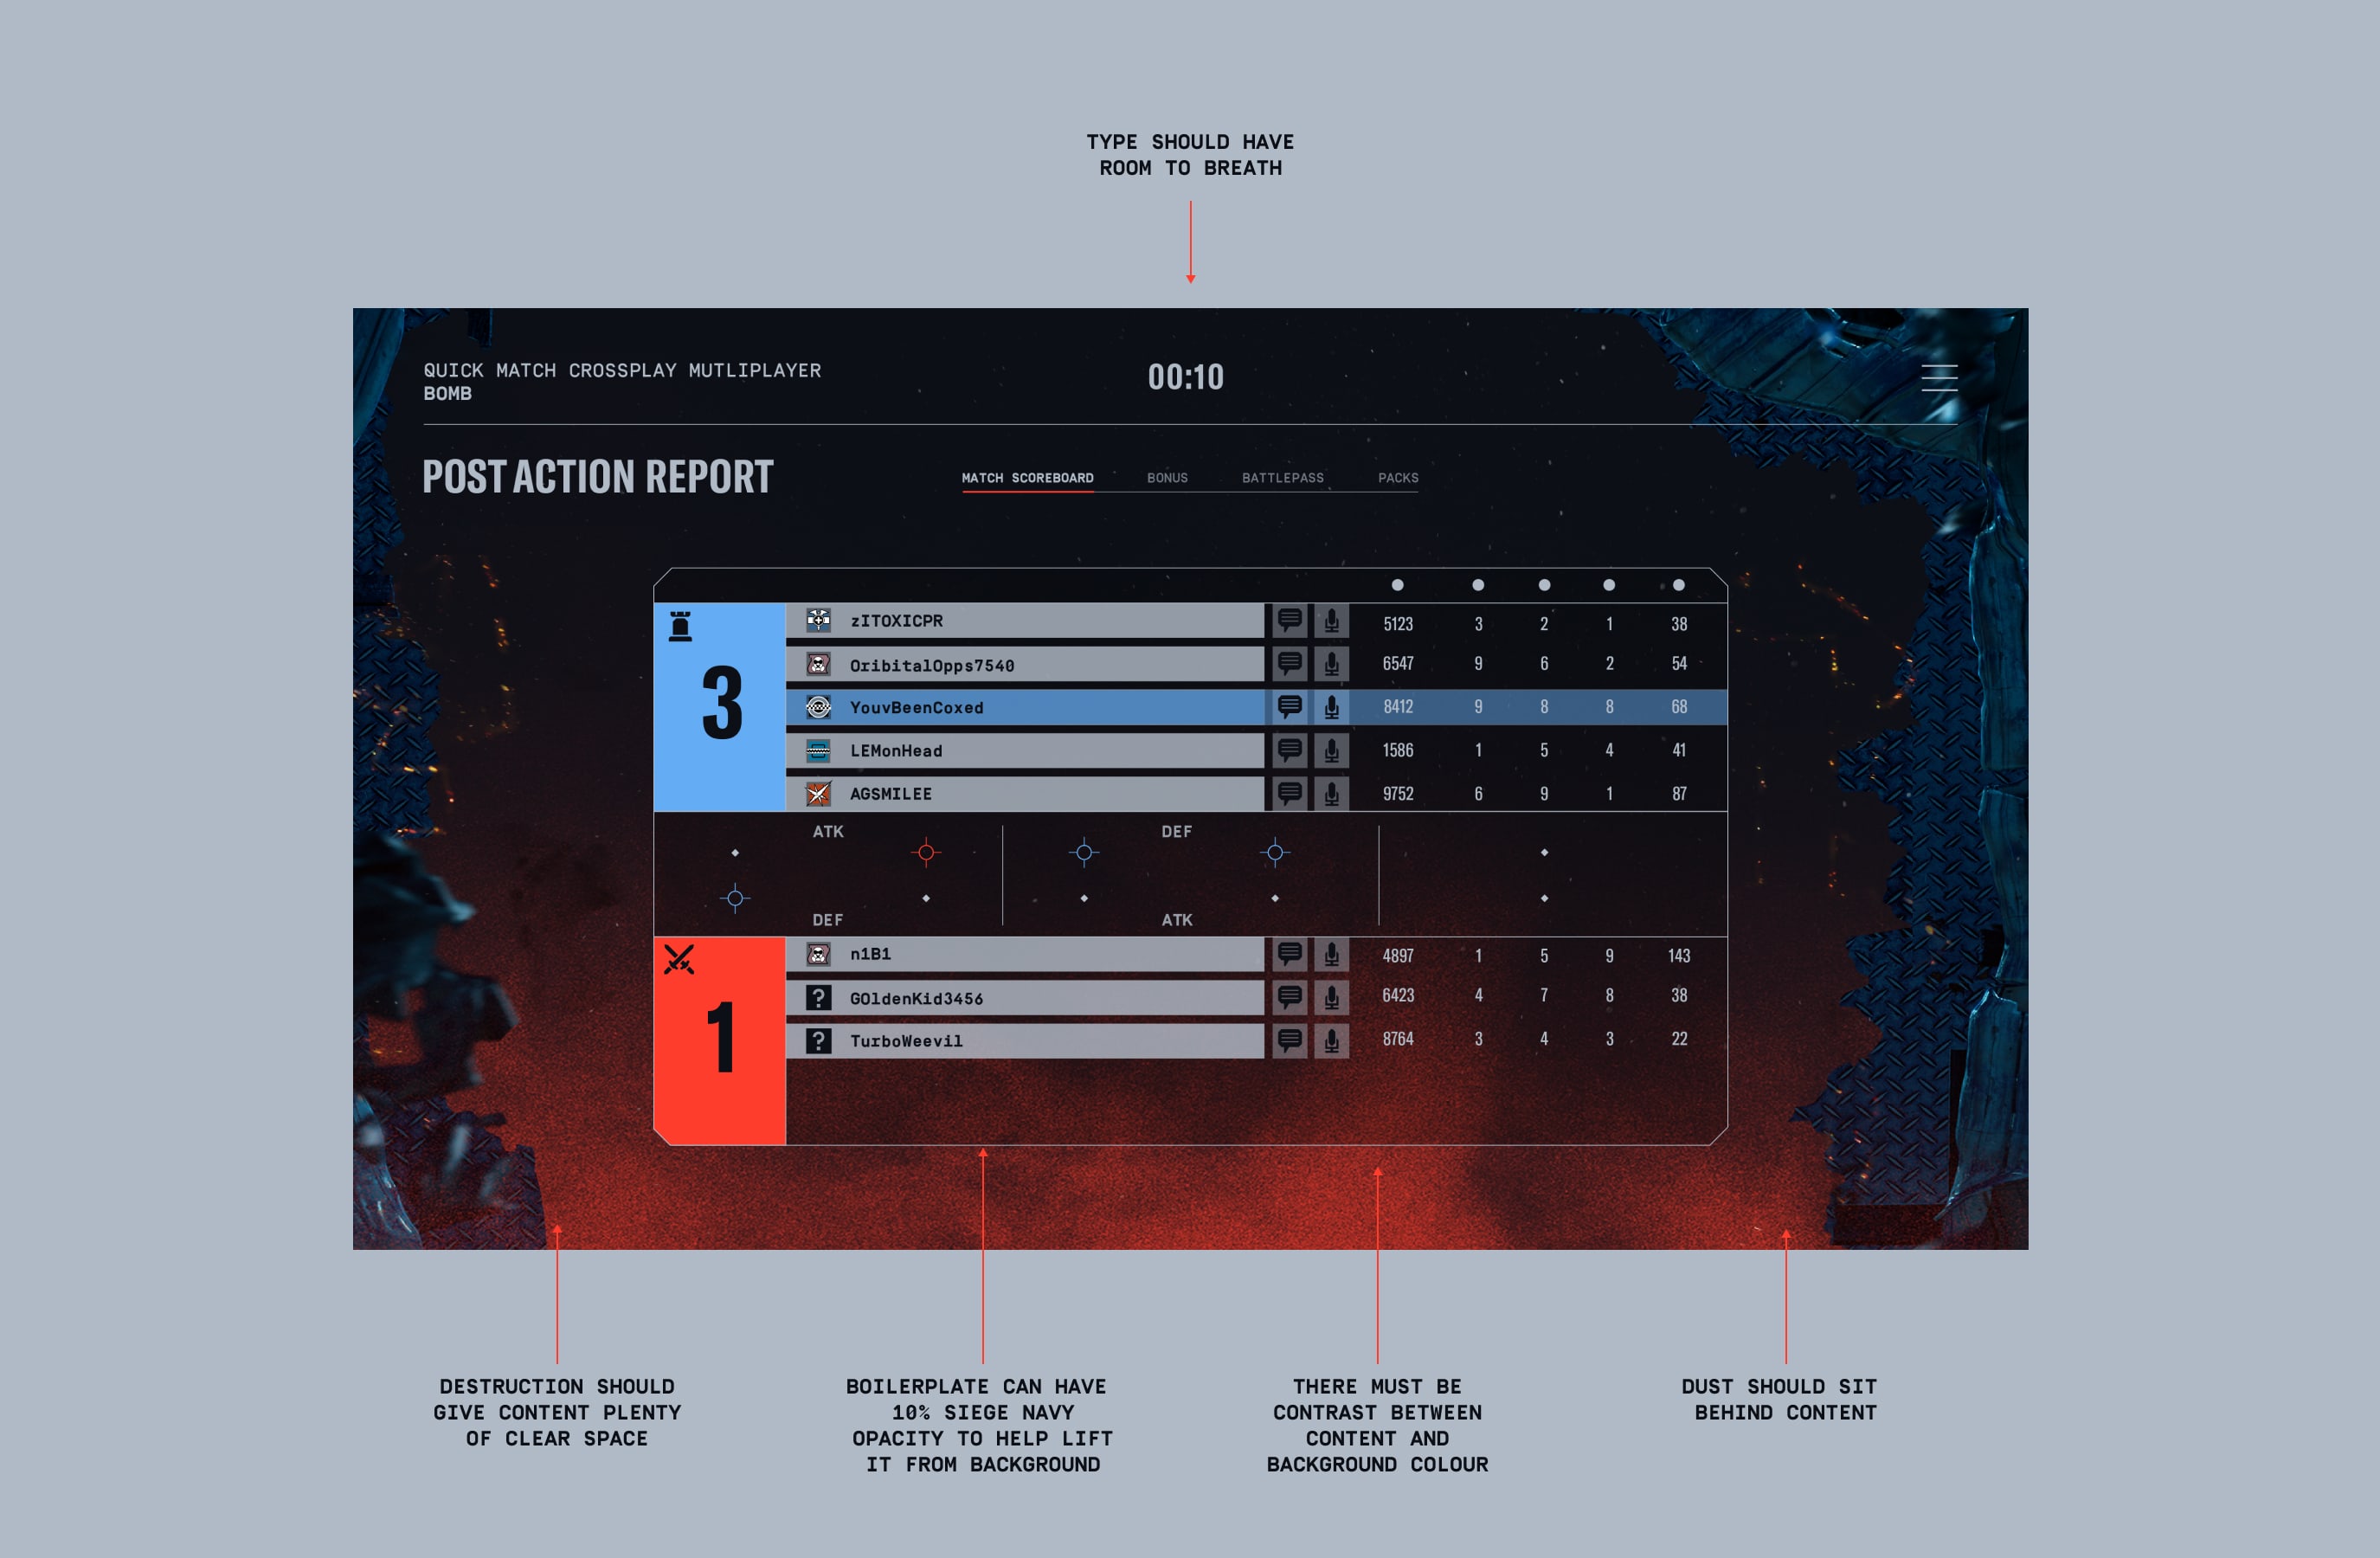
Here we have an example of using destruction as a divider and detailing on how we are using Destruction within the application.
To see more examples of applications using destruction, please refer to the Application section.
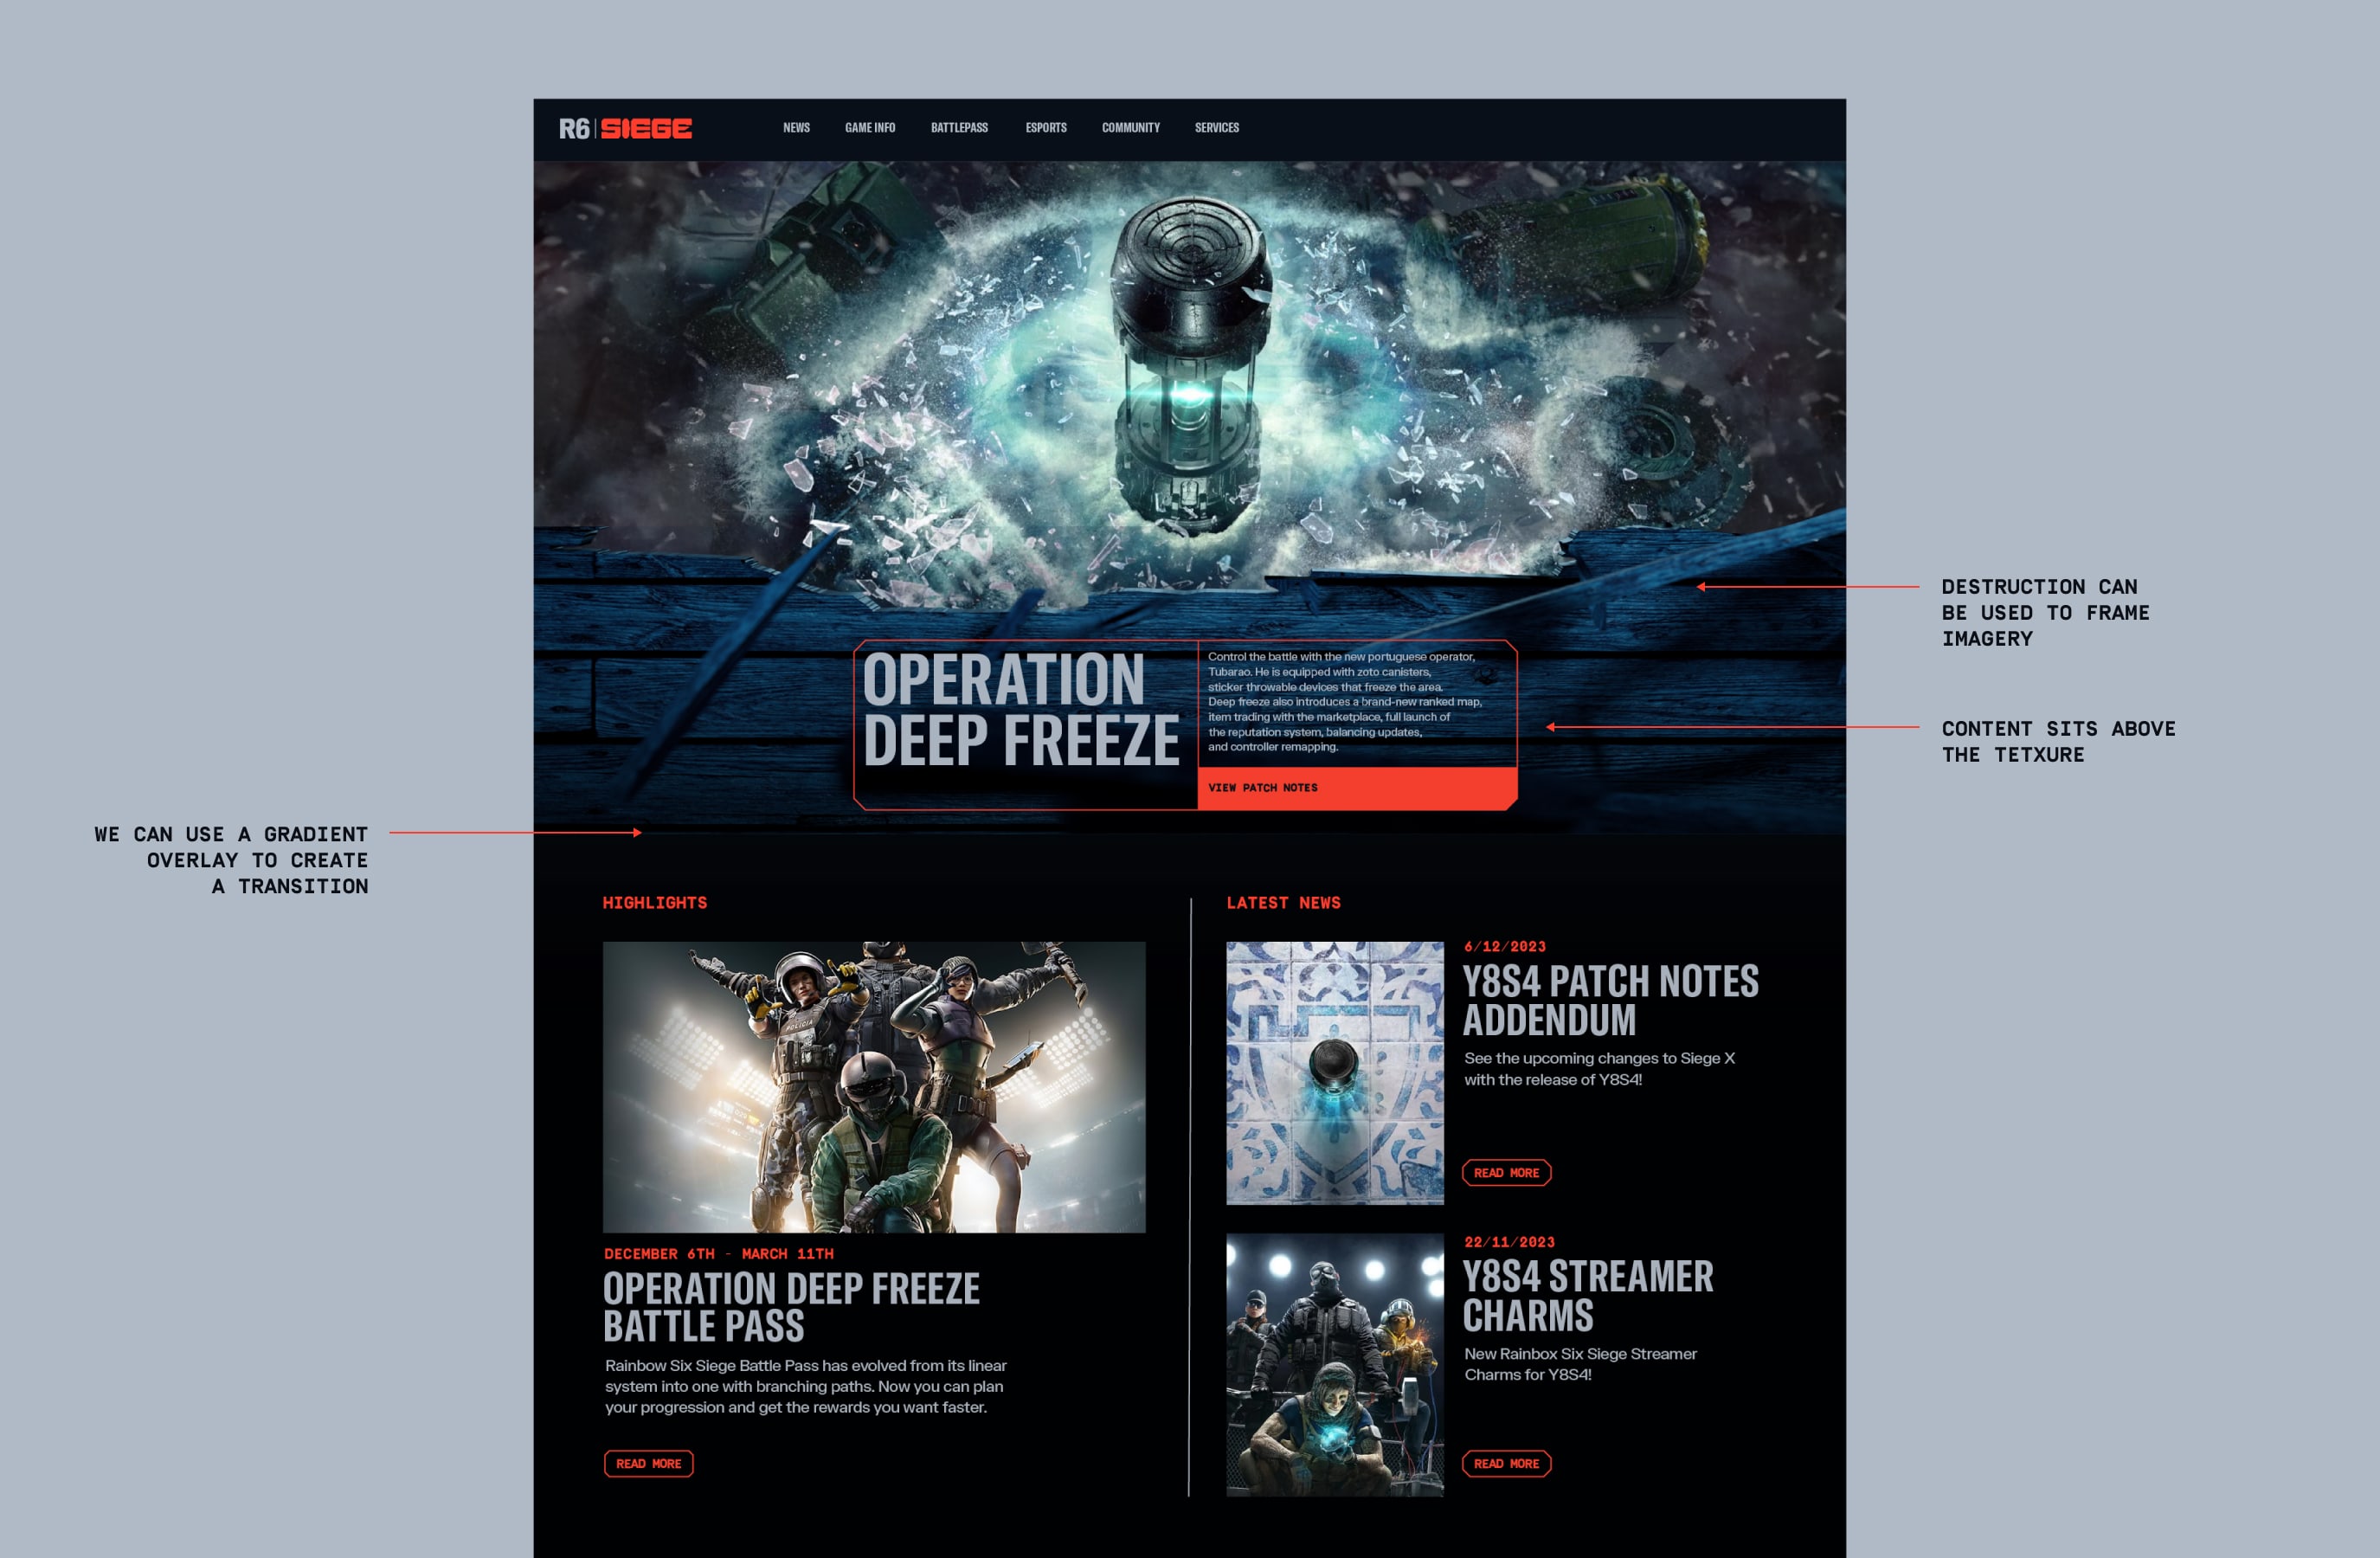
Here we have an example of graphic destruction and details on how we are using Destruction within the application. This should be used when space and size limits how much detail can be shown, without distracting from other elements.
To see more examples of applications using destruction, please refer to the Application section.
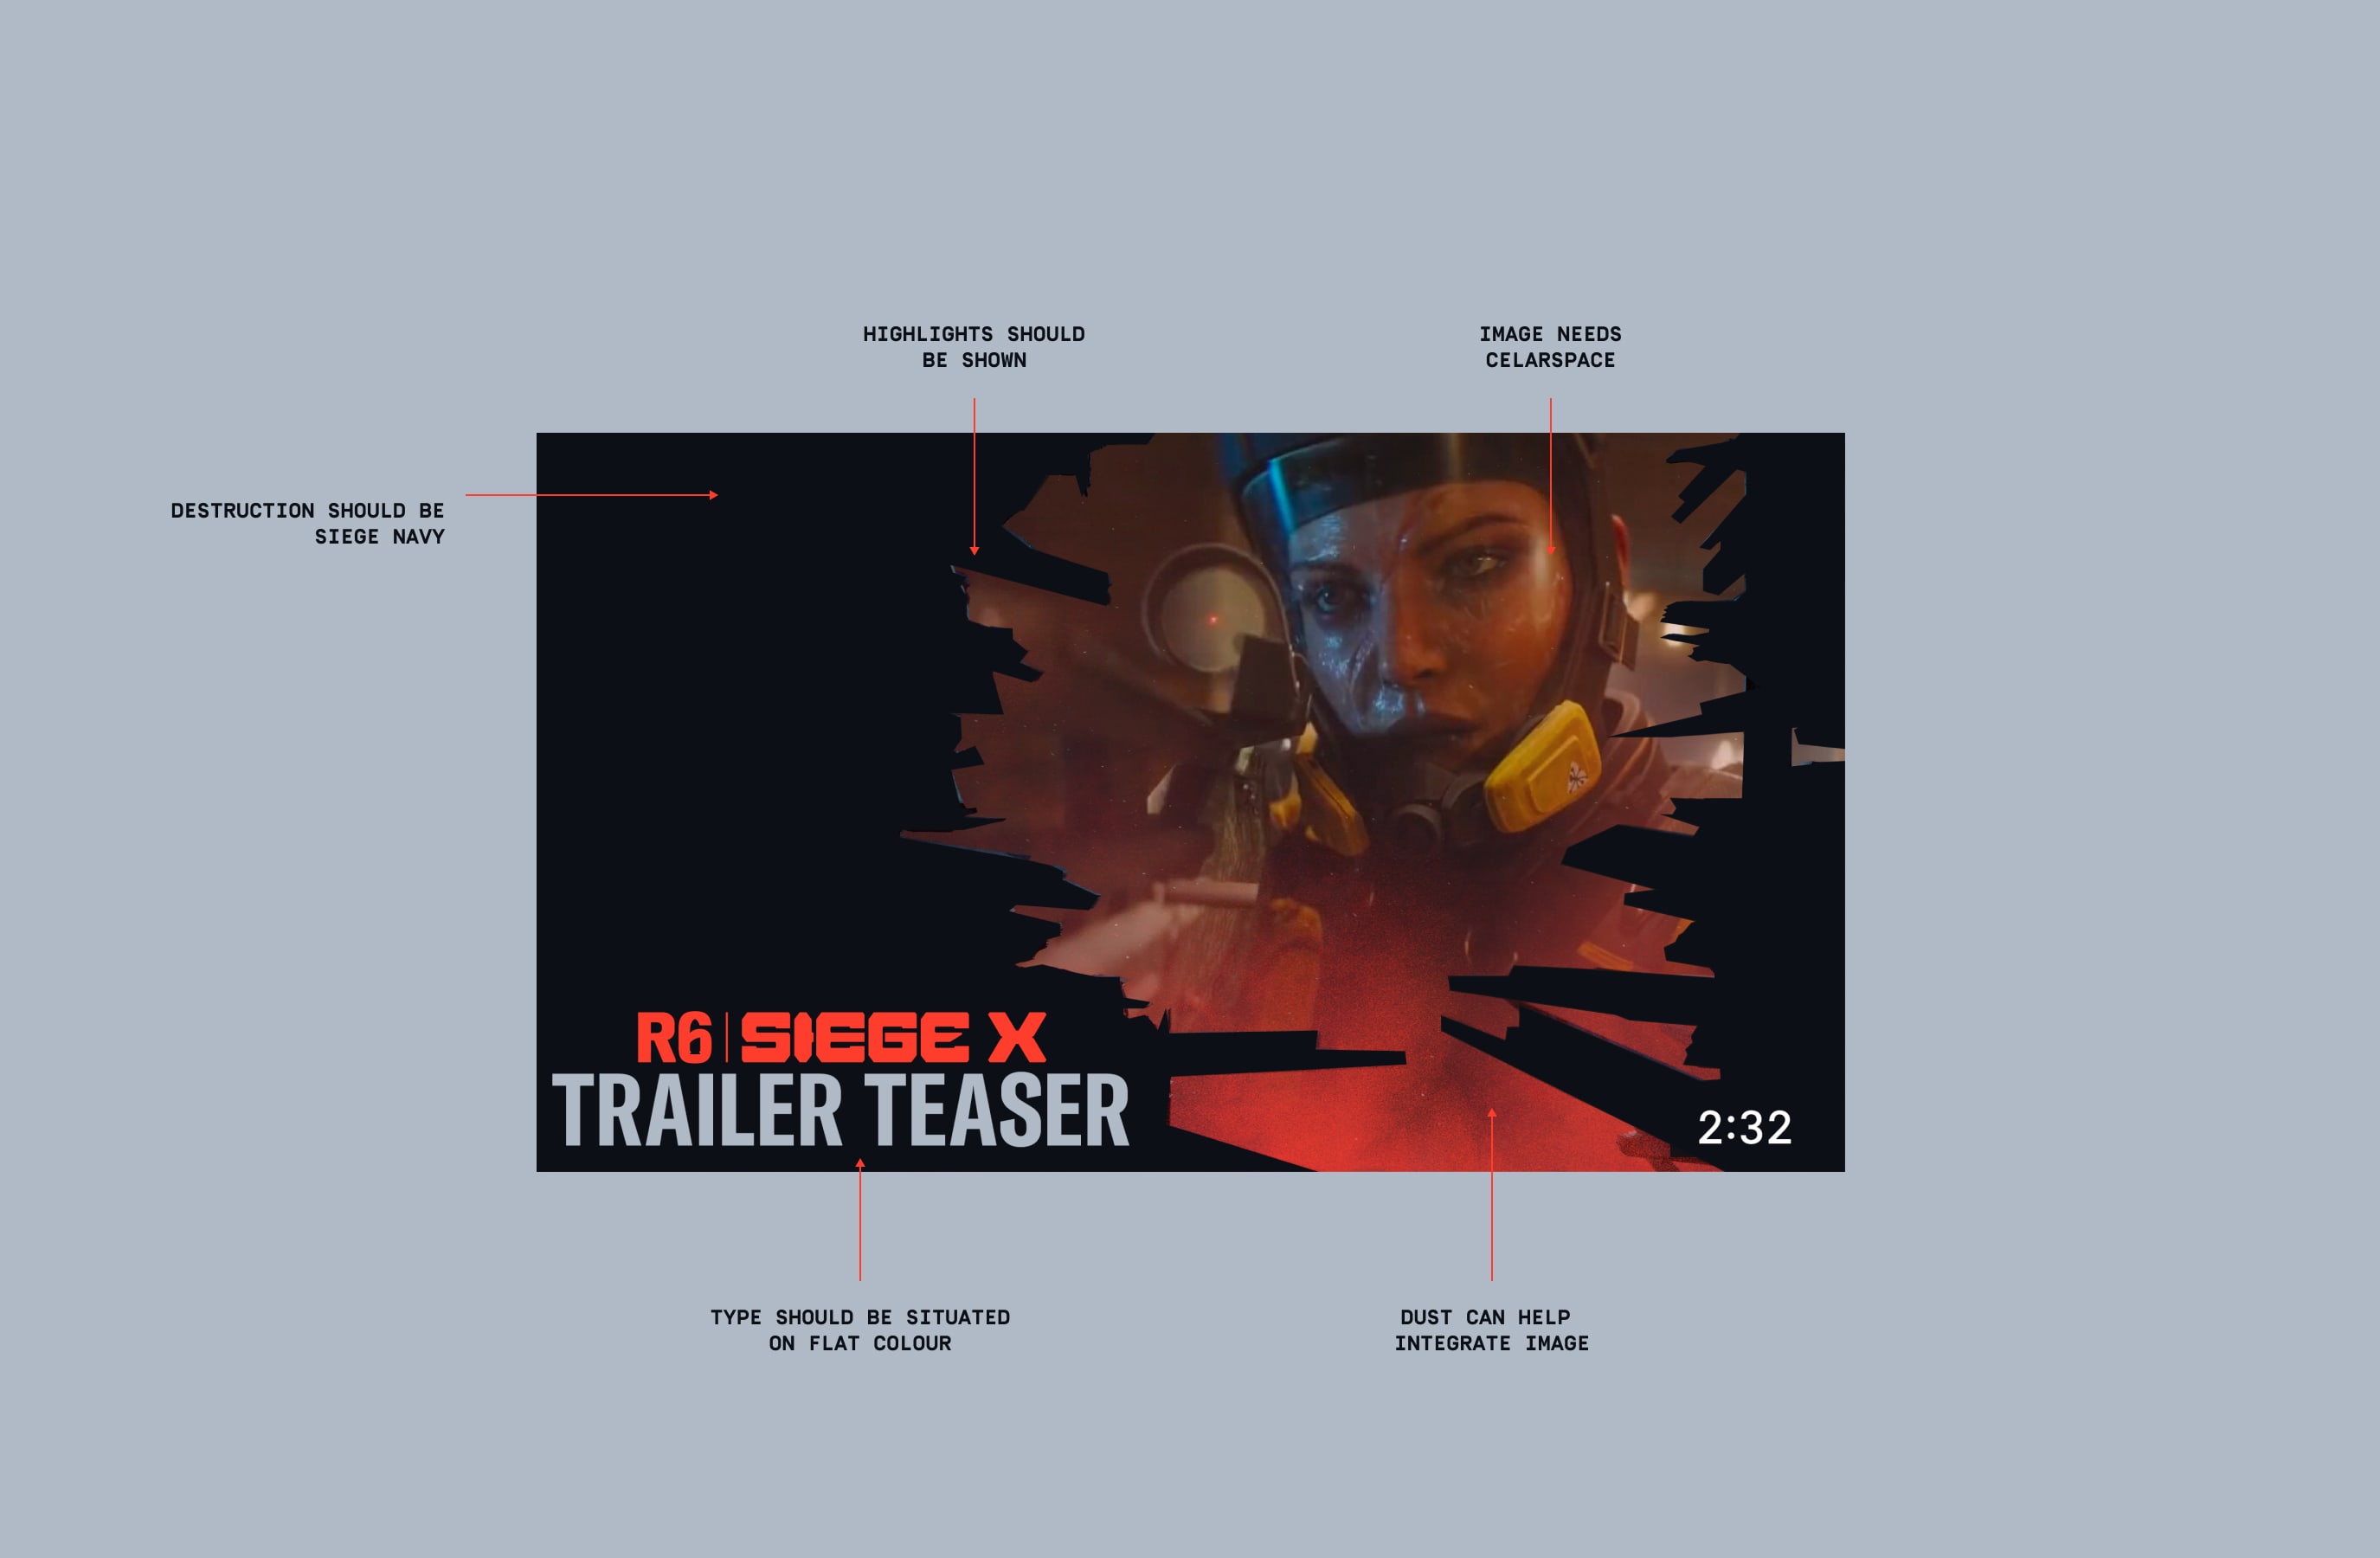
Make sure to follow this guidance to ensure our Destruction is used correctly in all formats and applications.